Do you know how Seal Master modifies text? Many friends may not know yet, so today I will share with you how Seal Master modifies text. Friends in need can come and take a look.
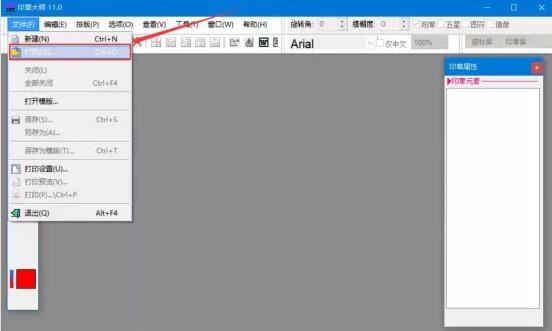
First, open the Stamp Master software and click "Open" in the "File" menu.
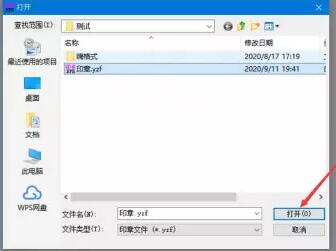
2. At this time, the "Open" window will pop up. We select the seal file whose text needs to be modified and click the "Open" button to import it into Seal Master.
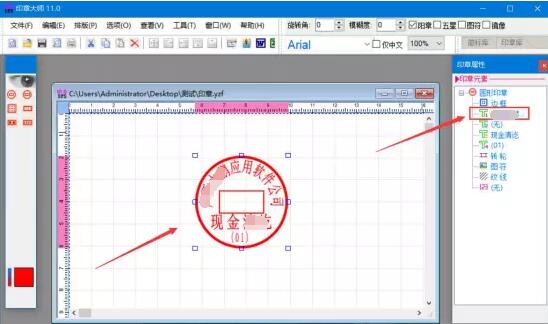
3. Then, click to select the seal, and double-click T1 in the seal properties panel on the right.
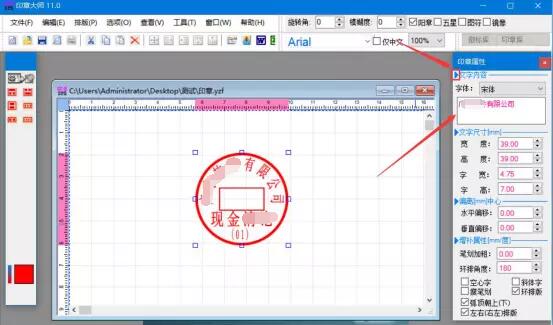
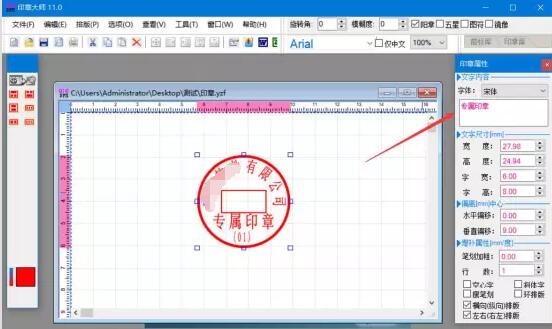
4. Next, in the font text box of the seal attribute of the seal master, we modify the text directly. After the T1 text has been modified, double-click the "►" button in front of the text content to return to the seal properties panel to continue modifying other text.
5. Next, we click the seal and continue to double-click T3 in the seal properties panel.
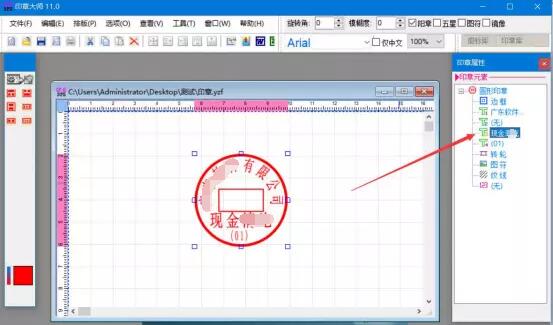
6. Similarly, we directly modify the text of the seal master, and we can also set other properties of the text. After the settings are completed, double-click the "►" button in front of the text content to return to the seal properties panel.
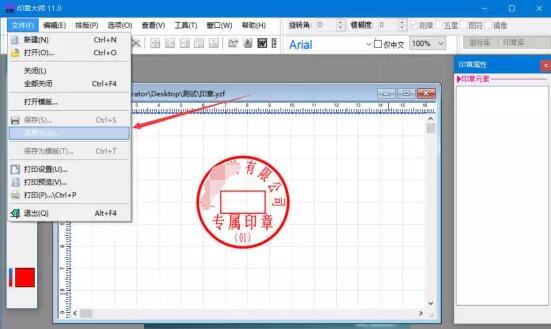
7. In Seal Master, after modifying the text, we click "Save As" in the "File" menu.
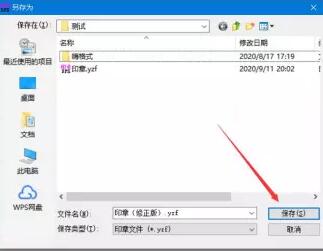
8. Finally, Seal Master will pop up the "Save As" window. After we customize the file name, click the "Save" button, and Seal Master will save the seal with modified text.
The above is the operation method of the seal master to modify the text shared by the editor. I hope it can help everyone.


