Some friends have just come into contact with the Seal Master software and say they are not very good at using it, so here the editor has brought the operation content about using Seal Master to make seals. Friends in need can learn it with the editor.
1. First, after unzipping the Seal Master software package, run the exe file in the folder to enter the main interface of the Seal Master software.
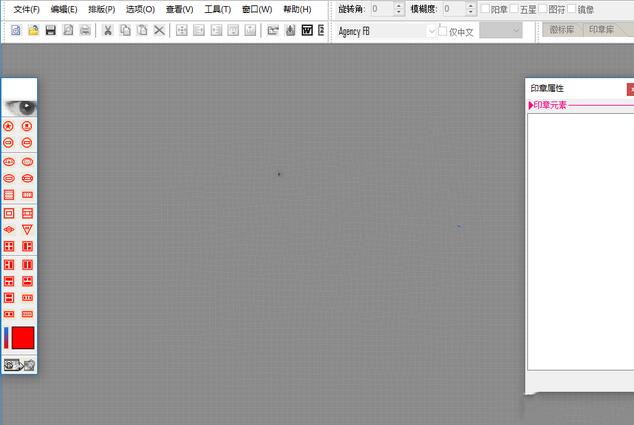
2. After checking the information of the seal master, start the operation. Click the interface, click the file option in the upper left corner, and click New in the drop-down option. A blank work area will appear in the middle of the interface, and proceed to the next step.
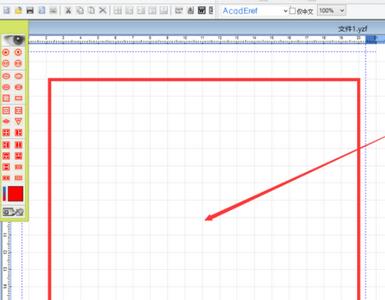
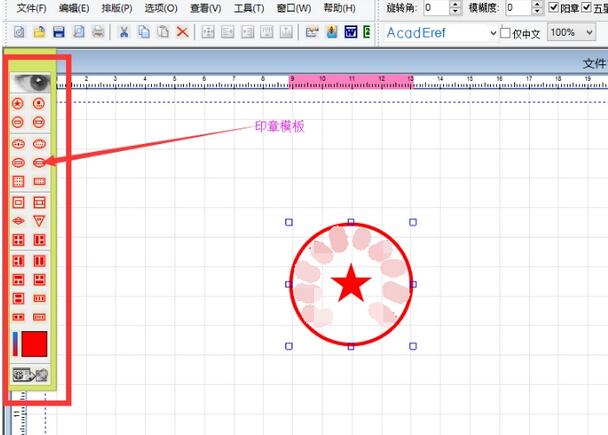
3. After selecting the work area, you can see a lot of stamp templates on the left side of the interface. The user can choose the template he likes and click to select it. Find the appropriate position in the work area, and then click the mouse to display the selected stamp template in the area.
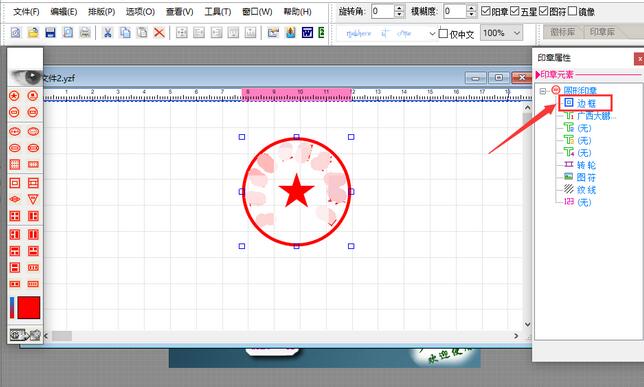
4. After selecting the appropriate stamp template, you can set the properties of the stamp on the right side of the interface. We first set the border. Click the border option on the right side of the interface to enter the border setting interface for adjustment.
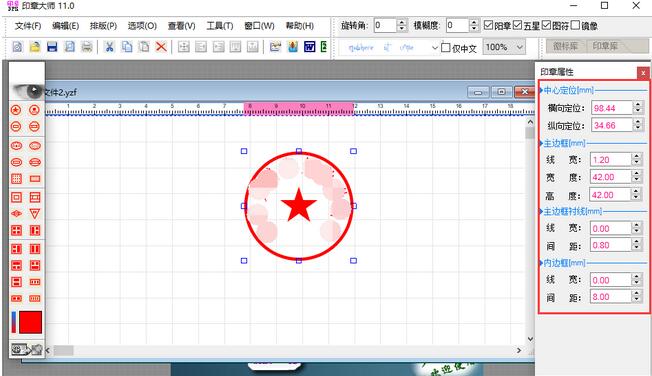
5. In the border attribute setting interface, we can modify the center positioning, main border, and inner border for adjustment. All of them are measured in millimeters. Center positioning: the position in the work area. Main border: seal border. These data can be changed. After the user has made the modification, double-click the center positioning above to return to the main editing interface.
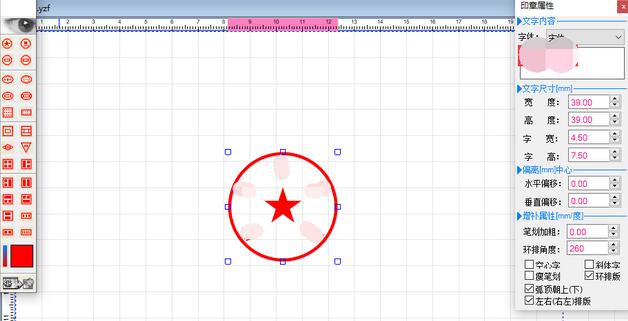
6. After setting the border attributes, set the T1 mark below the border, and double-click the T1 option to enter the text 1 editing interface. This interface is for editing the text in the seal. You can also set attributes such as size. After the settings are completed, double-click the text content to return to the main editing interface.
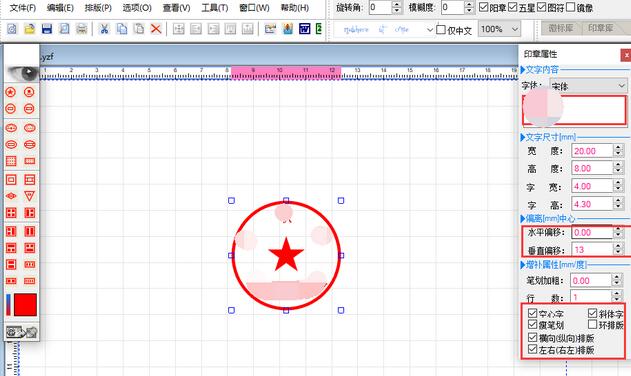
7. Next, we double-tap the T2 option to edit text 2. The steps are the same as T1 above. After the settings are completed, you can double-click the text content to return to the main editing interface for the next step.
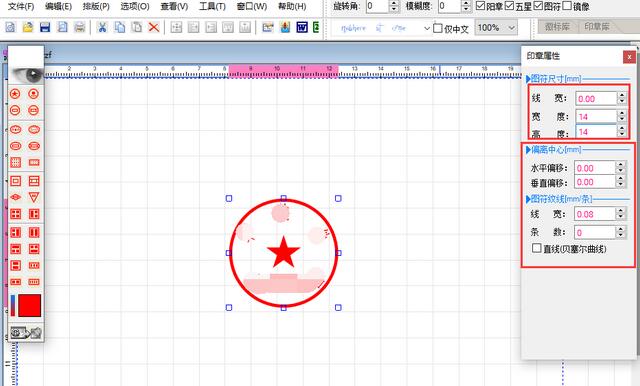
8. Set the five-pointed star attributes in the stamp template. The user double-clicks the icon option to enter the setting interface. You can modify the icon size, lines and other options. After the settings are completed, double-click the icon size to return to the main editing interface.
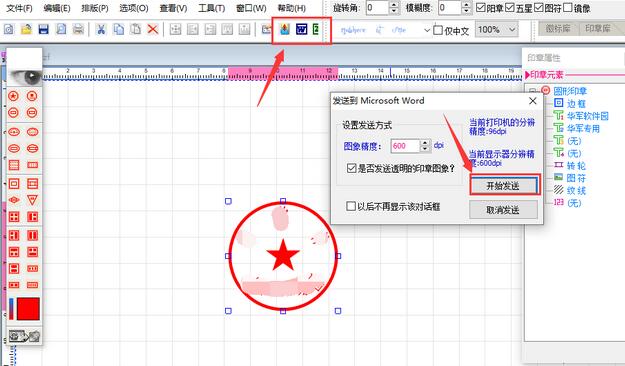
9. After all attributes are set, the stamp will be created successfully. Click the Word or Excel option at the top of the interface to set the sending method and image accuracy. After the settings are completed, click Start Sending to send the set stamp template to Word or Excel.
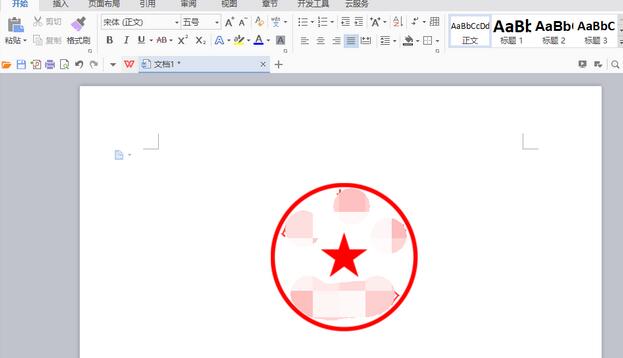
10. After sending successfully, the Word software will automatically open, and you can see the set stamp in Word.
The above explains the operation process of seal making by the seal master. I hope friends in need can learn it.


