WPS Office is a powerful and lightweight full-platform office software suite, including three core components: text (Writer), forms (Spreadsheets), and presentation (Presentation). It is deeply compatible with Microsoft Office formats (DOCX/XLSX/PPTX). With cloud synchronization, multi-terminal collaboration, massive templates and PDF tool sets, WPS provides an efficient and secure office experience for individual and corporate users, and supports Windows, macOS, Linux, Android and iOS systems. With more than 1 billion users worldwide, it is a benchmark for domestic office software. Next, let the editor of Huajun explain to you how to set up wps officeprint areaAnd wps office settingsprint areamethod!
first step
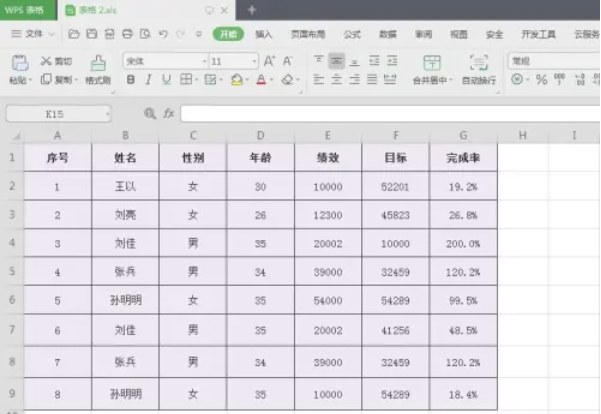
Start the WPS form and open the worksheet that needs to be set up for printing.
Step 2
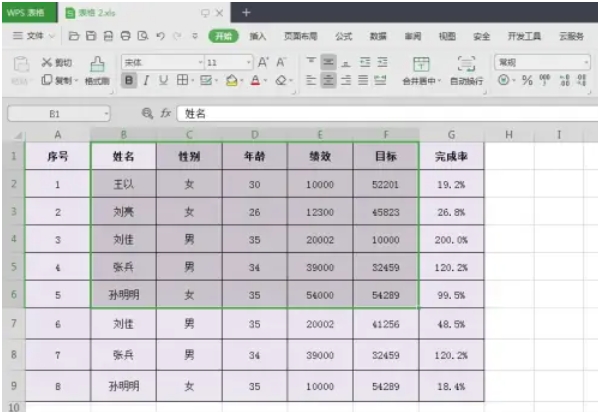
Drag with the left mouse button to select the cell area that needs to be printed.
Step 3
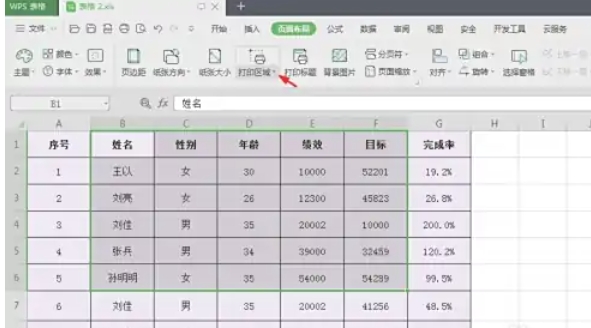
Click the "Page Layout" tab on the top menu bar and find the "Print Area" button in the "Page Setup" ribbon.
Step 4
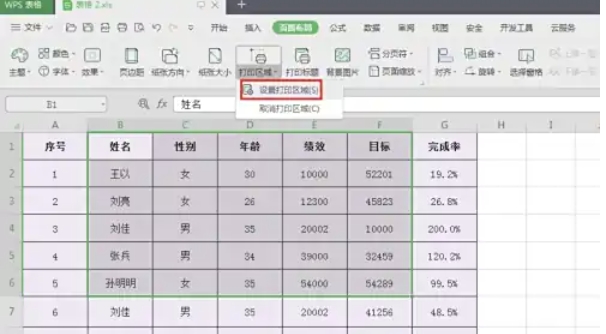
Click the "Set Print Area" option
Step 5
After successful setting, a dotted border will appear in the selection (some versions display a light gray border)
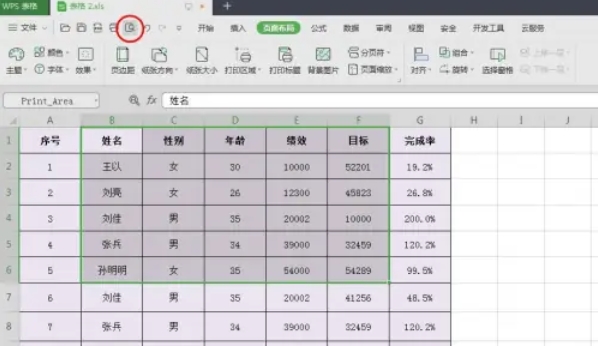
Step 6
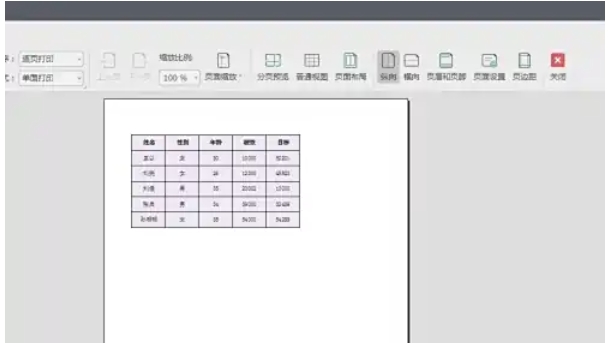
Click "File" → "Print Preview" in the upper left corner or use the shortcut key Ctrl+P to quickly bring up the preview window
The above is compiled for you by the editor of HuajunHow to set up wps officeprint areaAnd wps office settingsprint areamethodLa, hope this helps!


