Word 2016 is a software with powerful spelling and grammar checking functions that can mark spelling errors and grammatical problems in real time during user input and provide modification suggestions, greatly improving the accuracy and professionalism of documents. At the same time, it also supports the auto-correction function, which can automatically correct some common input errors, such as capitalization errors, symbol errors, etc., just like a considerate "text secretary". Next, let Huajun editor explain to you how to set the built-in header style in word 2016 and how to set the built-in header style in word 2016!
first step
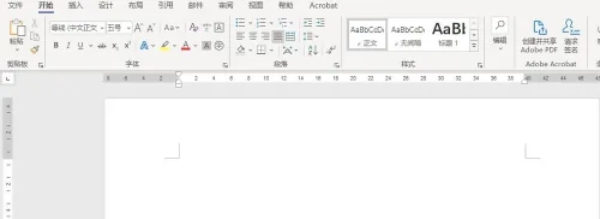
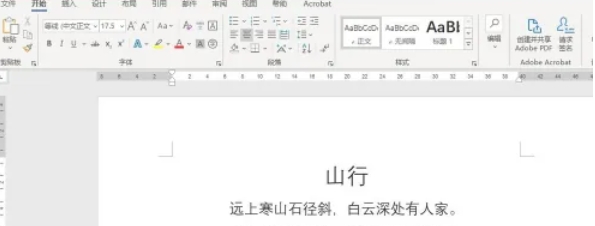
Open Word 2016, create a blank document, and enter the body content (adding a header will not affect the existing text).
Step 2
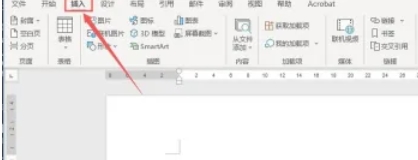
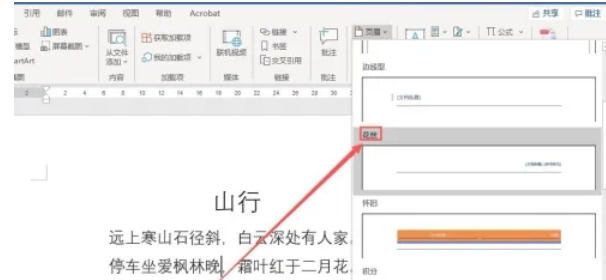
Click [Insert] on the top menu bar → select the [Header] button. In the pop-up drop-down list, select the [Filigree] style (or other built-in styles such as "Blank", "Annual", etc.).
Step 3
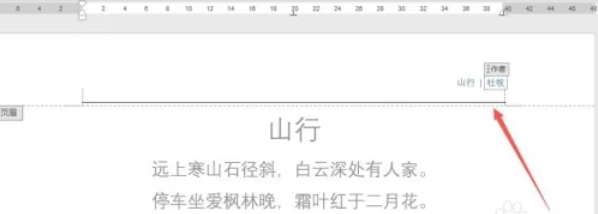
The top of the document will enter the header editing mode, and the "Filigree" style includes title and author placeholders by default:
Click [Type document title] and enter your title (such as "Work Report").
Click [Author] and replace it with your name or organization name.
Step 4
Double-click the text area, or click the [Close Header and Footer] button in the menu bar to exit editing.

Step 5
The header will be automatically applied to all pages,
Step 6
Double-click the header to re-enter editing mode, where you can adjust text format (font, color) or insert pictures/dates.
The above is how to set the built-in header style in word 2016 and how to set the built-in header style in word 2016 compiled by Huajun editor for you. I hope it can help you!


