Wireshark is a powerful, easy-to-use network protocol analyzer for multiple career fields, including network management and security engineering, and provides current and future IT professionals with an educational tool on best practices for troubleshooting, securing, analyzing, and maintaining efficient network infrastructure. Next, let Huajun editor explain to you how wireshark uses data flow tracking and how wireshark uses data flow tracking!
first step
Start the Wireshark software.
Step 2
On the main interface of Wireshark, select the network interface you want to monitor (such as Ethernet, wireless network card, etc.).
Step 3
Click the "Start" button (or use the shortcut Ctrl+K) to start capturing network traffic.
Step 4
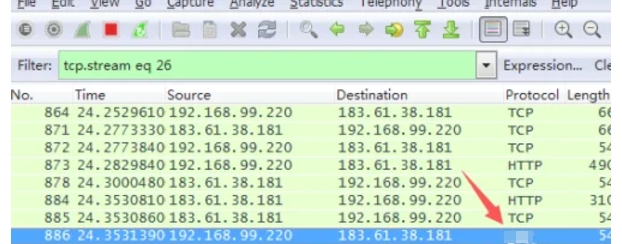
In the list of captured packets, find the TCP packet you want to track and click on it.
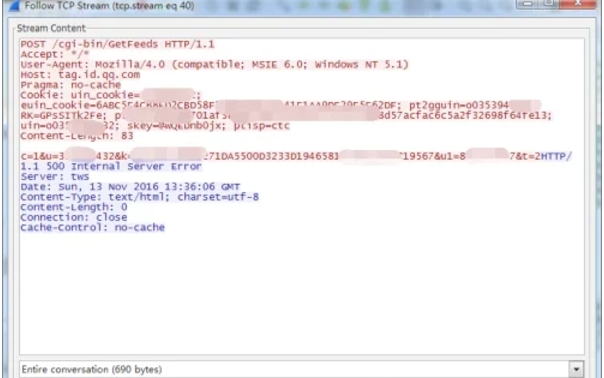
Step 5
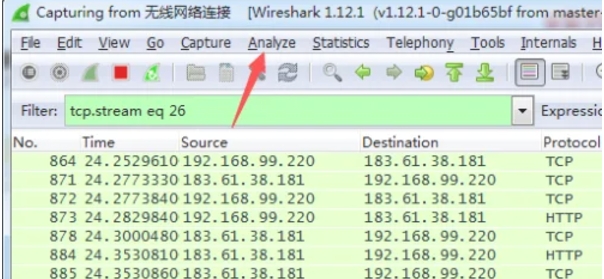
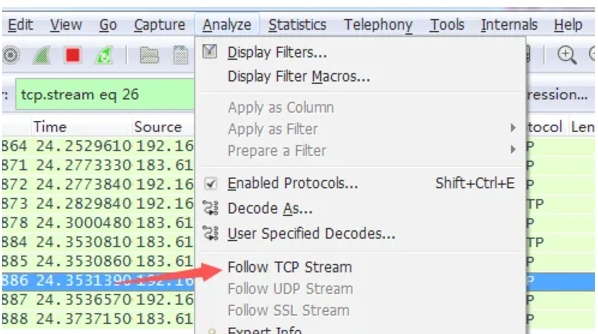
You can do this via the "Analyze" option in the menu bar and then select "Follow" → "TCP Stream" in the drop-down menu (or right-click on the packet and select "Follow" → "TCP Stream").

Step 6
After Wireshark starts capturing, you will see continuously updated packets in the packet list. Find a TCP packet in the packet list. This packet will serve as the starting point for you to trace the flow.
Step 7
Click the "Analyze" option in the menu bar, and then select "Follow" → "TCP Stream" in the drop-down menu. Alternatively, you can right-click on the packet and select "Follow" → "TCP Stream". At this point, Wireshark will pop up a new window showing all TCP segments captured on the same TCP connection as the selected packet. In the new window, you can see the details of the TCP flow, including the data packets of the sender and receiver, timestamps, data length, etc. You can scroll through the contents of the window to analyze the specific details of the packet flow.
The above is how the editor of Huajun compiled for you how to use data flow tracking in wireshark and how to use data flow tracking in wireshark. I hope it can help you!
