3dmax is a good software. It is very convenient to build models. So when editing a 3dmax model, if you want to use the capture command, how should you do it? Next, the editor will explain the graphic and text operations of using capture commands on 3dmax models. I believe it will definitely help you.
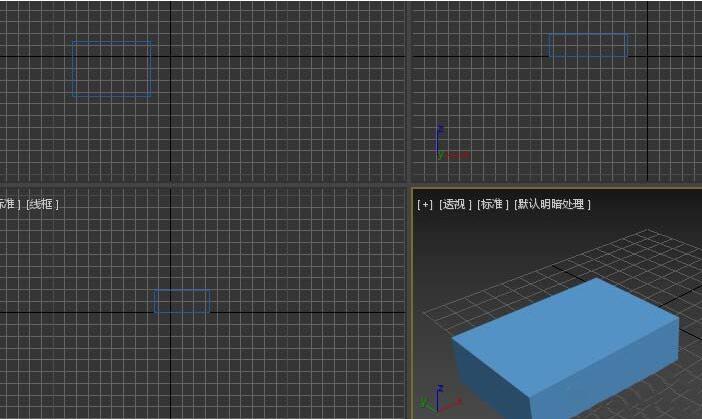
1. Open 3dmax and draw a model using a cuboid as an example.
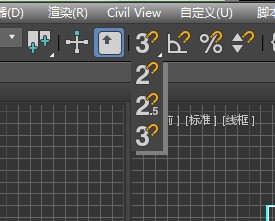
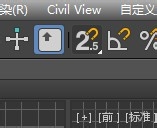
2. Right-click and hold the snap switch, and three options will appear. One is 2-dimensional snap, which is used for snap on the grid plane. One is 2.5-dimensional capture, which is used to capture the plane capture of 3-dimensional space, and the other is 3-dimensional capture, which is used to capture 3-dimensional space.
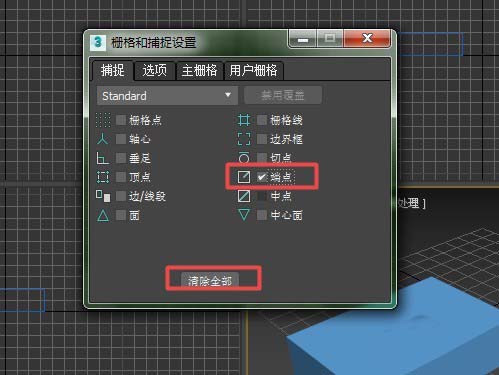
3. Make some settings, open the grid and snap settings, on the snap tab, clear all and select the endpoint. Then close.
4. To facilitate understanding, press F3 to enter wireframe mode, and the cuboid will become a graphic like this. Displayed in wireframe.
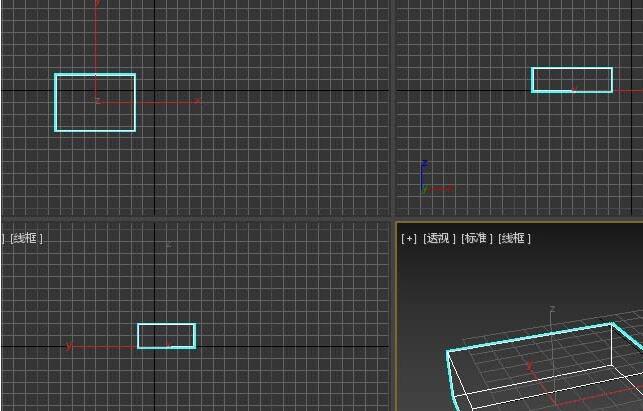
5. If you want to draw a cuboid next to one of its endpoints, for example, on the top view, you can right-click a blank space and select the corresponding view. We can place the mouse on one of the endpoints. When the When capturing an icon, left-click to create it.

6. After drawing, you should develop the habit of turning off snapping to prevent drawing errors.
Here are the graphic tutorials for capturing commands for you to share the 3DMAX model. Friends in need should hurry up and read this article.


