Many people don’t know how to add subtitles to photos in Adobe Premiere Pro CS6? The article brought to you today is Adobe Premiere Pro If you still don’t know how to add subtitles to photos in CS6, let’s learn it with the editor.
Step 1: First we open the Adobe Premiere Pro CS6 software, and then we click "New Project" (as shown in the picture).

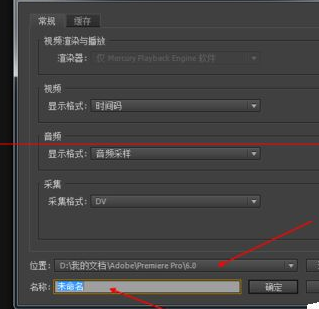
Step 2: Click "Location" to freely select the directory to save to, and "Name" to freely edit the name (as shown in the picture).
Step 3: After entering the operation interface, click "File" - "Import" to find the picture you need to process (as shown in the picture).

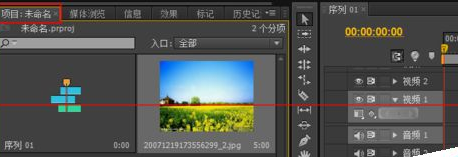
Step 4: Then in "Project" we can find the imported image (as shown in the picture).
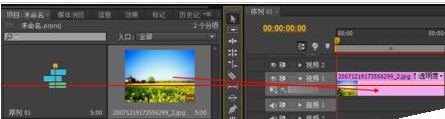
Step 5: Use the mouse to drag the picture to the track (as shown in the picture).
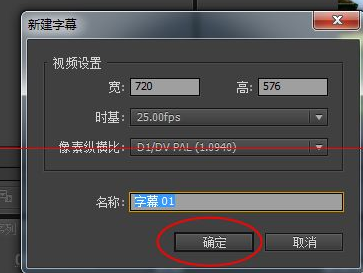
Step 6: Then find “Subtitles” on the toolbar and select the style of subtitles you want to create (as shown in the picture).

Step 7: Then click "OK" (as shown in the picture).
Step 8: Enter the subtitle editing interface and click "Input Tools" (as shown in the picture).
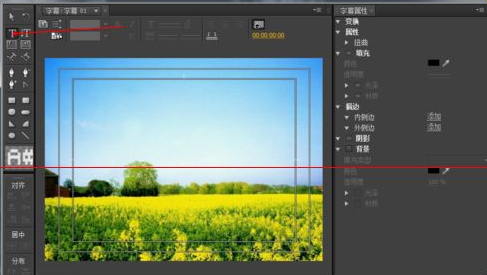
Step 9: Select the subtitle style, and then enter text anywhere in the picture (as shown in the picture).

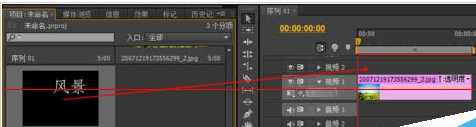
Step 10: After editing the text, find the subtitle in "Project" and drag it to a track above the picture. Finally, the subtitle appears above the picture (as shown in the picture).

The above is the entire content of how to add subtitles to photos in Adobe Premiere Pro CS6 brought to you by the editor. I hope it can help you.