Don’t know how to use TP-LINK security monitoring to connect to a mobile phone? If you don’t know how, come and learn with me how to connect TP-LINK security monitoring to a mobile phone. I hope that this tutorial can help everyone.
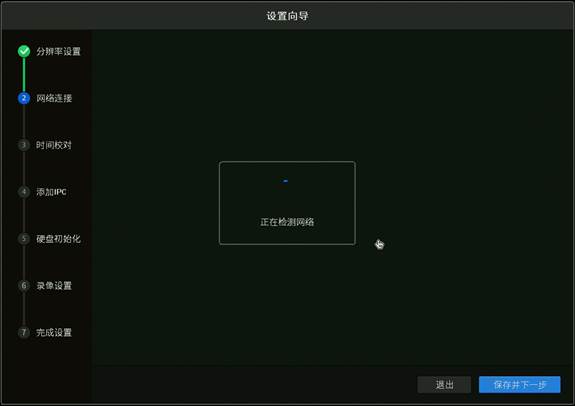
1. Connect the video recorder to a router or switch that can access the Internet. After turning on the video recorder, go through the setup wizard. After setting the resolution, it will automatically detect the Internet access method:
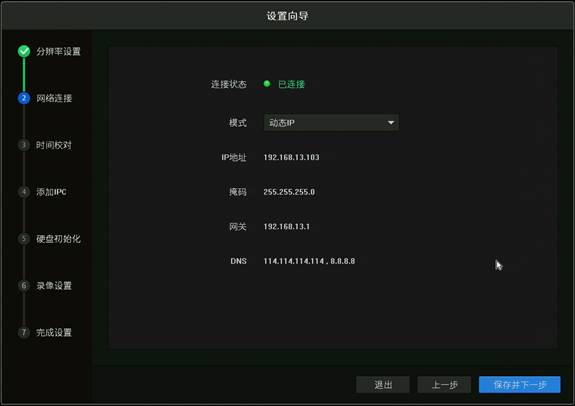
For example, if it is detected that the Internet access method is dynamic IP, you can directly obtain the IP address assigned by the front end:
You can also configure the IP address, gateway and DNS in [Network Settings > Connection]. Note: If you don’t know the router’s network segment, you can set the “Mode” to Dynamic IP.
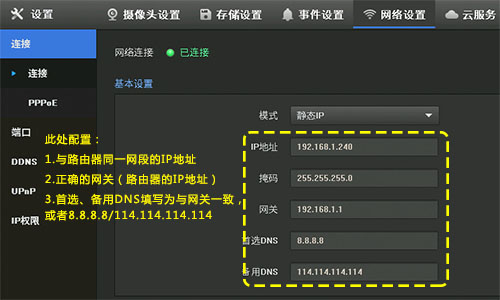
Tip: If the modified IP address of the recorder is not in the same network segment as the IPC, please delete the IPC and add it again.
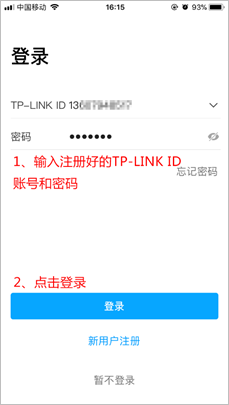
2. Open the security APP and log in to the registered TP-LINK ID. If there is no TP-LINK ID, click [New User Registration] in the picture above and follow the prompts to register the TP-LINK ID.
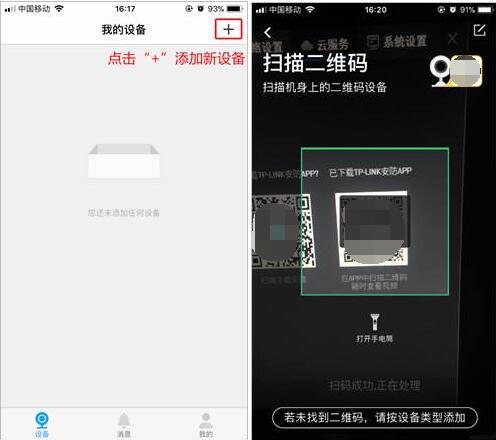
After logging into the APP, click the [+] in the upper right corner of the device's main interface and scan the QR code on the back of the video recorder or on the packaging box (you can also scan the QR code on the right side of the video recorder interface [Settings > Cloud Service]):
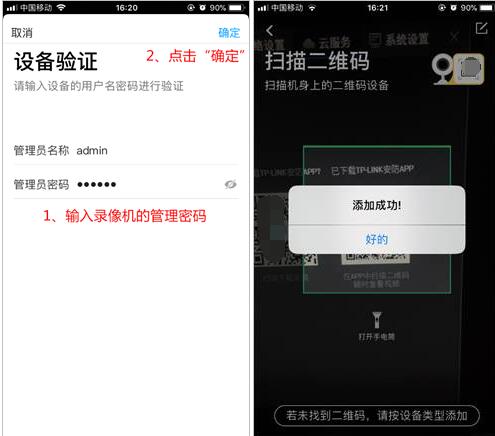
Enter the management password of the video recorder and click [OK] to add it successfully, as shown below:
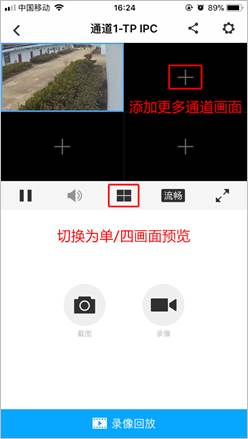
Return to the device homepage and click on any channel to preview:
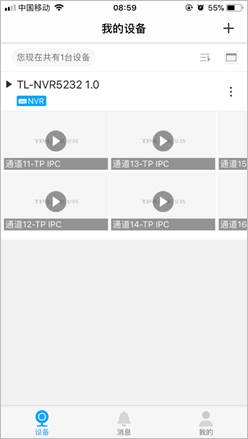
Click the "field" icon at the bottom of the window to switch between single/quad-picture window preview. Click [+] to add more channel pictures:

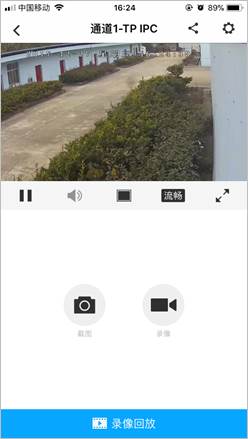
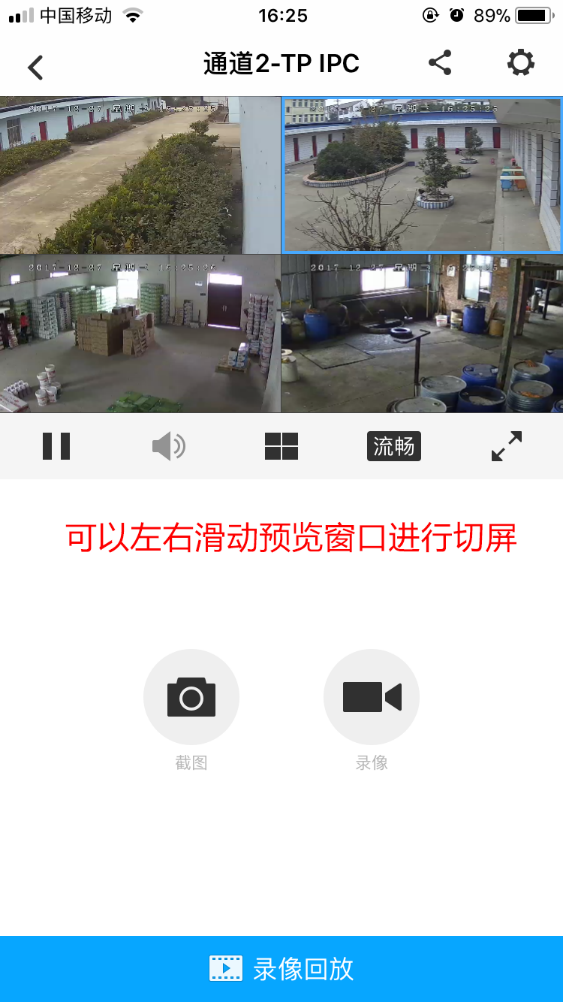
During single-screen or four-screen preview, you can switch screens by sliding the preview window left or right:
The above is the method shared by the editor for connecting TP-LINK security monitoring to mobile phones. Friends in need can take a look.