After downloading and installing the schedule DCProject on your computer, how do you use it? Today I will bring you a tutorial on how to use the schedule DCProject. Friends in need can come and take a look. I hope it can help you.
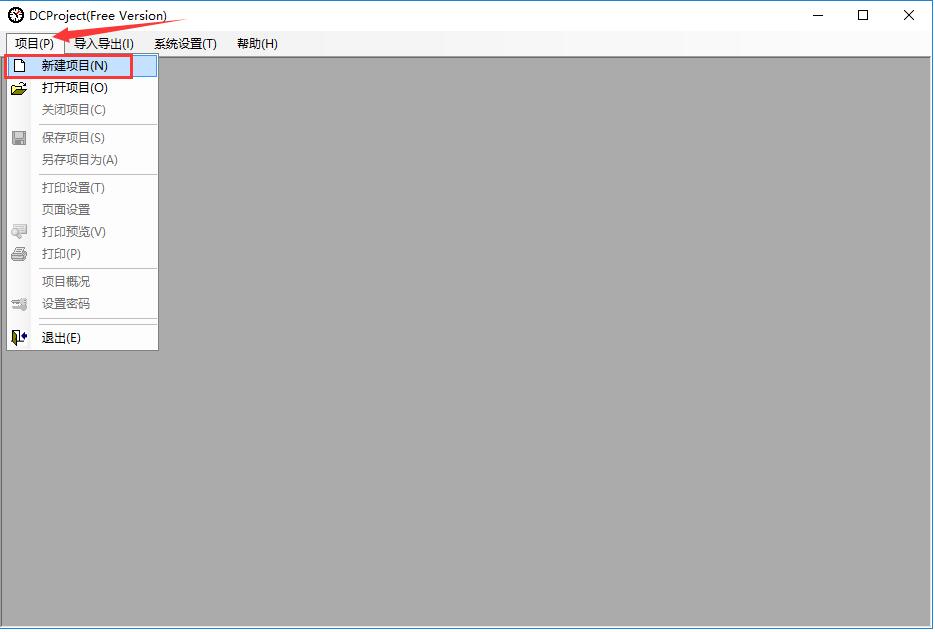
1. First, open the schedule DCProject, click the "Project" button in the upper menu bar, and then click the "New Project" function in the drop-down menu.
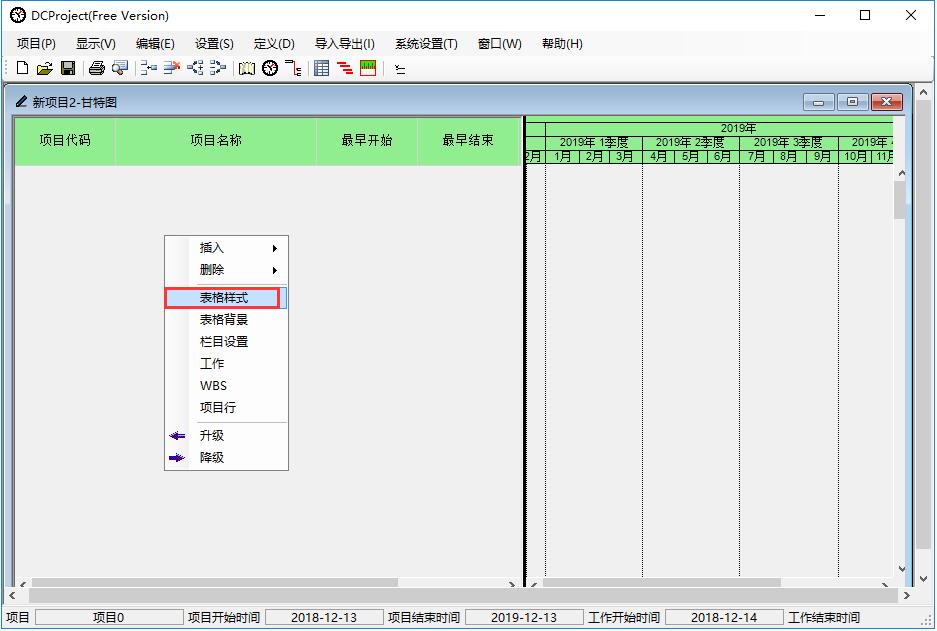
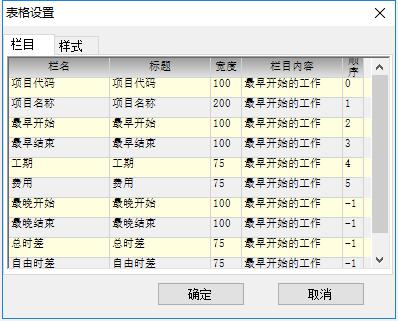
2. This creates a new project table. Right-click the blank area, and then click and select "Table Style" in the right-click menu. This allows you to set the table content and adjust it according to your needs.
3. Then right-click in the blank area again, hover the mouse cursor over the "Insert" column, and then click the "Row" option in the right-click menu.
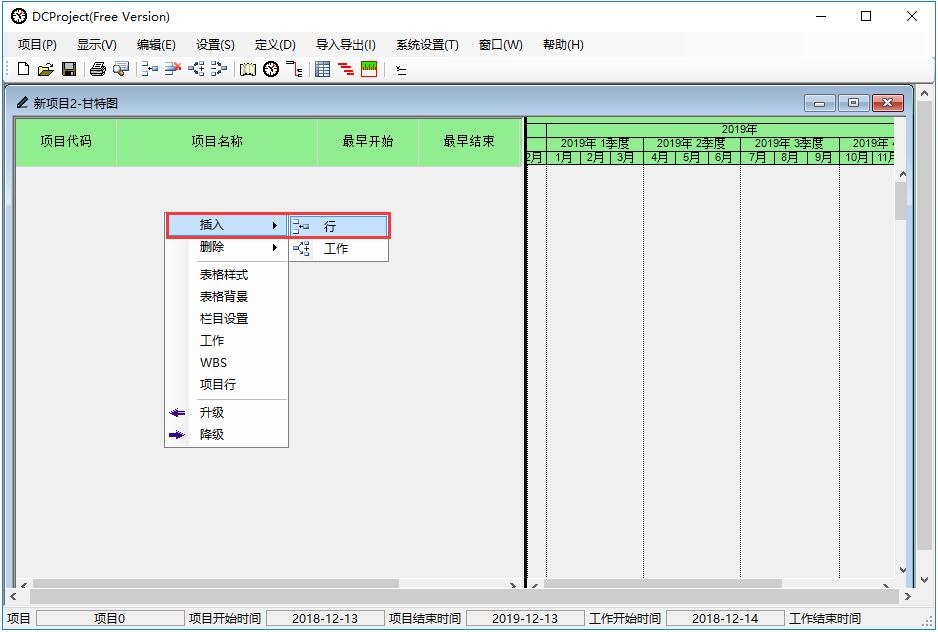
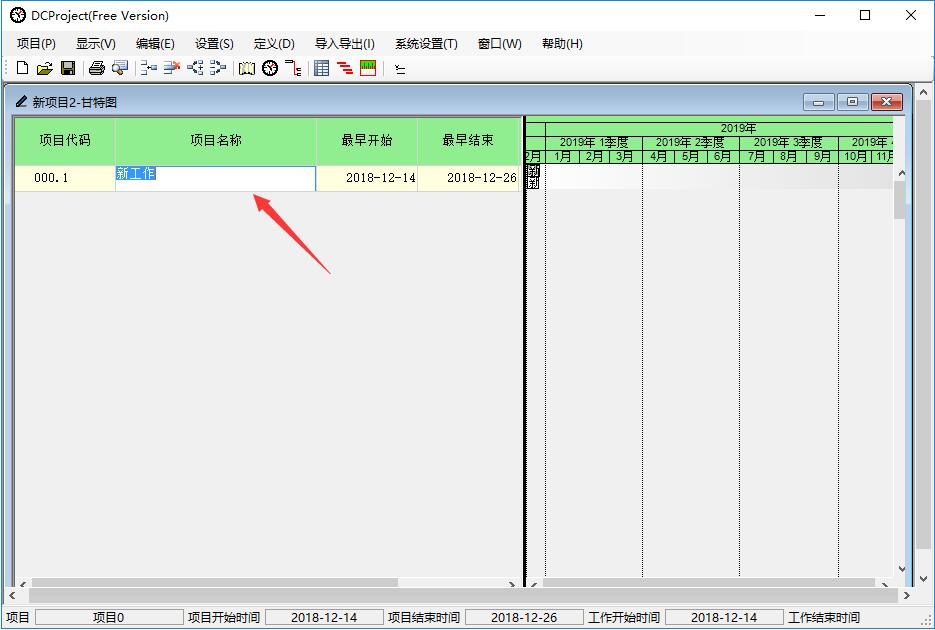
4. This will add a new plan to the project table, which can be modified by double-clicking with the left mouse button in each column.
The above is the tutorial on how to use the progress plan DCProject brought by the editor. Friends who don’t know how to use it can come and learn it.