Many friends will use Revit, which is a very good software. So during the operation process, do you know how to set the priority level of the air duct system line type? If you still don’t understand, let’s learn the specific steps to set the priority level of the line type in Revit duct system.
The line type setting of the air duct system is affected by multiple factors and is very complicated. Those with high priority will overwrite the effects with low priority! The priorities from high to low are: ① Right-click to replace the primitive ② View filter ③ Air duct system Type settings ④ Visibility graphics ⑤ Object style!
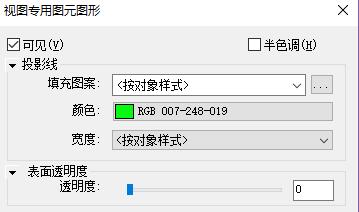
1) Right-click to replace the primitive, which is the highest level and can overwrite any effect without affecting other primitives. It is very useful when we sometimes modify the effect temporarily.

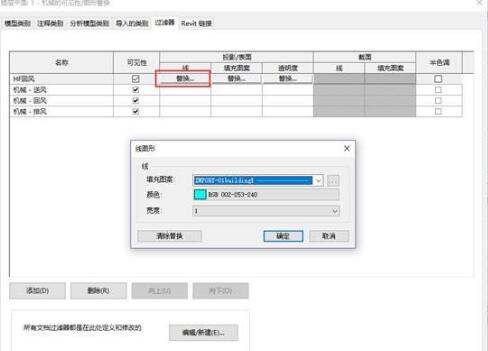
2) Modify the view "Filter" and find the "Filter" tab under "Visibility Graphics". Modify the air duct line type corresponding to the filter. This is very commonly used among professional views. The modification will not affect other views.
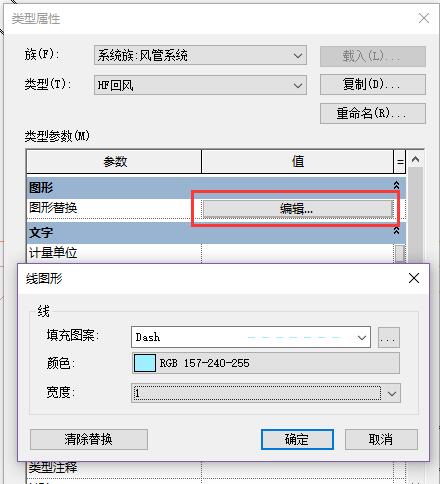
3) Modify the "System Type" style of the air duct and perform graphic replacement under the "Type Properties" of the air duct system. This method is our most commonly used and has a completely common effect on the view of the entire project.
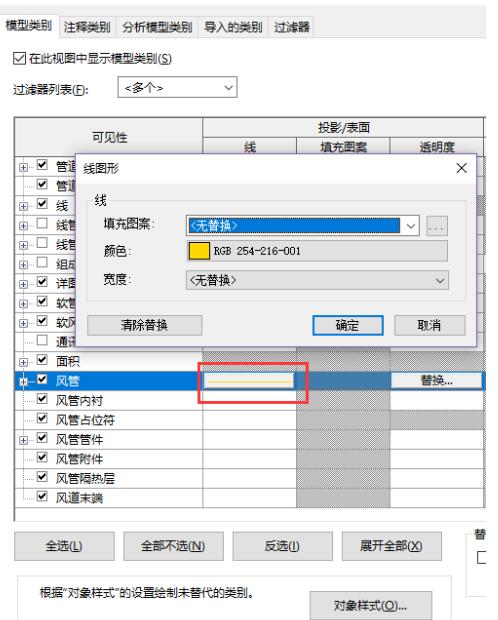
4) Directly modify the line style in the "Visibility Graphics" category. This method is also for the current view, but its priority is lower than the above ones, so it can be used in few places.
5) Modify the air duct line type in "Object Style". This method is different from the previous one. It is global, but has the lowest priority. It is only effective when none of the above methods have been set.
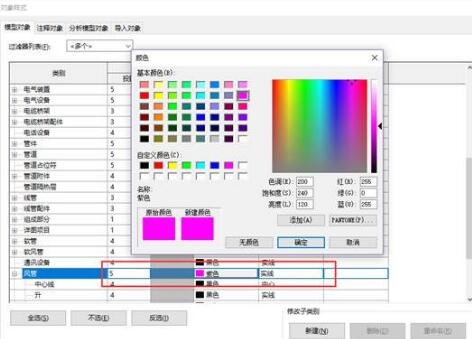
PS: If you want to skip this level of setting effects, you can select "No replacement".
The above is the specific steps for setting the priority level of the Revit air duct system line type explained by the editor. Let's learn together. I believe it can help some new users.


