The following are the detailed steps for installing Win2003 system on Dell DELL server. The process may be quite tedious. Users should not be discouraged and follow step by step. Server installation is different from system installation and requires careful settings to avoid errors.

Dell DELL server operating system installation method:
Before installation, please confirm that your server's optical drive is DVD.
First, put the Systems Management Tools and Documentation version 6.0 CD that comes with the machine into the server CD-ROM drive, and set the server to boot from the CD-ROM drive.
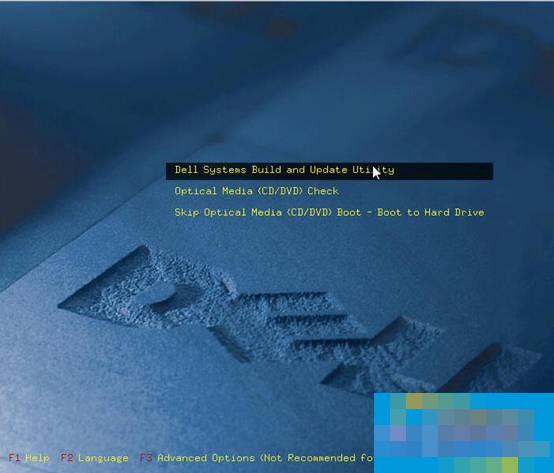

The boot CD will detect your server hardware. This will take about 5 minutes, please wait patiently.
Select Simplified Chinese:
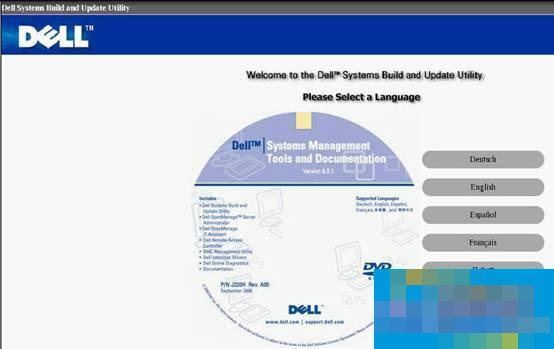
Accept the agreement:

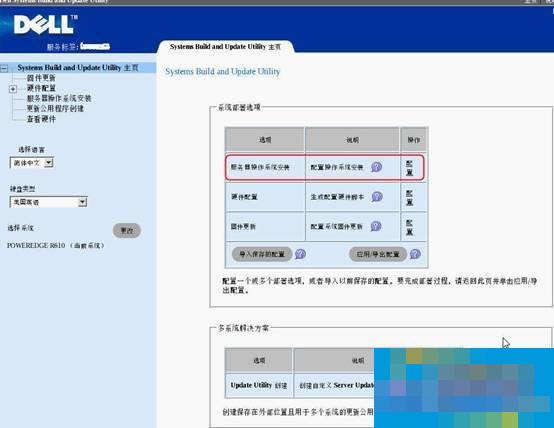
When the installation screen appears, click: "Server Operating System Installation"
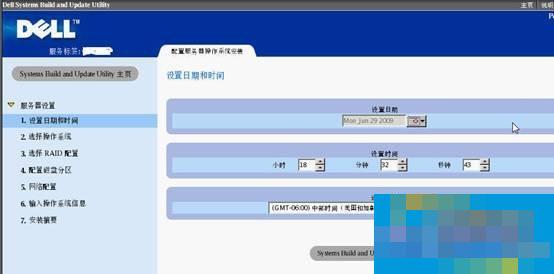
Step 1: Please set the time zone to: Beijing, Hong Kong, Chongqing, Urumqi
Step 2: Choose the operating system you want to install

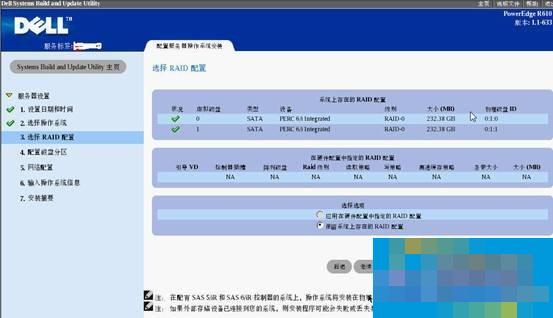
Step 3: Confirm that the raid has been prepared at the factory and choose to skip raid configuration.
Step 4: The size of the boot partition is the size of the C drive. Please set enough according to your own requirements.

Step 5: You can skip this setting. The network configuration can be configured after the system installation is completed (DELL reminds you to unplug the network cable when installing the operating system, and then plug in the network cable after the system patch is applied to prevent virus intrusion)
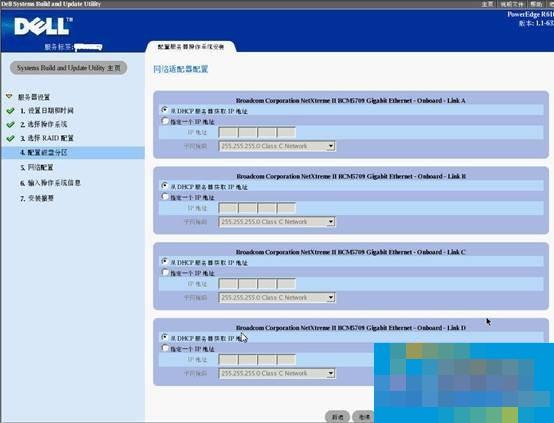
Step 6: This page can be left unchanged by default and continue to the next step.
ProductID is the installation series of the operating system you purchased.
Do not choose to join the domain unless you request your network environment to be a domain environment and you know your domain environment settings. Otherwise, please ask your company's IT department to set up the system after installing the system.
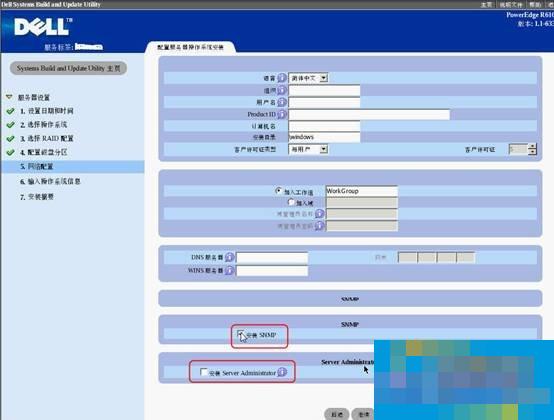
Step 7: After confirming the installation summary, Eject CD is selected, and then select Continue.
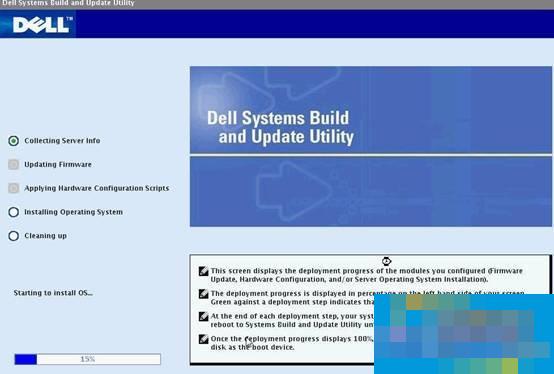
Step 8: Please insert the system CD into your operating system CD. File copying will begin. If a copy error or CD error is prompted, please replace your system CD.

Note: This version of dosa supports the following systems:
1. Server 2003 sp2; 2. Server 2003 sp2 64 bit; 3. Windows 2003 SBS sp2; 4. Server 2008; 5. Windows 2008 SBSEBS x64; 6. Red hat Linux4.7 32bit; 7. Red hat Linux 4.7 64bit; 8. Red hat Linux5.2 32bit; 9. Red hat Linux 5.2 64bit; 10. Suse Linux10 sp2 64bit; 11. ESX 3.5 U4
The operating system CD version must be consistent with the version selected during DOSA installation, otherwise DOSA will report that an invalid CD has been inserted.
Installation steps:
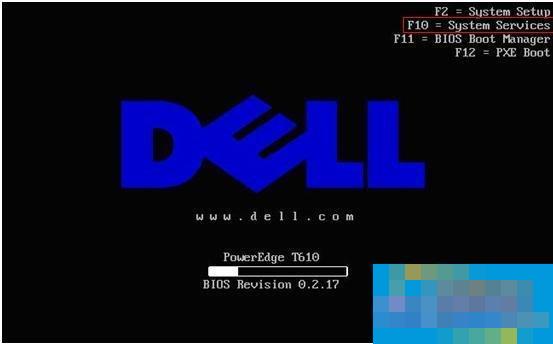
1. Press F10 during power-on self-test to enter the dosa installation interface:
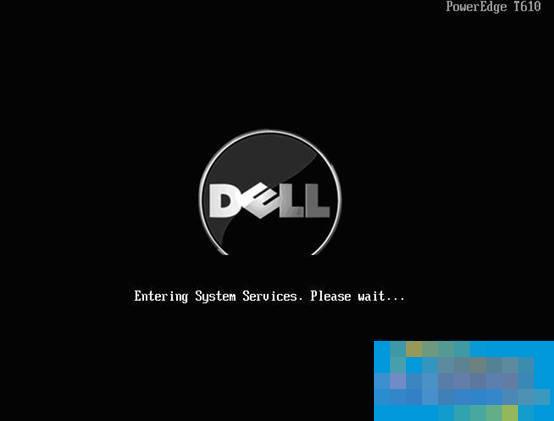
2. Enter the F10 interface. You need to wait patiently for about 5 minutes:
3. Enter the installation interface and select os deployment:
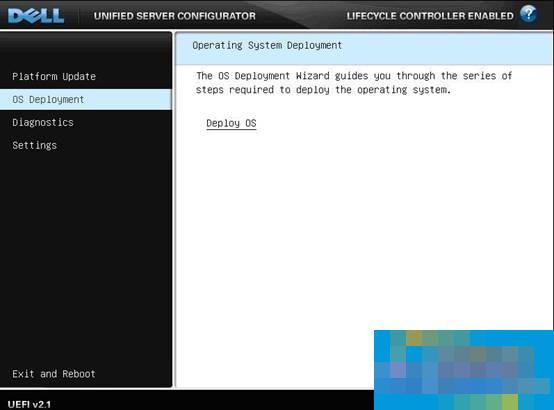

4. Configure the raid (you can also configure it in the raid card bios, you can choose to skip the raid configuration here): Note: Reconfiguring the raid will format the hard disk. If you are sure to configure it, be sure to back up the data.
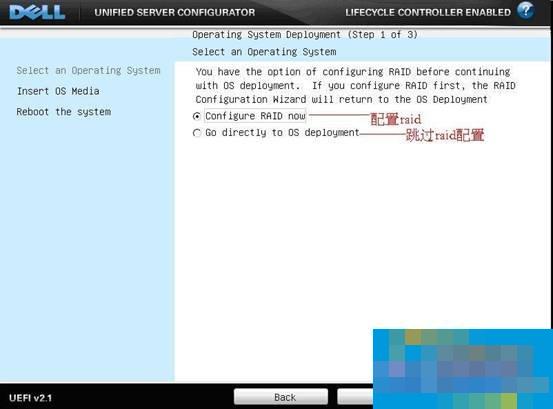
Raid configuration interface:
(1) Existing raid configuration, if you need to reset the optional next step:

(2) Confirm the raid card model and click Next:

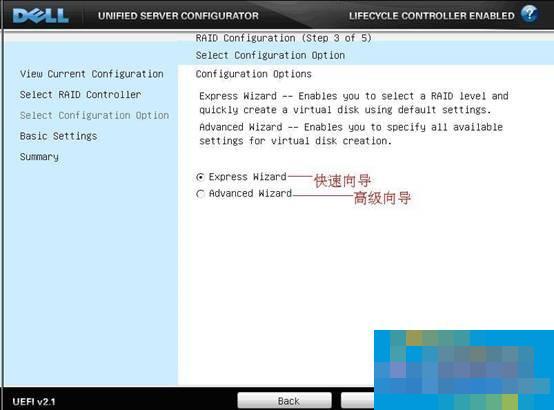
(3) You can choose advanced or quick configuration: (this article chooses quick wizard)
(4) Select the raid level to be configured:

(5) RAID configuration is completed:
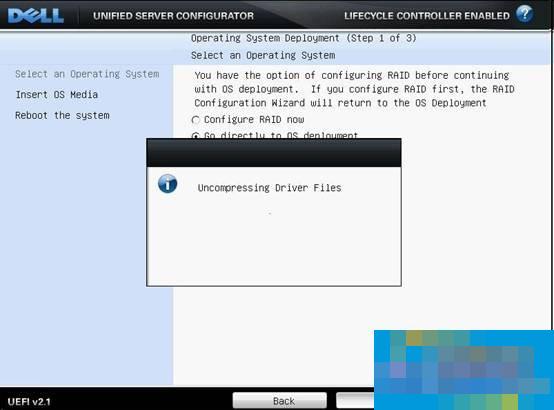
5. Confirm the system to be installed and select Next:

Reading the file takes some time:

6. Confirm to put it into the system disk
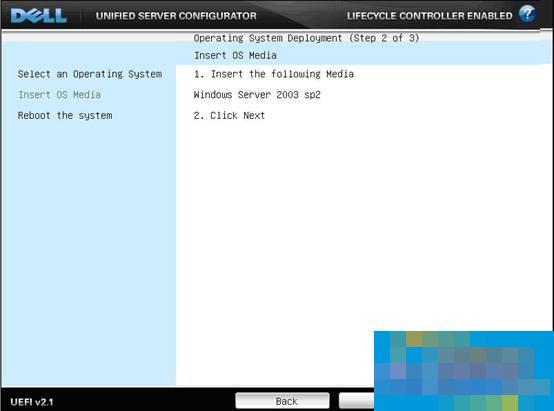
Note that there will be the following interface prompt (the screenshot is in Chinese), which means that the USC installation will create a temporary flash partition, occupying the drive letter C. Please confirm that the system is installed on the correct drive letter C. For questions about partition drive letters, please refer to Microsoft KB.

7. Click Finish to restart the machine.

8. Enter the windows installation interface: (you don’t need to press F6 to let it boot automatically)
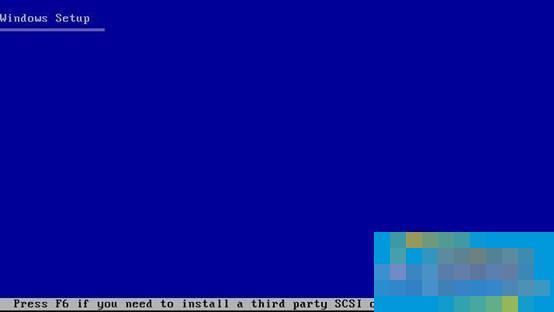

9. Hard drive recognized
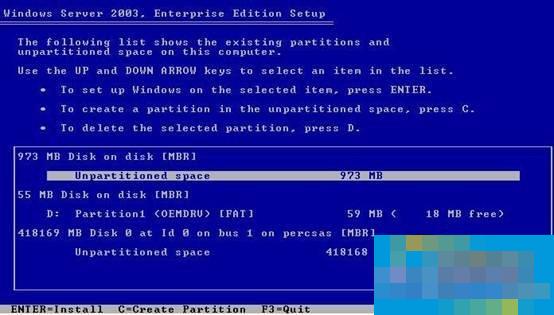
It is possible that drive letter C will be occupied by a temporary flash drive. Follow the steps below:
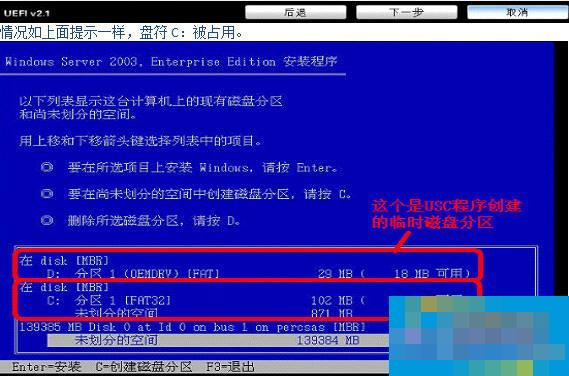
Create a new partition on the local boot hard disk, and the drive letter is automatically assigned to F or other drive letters:

Delete the newly created partition F: and see that the drive letter C: is released.
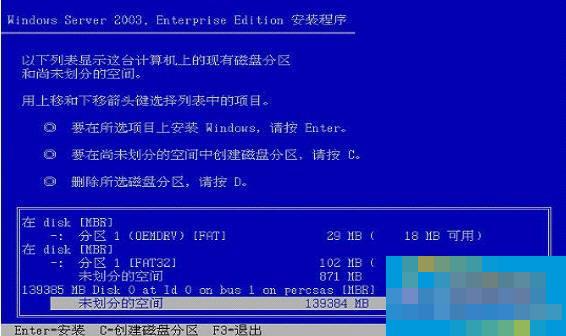
10. Create a new partition on the local boot hard disk and the drive letter C: will be automatically assigned.
If the drive letter C still cannot be released after doing this, create an F: drive, then do not format it, force restart, and re-self-test and assign the drive letter, and the drive letter will be assigned normally.
If forced restarting does not solve the problem, the only option is to initialize the virtual disk. (Note: All data is lost and cannot be recovered. Only for new machines. The previous installation did not complete or exit normally. For machines in use, if there is data, please contact the engineer)
10. Move the cursor to the unassigned partition and press C to create a partition: (The default is all capacity, it needs to be changed manually. It is recommended that the C drive is 20G)
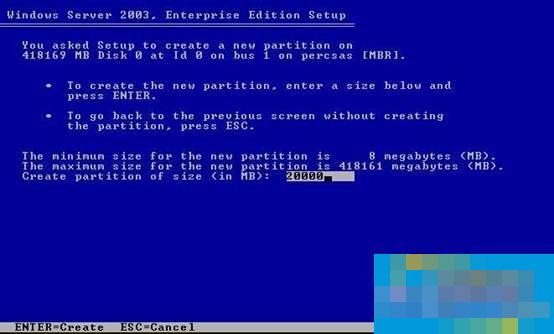

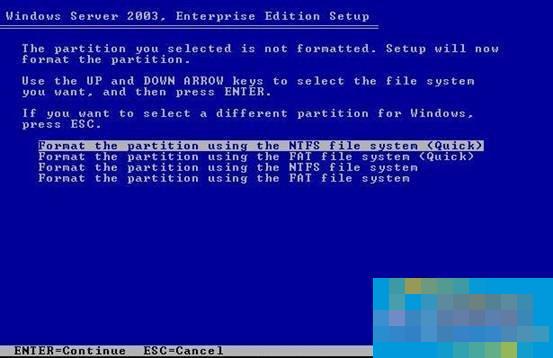
11. Move the cursor to the C drive and press Enter to install, and select NTFS quick format:
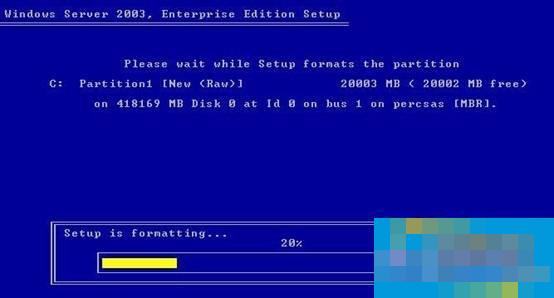
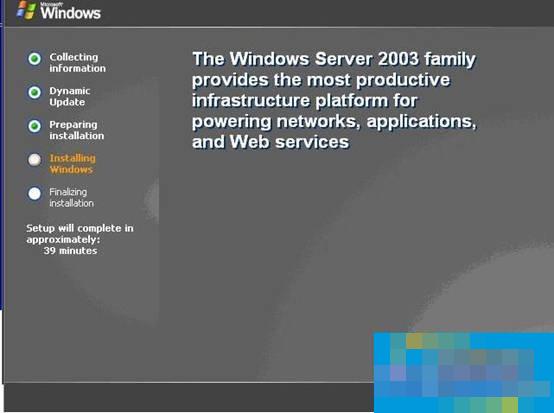
12. After the file copy is completed and the system is restarted:
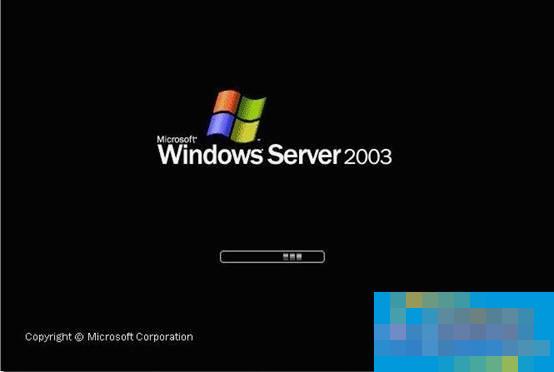
13. At this point, the 2003 installation is completed.
.


