In daily office work, many files need to be exchanged; however, transferring with removable devices is a bit troublesome, and the efficiency is not higher than network transfer, so you will think of sharing files on the network. By setting up shared folders, resources can be fully utilized, which is especially necessary for users in the same LAN. So how to share folders in WinXP? Now let me tell you how to share folders!
The specific steps are as follows:
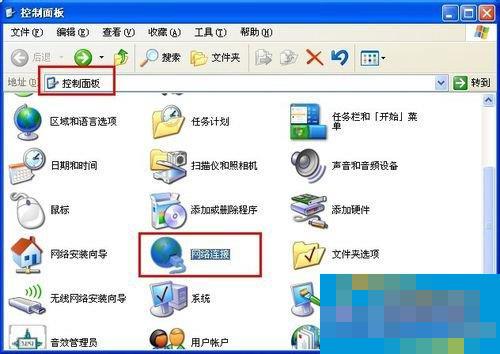
1. Open the "Control Panel" and double-click the "Network Connection" icon.
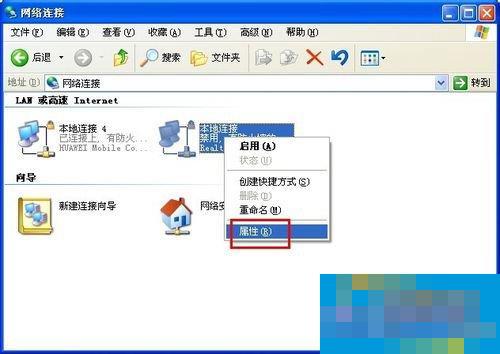
2. In the window that opens, right-click "Local Area Connection" and select the "Properties" item in the pop-up window.
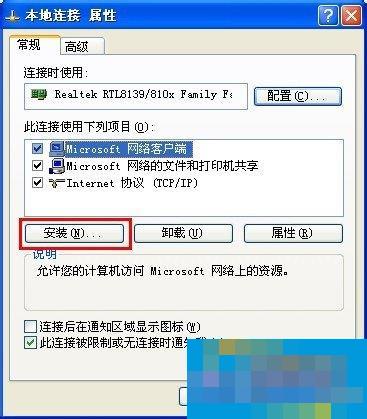
3. In the "Local Area Connection Properties" window that opens, click the "Install" button, then select "Protocol" and click the "Install" button.
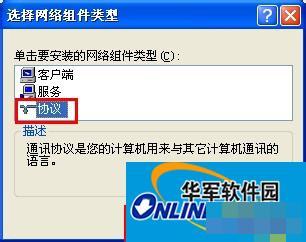
4. In the "Add Network Protocol" window that opens, select "IPX/SPX Protocol" and click "OK" to complete the addition of the protocol.
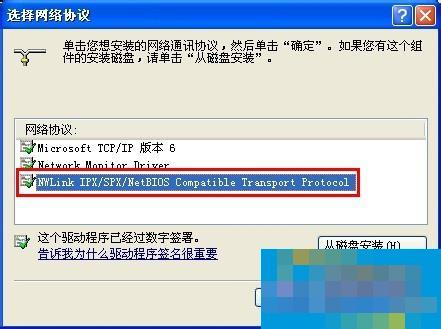
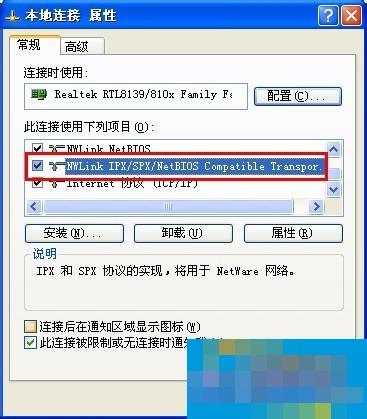
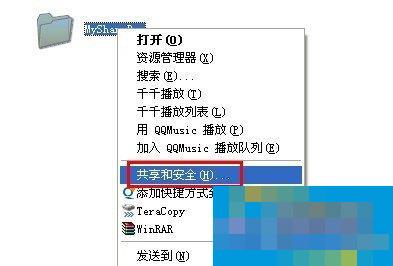
5. Then find the folder you want to share, right-click, and select the "Sharing and Security" tab from the pop-up menu.
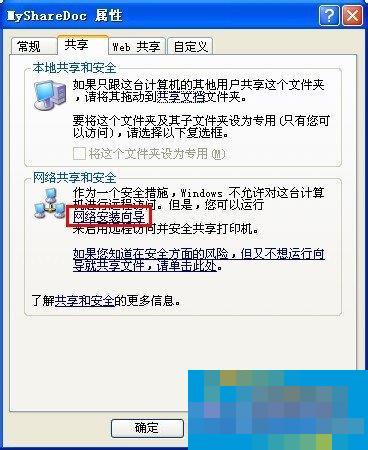
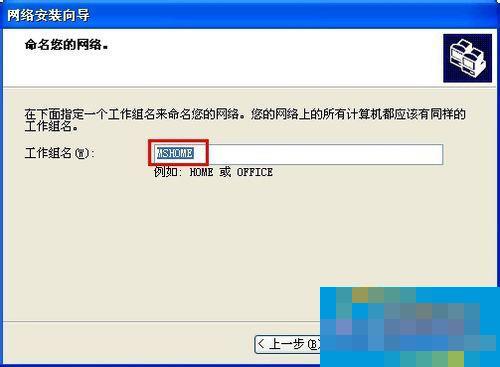
6. In the "Properties" window that opens, click "Network Installation Wizard", and then click "Next" directly to complete the network configuration process. A special note here is that the workgroup name must be set the same and the "File and Printer Sharing" option must be enabled.
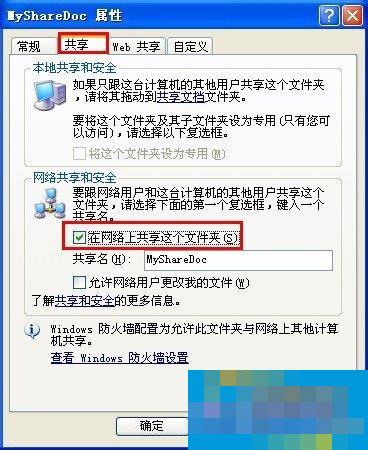
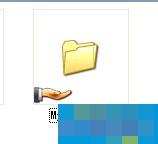
7. After the settings are completed, check "Share this folder on the network" in the "Properties" window and click "OK" to complete. At this time, you will find a hand shape on the folder, indicating that the sharing is successful.
The method of sharing folders in WinXP is introduced in detail here; if you still don’t know how to share folders, you can set it up through the above method. After setting it up, you can share the folder. Users in need can also try it.