Function introduction
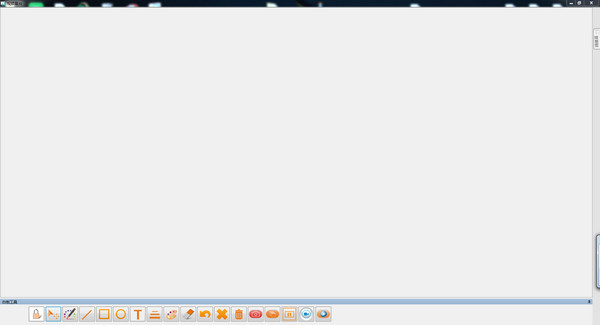
1. The middle of the software is the video display area. This is to check whether the Dingyi video booth is expanded. Place the book you want to display or scan under the lens preview area.
2. Can be used as a scanner. Before class, just scan the content in the textbook and make it into courseware. Lectures can also be recorded as needed.
3. When using the Dingyi video booth, it is best to place the positioning mat under the Dingyi video booth first. When the color of the book and the lecture are the same, it avoids visual interference and better highlights the objects that need to be displayed.
4. A shortcut key icon will be automatically generated on the computer desktop. Double-click the icon to open the software. Each icon toolbar in the software interface has a corresponding text explanation when you place the mouse on the icon, making it easy to operate.

How to use
The base on the back of the Dingyi video booth has a USB interface. You only need to connect the USB cable to the USB interface of the computer and the interface of the Dingyi video booth according to the size of the interface.
When the Dingyi video booth is connected to a computer, the VGA interface of the computer needs to be connected to the projector, and the other USB interface of the computer needs to be connected to the electronic whiteboard. In this way, a physical display on the big screen appears. If the school uses a touch all-in-one machine, then you only need to connect the Dingyi video booth directly to the USB interface of any touch all-in-one machine to use it. Dingyi physical exhibition stand can display various suitable pictures, information, documents, books, physical objects and other objects. If the light is dark, you can turn on the LED light switch on the head of the Dingyi video booth, and the brightness will be comparable to that of a desk lamp.


Useful
Useful
Useful