Microsoft has launched the April optional update patch KB5055629 for Win11 23H2 users. The internal version number has been raised to 22631.5262. The start menu integrates Phone Link, file manager view optimization, lock screen widget support, and fixes USB compatibility and Xbox controller faults to improve system security and user experience. Users are recommended to upgrade. The system is optimized using Microsoft's latest official Windows 11 23H2 22631.5262 Professional Edition, which is safe and non-toxic and integrates basic network cards, motherboards, and sound card drivers. If you want to know how to install Windows 11 23H2 22631.5262, please read on.
1. Upgrade through Windows Update (applicable to devices that meet hardware requirements)
Operation steps
Enter system settings, click "Update & Security", and select "Check for updates" in "Windows Update".
If you detect the prompt "This computer can run Windows 11", just download and install it directly.
Things to note
This method requires that the device hardware fully meets the minimum requirements of Windows 11 (such as TPM 2.0, secure boot, etc.).
If the hardware does not meet the standards, the system will prompt you with specific reasons and compatibility issues need to be resolved first.
2. Use the USB disk to start a new installation (recommended for most users)
Preparation tools
Download the ISO image file of Windows 11 23H2 and prepare a USB flash drive with a capacity of more than 8GB.
Use Rufus, UltraISO and other tools to write the ISO file to the USB flash drive and make it into a bootable disk.
Installation steps
Insert the USB flash drive into the target computer, restart and enter the BIOS settings, and adjust the startup sequence to boot from the USB flash drive.
After starting, enter the installation interface, select the language and keyboard layout, and click "Install Now".
Select "Custom: Install Windows only (Advanced)" and format the system partition (C drive) to clear data.
If the hardware does not meet the requirements of TPM 2.0, you need to bypass the verification by modifying the registry:
Press Shift+F10 on the installation interface to open the command prompt, enter regedit to enter the registry.
Navigate to HKEY_LOCAL_MACHINESYSTEMSetup and create a new item LabConfig.
Create two new DWORD (32-bit) values under LabConfig:
BypassTPMCheck, the value data is set to 1.
BypassSecureBootCheck, the value data is set to 1.
Close the registry and return to the installation interface to continue the installation.
3. Alternatives to bypass hardware restrictions (applicable to older devices)
Method 1: Replace the installation file
Download the ISO image files of Windows 11 and Windows 10, unzip and find the sources folder.
Copy the install.wim file of Windows 10 and overwrite the file with the same name in Windows 11 to bypass TPM detection.
Method 2: Use third-party tools
With the help of tools such as AOMEI Backup, you can install Windows 11 by restoring the system backup image file, which can automatically skip the hardware restrictions.
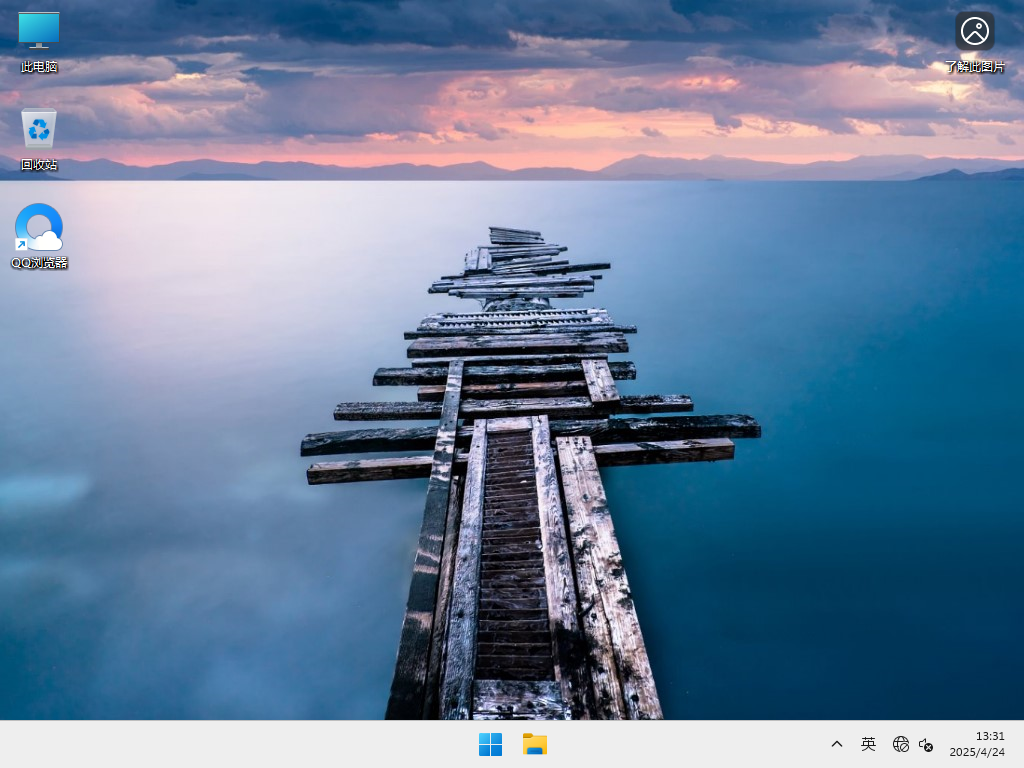
4. Configuration and activation after installation
Initial settings
After the installation is complete, follow the prompts to select language, keyboard layout, network connection, etc.
System activation
Make sure to use legal activation methods, which can be done through a digital license or entering a product key.
Updates and drivers
Check and install all available updates immediately after installation to ensure system security and stability.
Install or update drivers according to hardware models to optimize system performance.
The above is a video related to Windows 11 system installation. I hope it will be helpful to you!
![[Enhanced Game Performance] Windows 10 64-bit Game Customized Optimized Version](http://softwaredownload4.com/sbdm/img/download/202506/111830-6847a4062a0a8.jpg)
