Game-specific Ghost Win11 64-bit extremely fast optimized version V2022.06 is a game-specific Win11 system image file brought by the editor. This system is built using the latest master disk, and has been targeted and optimized to ensure stable operation. Users can better use various powerful new features, which can bring users a more comfortable experience! Friends who want to know how to install the game-specific Ghost Win11 64-bit speed optimized version, please read on!
Method 1: Hard disk installation (suitable for novices without USB disk/CD)
Unzip the image file
Extract the downloaded ISO image file to the root directory of a non-system drive (such as D drive) to avoid occupying C drive space or causing decompression failure.
Run the installer
In the unzipped folder, right-click and select "One-click installation system (recommended).exe" to run as administrator. This program automatically identifies the system partition and performs the installation.
One-click reinstallation
Click "Reinstall Now" on the installation interface, and the system will automatically complete the installation without manual operation. This process will format the C drive, so data needs to be backed up in advance.
Restart the system
After the installation is completed, the system automatically restarts and enters the new Win11 interface. The first startup requires completing basic settings (such as account creation, network connection, etc.).
Method 2: USB disk installation (suitable for experienced users)
Make a USB boot disk
Download the U disk boot disk creation tool (such as Fat Claw Installation Master), insert the U disk and create a boot disk with one click. This process will format the USB flash drive, so data needs to be backed up in advance.
Copy system files
Copy the decompressed system files to the root directory of the USB flash drive and make sure there are no Chinese or special characters in the file path to avoid startup failure.
Set BIOS startup items
Restart the computer, enter the BIOS settings (usually press F2, F12 or Delete key), and set the USB disk as the first startup item. Different brands of motherboards may have different settings, so please refer to the motherboard manual.
Enter the PE environment
After startup, enter the PE system, run "PE One-click Installation" on the desktop, and select the system image for installation. After the installation is complete, restart the computer and remove the USB flash drive.
Method three: Online reinstallation (suitable for users who do not have a USB disk/CD and have a stable network)
Download the installation tool
Download the extremely fast online installation master software (only over 10M in size) to ensure a stable network connection and avoid download interruptions.
One-click reinstallation
Open the software, select Win11 64-bit system, and click "Reinstall Now". The software will automatically download and install without manual intervention during the process. This method takes a long time, so it is recommended to avoid operating during peak power consumption periods.
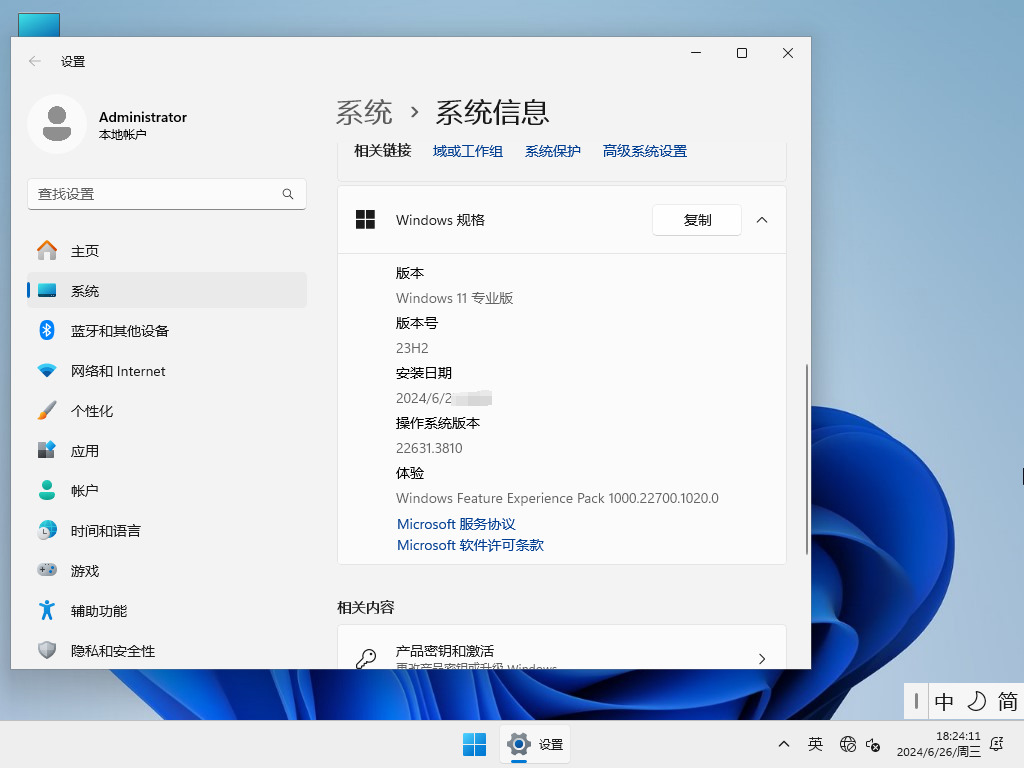
Post-installation settings
Activate the system
The system may have integrated activation tools, which will be activated automatically after installation is complete. If it is not activated, you can manually run the activation tool or contact the image provider to obtain the key.
Update driver
Use the system's own driver management tool or third-party driver software (such as Driver Wizard) to update the hardware driver to ensure maximum hardware performance.
Personalized settings
Adjust system theme, resolution, virtual memory and other settings according to needs. It is recommended to turn on game mode to optimize system resource allocation.
Install games and software
Install common game platforms (such as Steam, Epic Games) and necessary software (such as DirectX, Visual C++ runtime library) to ensure game compatibility.
![[Enhanced Game Performance] Windows 10 64-bit Game Customized Optimized Version](http://softwaredownload4.com/sbdm/img/download/202506/111830-6847a4062a0a8.jpg)
