-
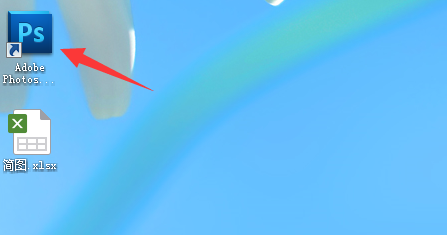
Open your computer desktop and click【Adobe Photoshop CS5】icon.
-
Press the Crtl+o shortcut key combination to pop up the [Open] dialog box, select the material picture in My Pictures and click [Open].
-
Click in the toolbox[Magnetic Lasso] Press the left mouse button and drag along the edge of the apple.
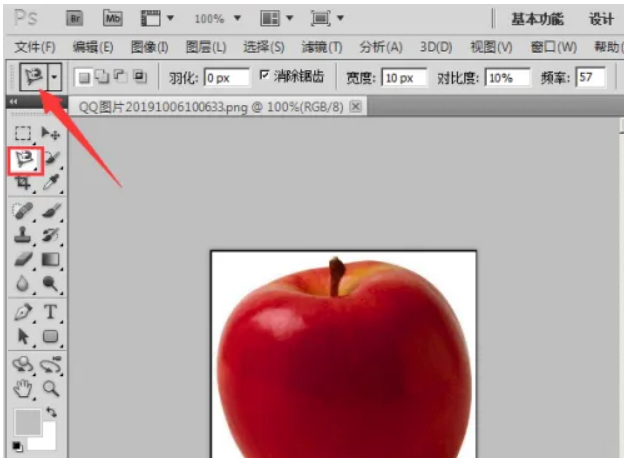
4. Press the OK key on the keyboard to enter the selection.
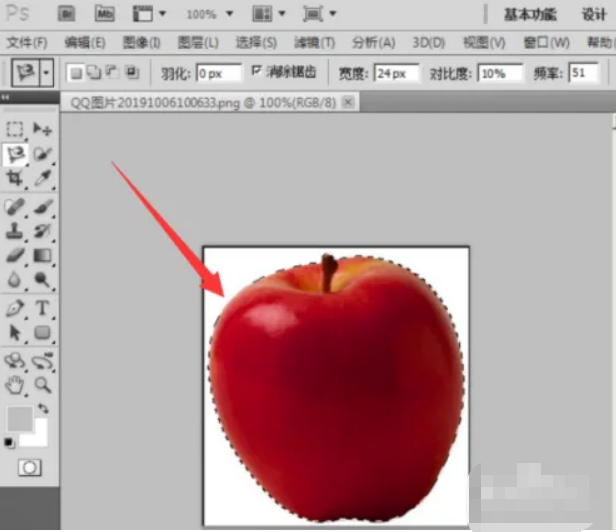
5. Right-click the mouse and select from the drop-down list[By cutting layers].

6. Click Hide background in the Layers panel to display the cut out apple layer.

Photoshopcs5 ID photo editing steps:
1. Open the material document
[Open] PS software, [Open] material document.
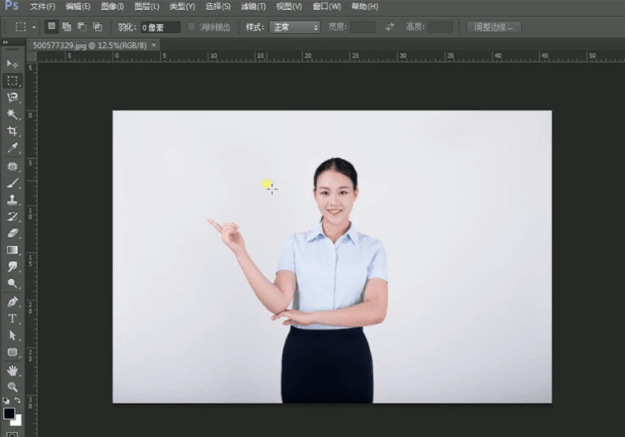
2. Use the cropping tool to recompose the image, drag out the reference line, select the head with the rectangular selection tool, and click Filter-Liquify
[Copy] layer and use [Crop Tool] to recompose the picture. [Drag] the reference line to the appropriate position, use the [Rectangular Selection Tool] to select the head area, and click [Filter]-[Liquify] to adjust the details of the character's body.
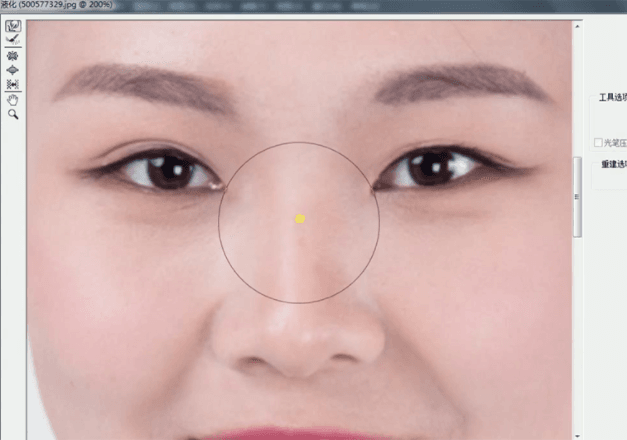
3. Stamp layer, filter-liquify
Press [Ctrl+Alt+Shift+E] to stamp the layer, right-click [Flip Horizontal]. Click [Filter]-[Liquify] to adjust the details of the character's body.
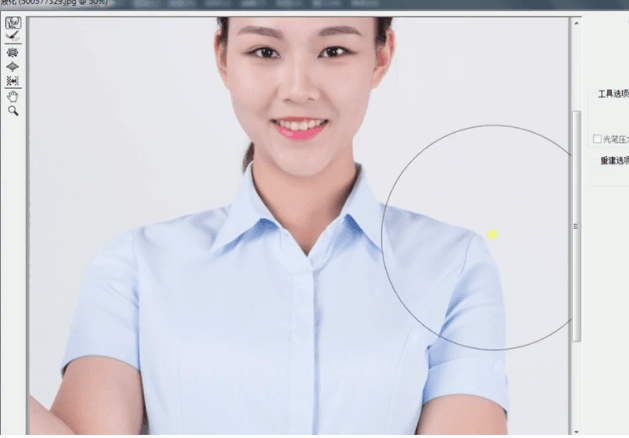
4. Use the Liquify tool to adjust the symmetry of the character, stamp the layer, and use the Crop tool to recompose the image.
Use the same method, according to the structure of the character, [Copy] the layer, use the [Liquify Tool] to adjust the symmetry of the character, press [Ctrl+Alt+Shift+E] to stamp the layer, and use the [Crop Tool] to recompose the picture.
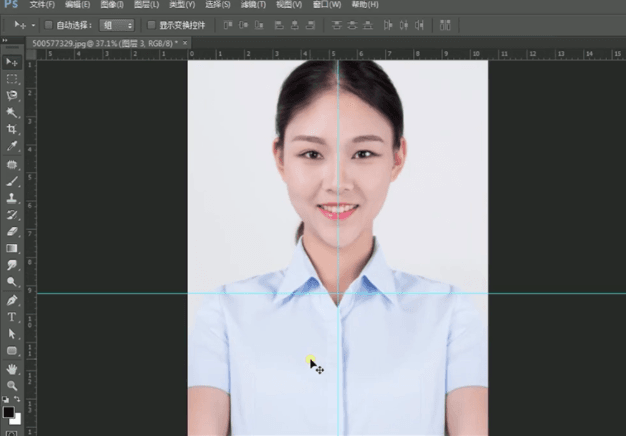
5. Use the imitation stamp tool to repair image defects and the brush tool to smudge details.
Use the [Clone Stamp Tool] to repair the details of the screen defects, [Copy] the layer, and use the [Liquify Tool] to repair the details of the character's body. Press the Alt key to add a [Layer Mask], right-click [Flip Horizontal], and use the [Brush Tool] to paint the details.
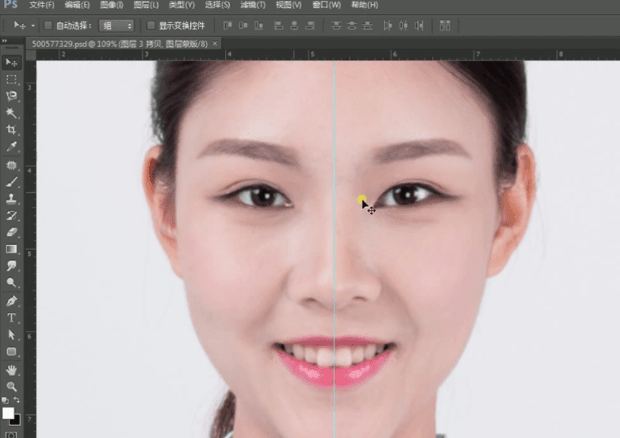
6. Stamp the layer and use the repair brush tool to repair image defects.
Press [Ctrl+Alt+Shift+E] to stamp the layer, use the [Healing Brush Tool] to repair the details of the screen defects, and use the [Liquify Tool] again to adjust the details of the character's body.
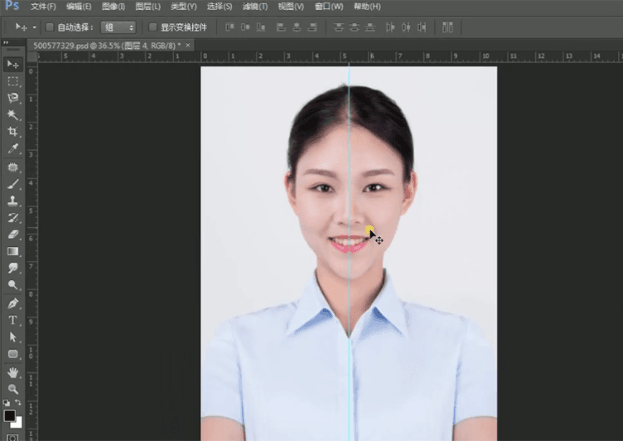
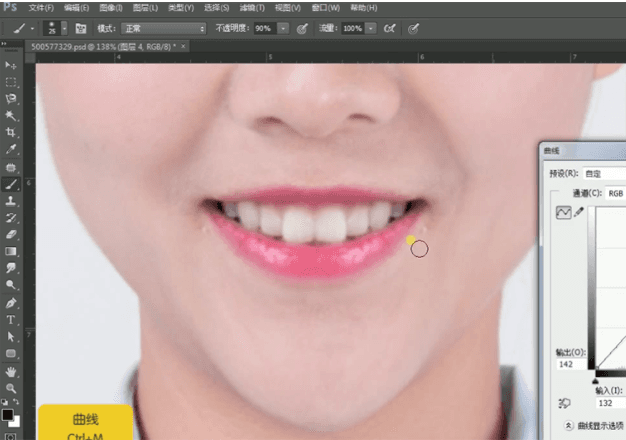
7. Use the quick mask tool to select the tooth area and open the curve window.
Use the [Quick Mask Tool] to select the tooth area and press [Ctrl+M] to open the curve window. The specific parameters are as shown in the figure.
8. Use the magic wand tool to select the facial area of the character and feather it.
Use the [Magic Wand Tool] to select the facial area of the character, [Feather] 22PX, and press [Ctrl+M] to open the curve window. The specific parameters are as shown in the figure.

9. Duplicate the layer and use the repair brush tool to repair the face.
[Duplicate] layer, use [Healing Brush Tool] to repair facial blemish details, click [Filter] - [Skin Resurfacing Plug-in], the specific parameters are as shown in the figure.
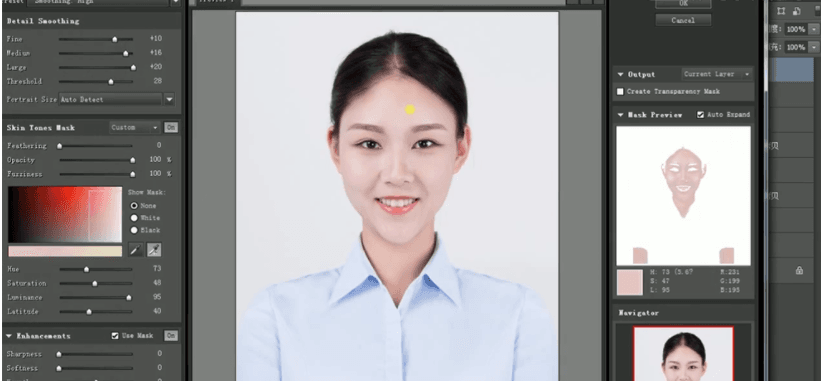
10. Add a layer mask and paint the details with the brush tool
Press the Alt key to add a [Layer Mask] and use the [Brush Tool] to paint the details. Press [Ctrl+Alt+Shift+E] to stamp the layer, use the [Quick Mask Tool] to select the neck area, press [Ctrl+U] to turn on the hue and saturation, and select [Red]. The specific parameters are as shown.
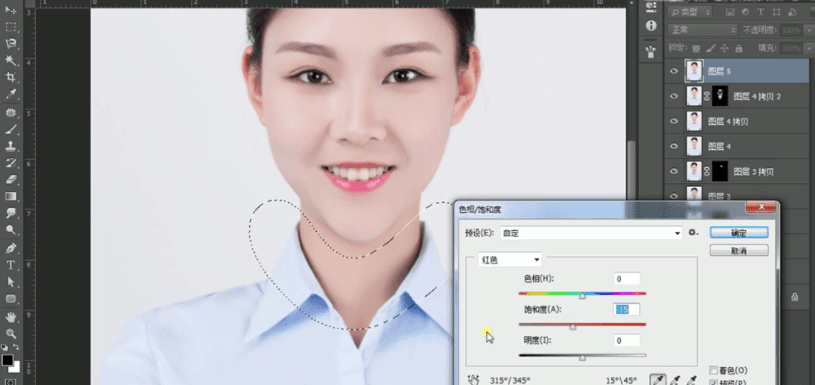
11. Stamp the layer, select the background area, and use the Clone Stamp tool to repair the edges.
Press [Ctrl+Alt+Shift+E] to stamp the layer, use the [Magic Wand Tool] to select the background area, [Feather] 1PX, [New] layer, [Fill] white. [Zoom in] the screen and use the [Clone Stamp Tool] to repair the edge details.
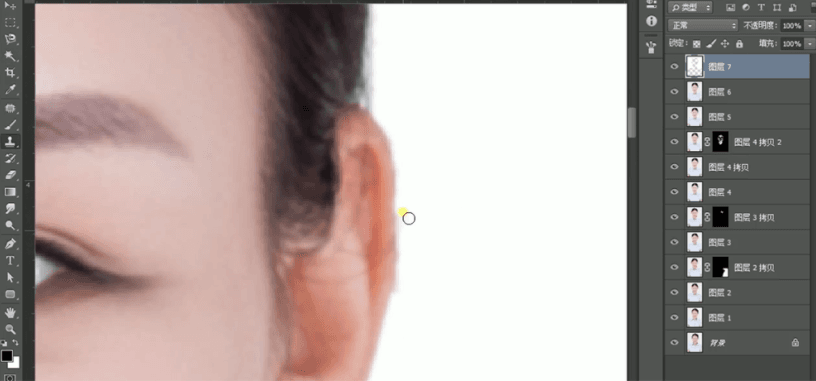
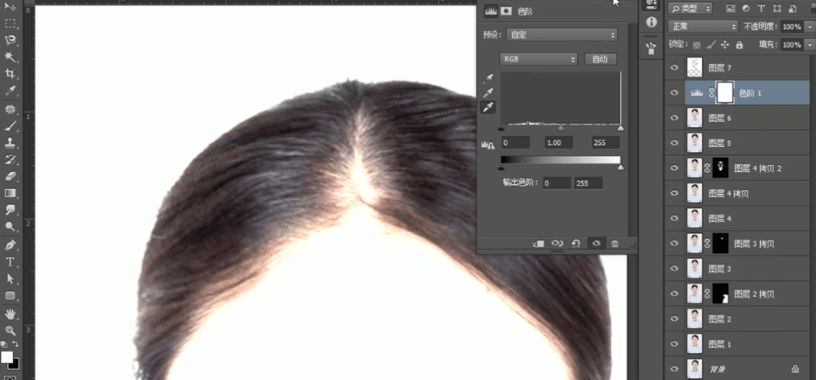
12. Stamp the layer, create a new color scale layer, and use the eyedropper tool to absorb the background color.
[Select] the stamp layer, press [Ctrl+L] to create a new color level layer, and use the [Eyedropper Tool] to absorb the background color. The specific parameters are as shown in the figure.
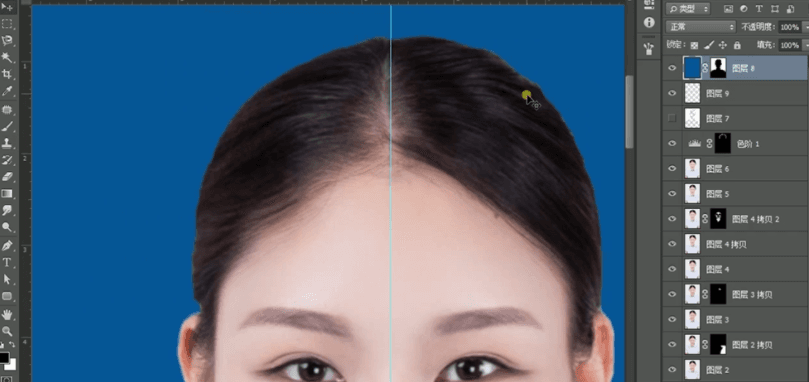
13. Adjust the character mask edge ratio details
Press [Ctrl+I] to invert the mask, and use the [Brush Tool] to paint the details. [Drag] the blue background layer and adjust it to the size of the canvas. Press Ctrl and click the white fill layer [Load Selection], press [Ctrl+Shift+I] to invert the selection, and add a [Layer Mask]. Use the [Brush Tool] to adjust the character mask edge details using the same method.
14. Stamp the layer and click Filter-Liquify
Press [Ctrl+Alt+Shift+E] to stamp the layer, and click [Filter]-[Liquify] to adjust the overall details of the picture. [New] Brightness and contrast layer, the specific parameters are as shown in the figure.
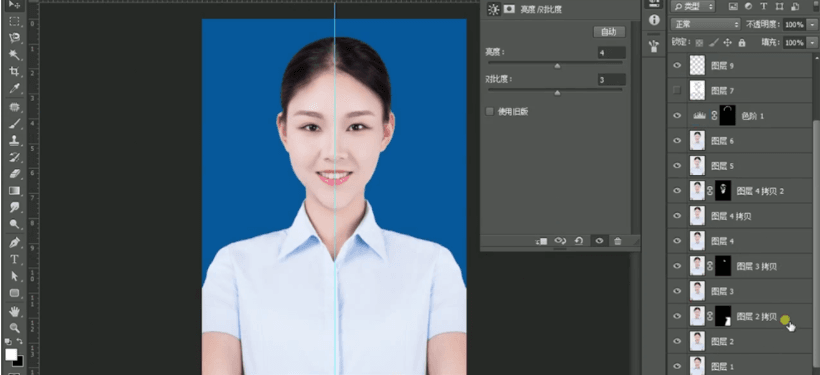
15. Final effect
The final effect is as shown in the figure.

The above is the operation process of using PS software. I hope this tutorial is useful to you.
