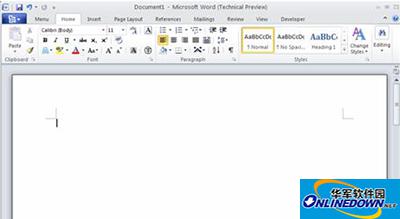
Tip 1: Capture the current window
We know that since Windows Vista, the system has built-in a component called "Screenshot Tool", which can partially replace third-party screenshot tools. However, now we can directly complete the screenshot operation in Office 2010, which can be said to be more convenient.
Switch to the "Insert" tab of Word2010 or Excel2010, we can find a button named "Screenshot" in the "Illustrations" function group, which supports multiple screenshot modes. Click the "Screenshot" button, we can find the screenshot of the currently open window here, and click to select to insert the current document.

Word 2010 screenshot
If you select "ScreenClipping", you will find that the mouse cursor has changed into a thin cross when you return to the desktop. Press the left mouse button to capture the corresponding screen. Release the mouse to return to the document window. The screen just captured will automatically enter the current document.
If you are in the PowerPoint 2010 presentation window, switch to the "Insert" tab, and the position of the "Screenshot" button is moved to the "Images" function group, where we can also quickly insert a thumbnail of the current window or capture the window.
Tip 2: Cut out the picture and remove the background from the picture
For pictures that have been inserted into Word documents, we can easily remove the background from the picture, so we don’t need to use the huge photoshop. What’s even better is that we can also add or remove watermarks.
Select the picture and switch to the "PictureTools" tab. You can find a button named "BackgroundRemoval" here. Click the "BackgroundRemoval" button and you can quickly cut out the picture you want. Isn't it amazing?


