Many friends are not familiar with the operation of making overhead views from PPT, and the editor below will explain the operation process of making overhead views from PPT. I hope it will be helpful to you.
Example description: Click Insert-Shape-Select Cube-Insert two cubes overlapping top and bottom.
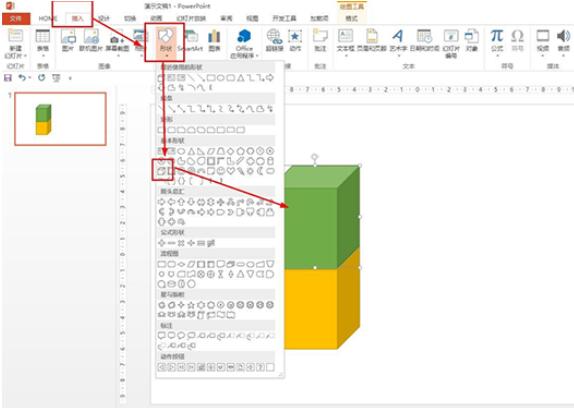
When looking down, you can see the top shape, but not the other shapes - click Insert - Shape - select any polygon and draw the top shape.

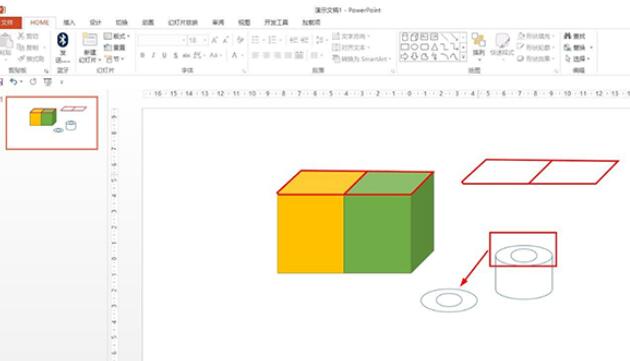
Another example is to place two cubes side by side, use any polygon to draw the outer outline of the upper side - and then use a straight line to draw the middle intersection, you will get a figure of two rectangles put together.

As shown in the picture, it is a hollow cylinder. When you look down, you can only see a ring composed of a large circle and a small circle, so drawing a ring is its top view.
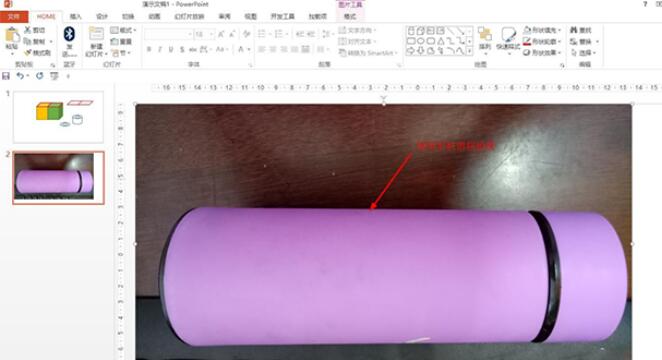
In order to enhance the understanding of the top view in daily life, first use the mobile phone to take a photo looking down, as shown in the picture, use the mobile phone to take a cylindrical cup and place it upside down on the table to understand the top view.
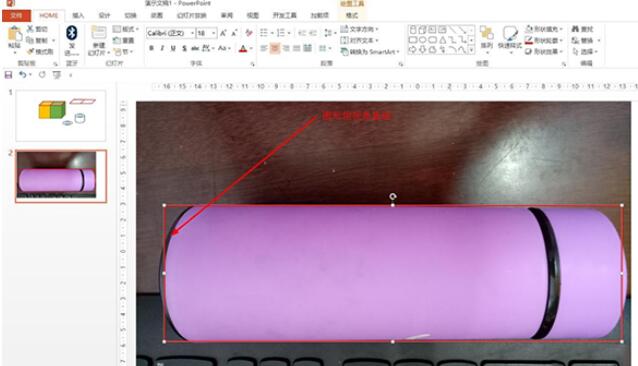
Note that the ring of the cylinder in the top view is a straight line, so the sleeping cylindrical cup is a rectangle in the top view.
The above article explains the operation process of making a top view of PPT. I hope friends in need can learn it.