Many people don’t know how to configure the Java operating environment in win7 system? The article brought to you today is about the method of configuring the Java operating environment in win7 system. If you still don’t know, let’s learn it with the editor.
Step 1: First, right-click on "Computer" and click "Properties" to open the computer's system window. Then click "Advanced System Settings" on the left to open system properties (as shown in the picture).

Step 2: Then click the "Environment Variables" button under the system properties to configure the environment variables (as shown in the figure).

Step 3: First click the "New" button to create a new system variable. The new variable name is "JAVA_HOME" and the variable value is "G:Javajdk1.8.0_101". The variable value here is the installation path of my JDK. You can choose your own installation path (as shown in the picture).

Step 4: Click the "Edit" button to edit the system variable Path and add "%JAVA_HOME%bin;%JAVA_HOME%jrebin" at the front of the variable value (as shown in the figure).

Step 5: Click the "New" button to create a new CLASSPATH system variable. The variable value is ".;%JAVA_HOME%lib;%JAVA_HOME%lib dt.jar;%JAVA_HOME%libtools.jar" (as shown in the figure).

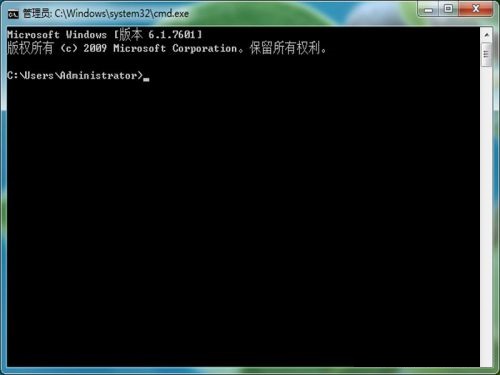
Step 6: The above setting of environment variables has been completed. Whether it is successful or not needs to be tested. Enter cmd during running to open the command window (as shown in the figure).

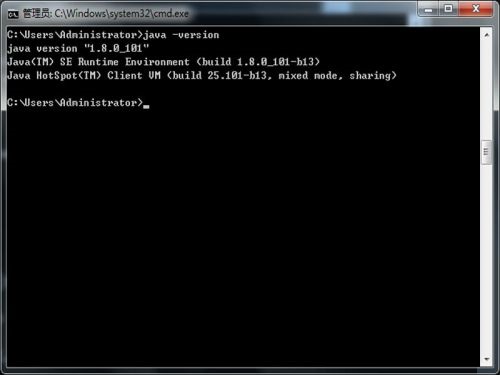
Step 7: In the command window, enter java, javac, java -version in order to test whether the environment variable setting is successful. If successful, the display effect is as follows.


The above is the entire content of how to configure the Java running environment in win7 system brought to you by the editor. I hope it can help you.


