Friends, do you know how to configure static routing in Cisco simulator? So today I will explain how to configure static routing in Cisco simulator. If you are interested, come and take a look with me. I hope it can help you.
Step 1: Open Cisco Packet Tracer and drag two routers and two PCs to the workspace (as shown in the picture).

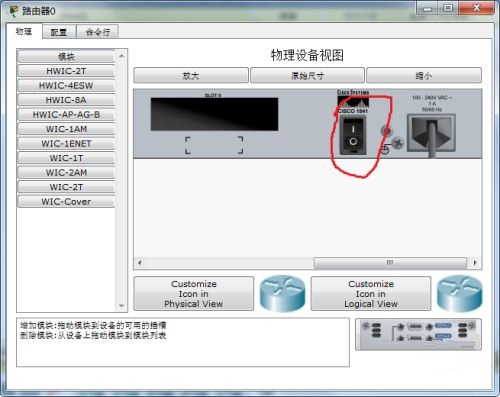
Step 2: Double-click Router 0, select the "Physical" tab, turn off the power of Router 0, drag two modules from the module area on the left to slot1 and slot0 of Router 0, and then turn on the power of Router 0 (the same goes for Router 1) (as shown in the figure).


Step 3: Connect the device. Select the cable below and select "Automatically select connection type" (as shown in the picture).

Step 4: Double-click Router 0, select "Command Line", and enter the configuration command (as shown in the figure).

Step 5: Double-click Router 1, select "Command Line", and enter the configuration command (as shown in the figure).

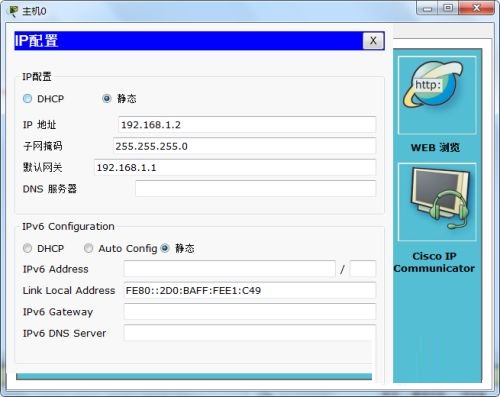
Step 6: Double-click PC0 and PC1, select "IP Configuration", enter the ip address, subnet mask and default gateway (as shown in the figure).


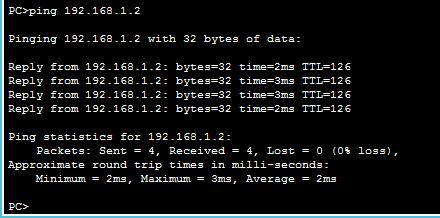
Step 7: Select the PC’s “Command Prompt” and use the ping command to check the connectivity of the two hosts (as shown in the figure).


The above is the entire content of how to configure static routing in the Cisco simulator brought to you by the editor. I hope it can help you.


