How does the network debugging assistant send data? Many users are asking this question? Let’s take a look at the tutorial on how the network debugging assistant sends data. Friends who need it can refer to it.
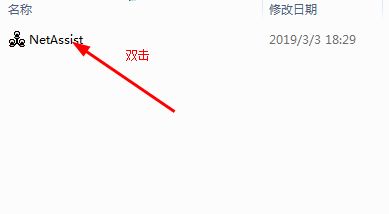
Double-click to open the downloaded green version of the network debugging assistant.
The software interface is shown in the figure below.
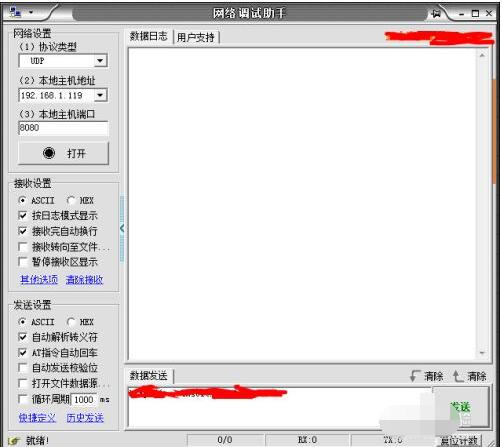
The network settings on the left are server-side configurations. You can choose whether the protocol type is UDP or TCP. UDP is fast but has low stability, TCP is slow but has high stability. The port number is the port number that the machine monitors as a server.
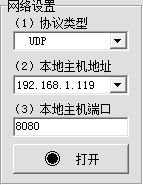
In the network configuration on the left, do not make any changes, that is, use UDP protocol and port 8080, click to open.
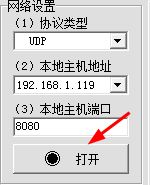
After clicking to open, you will find changes below. As shown in the figure below, with the IP and port number of the remote host, it is actually the server network configuration in the previous step.

In the content area below, write some data and click Send.

It can be found that there is new content in the data log. The first line is to send data, and the second line is to receive data, which means that some data has just been sent to the 8080 port of the local server through this machine, and the server has successfully received the data.
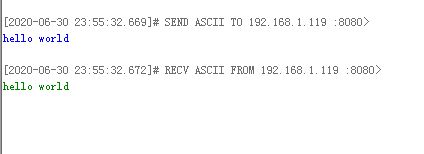
In order to view the messages more conveniently, only the received messages are viewed, and the data is sent to the above server through another computer in the LAN. The effect is as shown below. The data log only shows the received messages. This is how simple it is to use the Network Debugging Assistant.

The above is the tutorial on how to send data by the network debugging assistant brought by the editor. Thank you for reading and watching. I hope the content of this article can help everyone!
