Many friends say they don’t know how to use TransMac to create a mac installation disk, so now I will share with you how to use TransMac to create a mac installation disk. Friends in need can come and take a look. I hope it can help you.
First, insert the U disk into the computer, then open the TransMac software and find the U disk that appears on the left side of the window, as shown in the figure

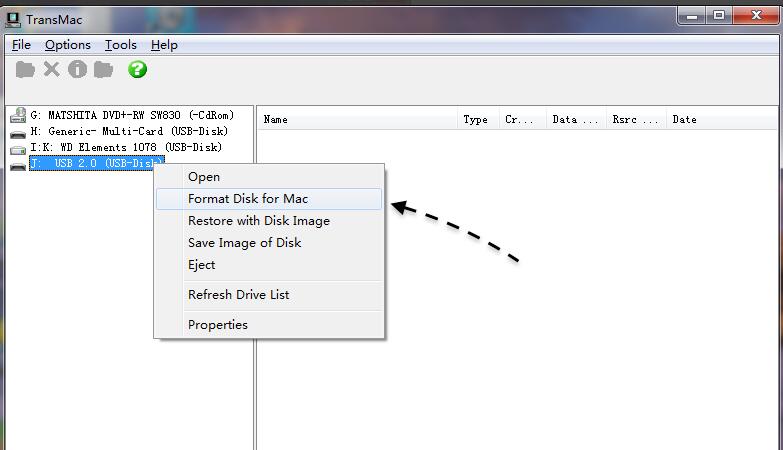
First we need to format the U disk into the disk format under the Mac system, select the U disk and right-click to select the "Format Disk for Mac" option, as shown in the figure
Next, you can give the USB flash drive a name, and then keep the default Mac OS Extended HFS+, as shown in the figure
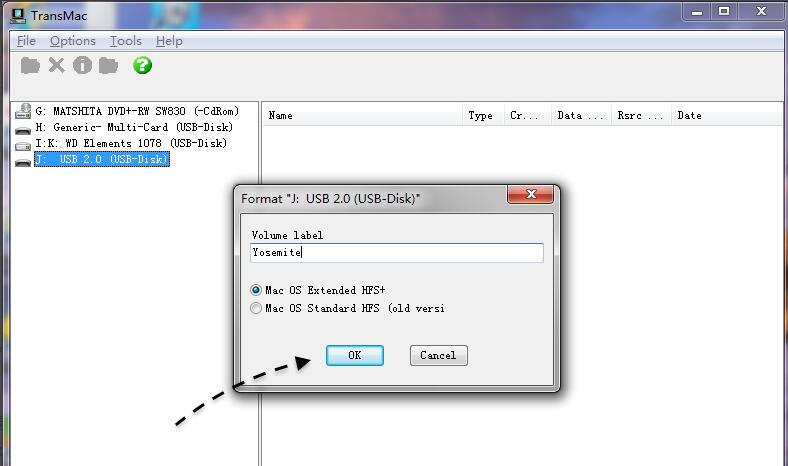
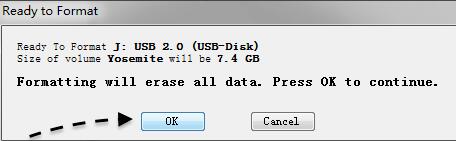
Then the software will prompt us whether we want to format this USB disk as a Mac disk format, click the OK button to continue.

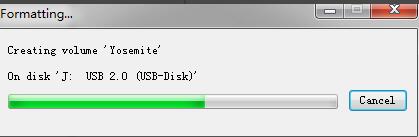
Then please wait for the software to format the USB disk into Mac disk format, as shown in the figure
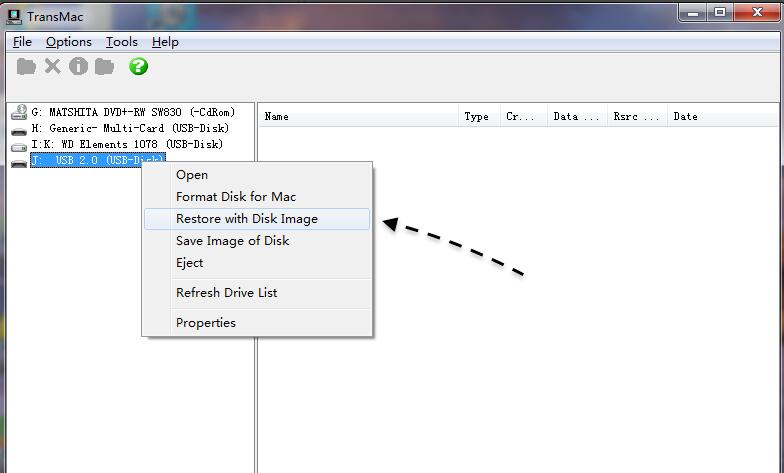
After the U disk is formatted, select the U disk and right-click to select the "Restore with Disk image" option, as shown in the figure
As shown in the picture below, I selected a Mac system image of Mac OS X 10.10.1 here.

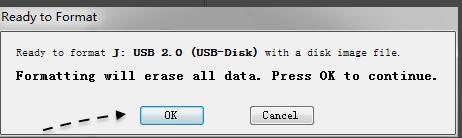
Similarly, the software will prompt us that the data on the USB flash drive will be cleared. Click the "Yes" button to continue.
Next, please wait slowly for the software to restore the Mac system image to the USB flash drive, as shown in the figure.

The above is the method shared by the editor to create a mac installation disk with TransMac. Friends who don’t know how to do it can learn it.