Do you want to get more familiar with Lightning computer recording software? In order to help novice friends quickly get started with this software, the editor today shared the operation process of recording computer sounds with Lightning Computer Recording Software. Friends in need may wish to take a look. I hope this tutorial can be helpful to everyone.
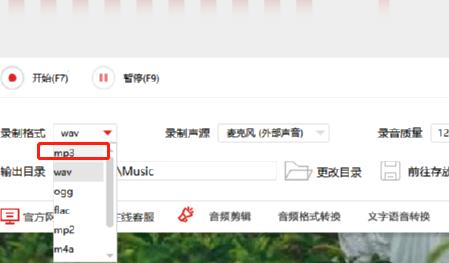
Open the Lightning computer recording software, set the recording format of the recording, click to open the drop-down option list, and select the format you want.
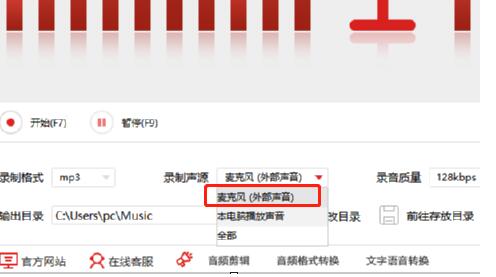
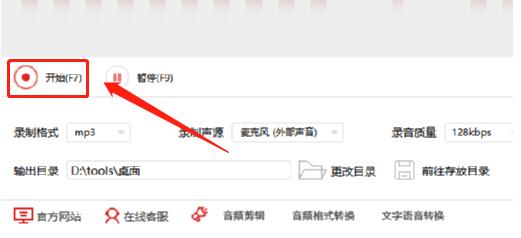
After setting the recording format, select the sound source to record, open the drop-down list and select the sound source you want to record.
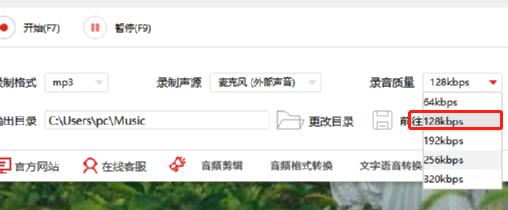
Select settings for recording quality, as shown in the figure. Click to open the drop-down list next to the recording quality option and select the sound quality you want.
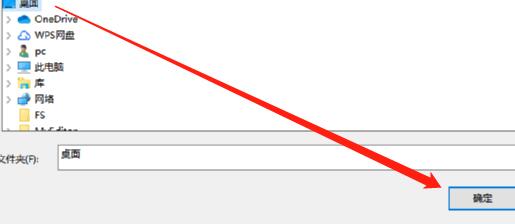
Set the output directory of the recording files to a folder you created based on your personal usage habits for easy search.
After the previous steps are set up, click the start button in the interface to start recording. You can also press the F7 key on the keyboard to control the recording function.
The above is the operation process of recording computer sounds with Lightning computer recording software that the editor tells you. Let’s learn it together. I believe it can help some new users.