In the process of drawing using Edraw flowchart making software, some people want to insert a pyramid diagram but do not understand the related operations. So today the author shared the operation process of inserting a pyramid diagram into the Edraw flowchart making software. I hope it can help everyone.
1. Open the Edraw flowchart creation software and enter its main interface;

2. Find the pyramid diagram in the basic drawing category and double-click the pyramid;

3. Find the pyramid diagram you need on the page that appears;
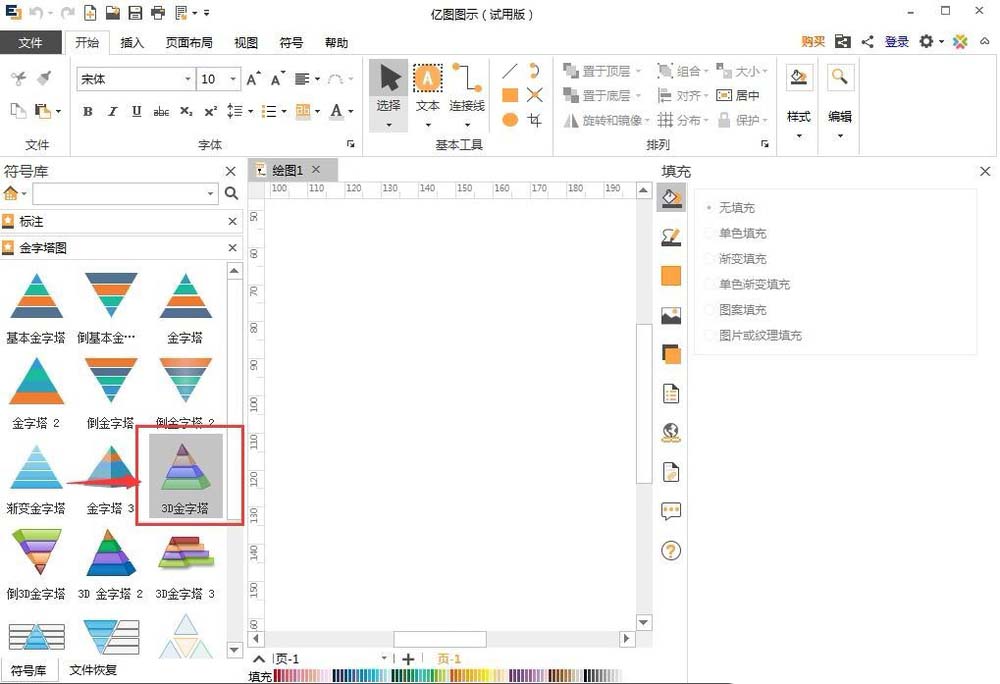
4. Drag it to the blank space on the right;
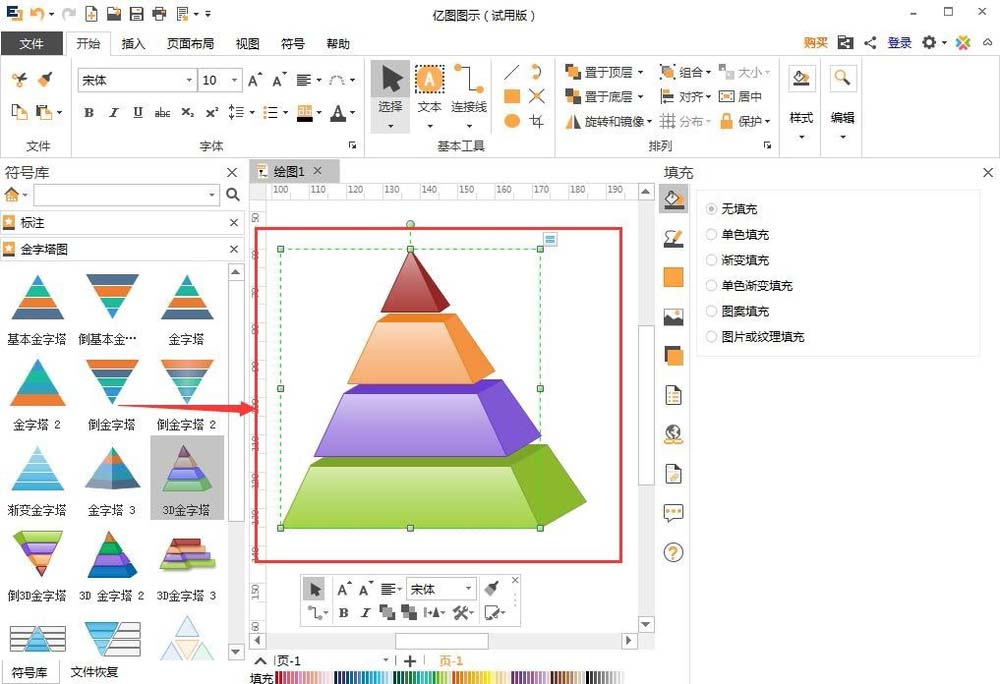
5. Hold down the left mouse button at the diagonal vertex and pull inward to make the pyramid smaller;
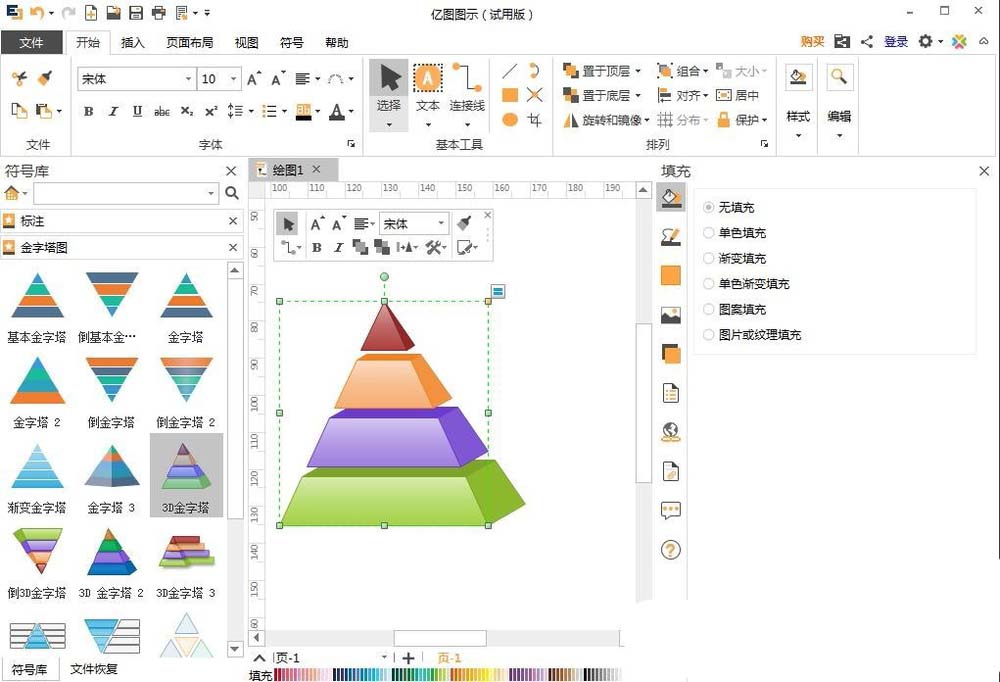
6. Click the button in the upper right corner to open the menu and click to set the number of layers;

7. Enter the required number of layers and press OK;

8. Use the same method to open the vertical spacing setting, enter the spacing number, and press OK;

9. After the settings are completed, a pyramid diagram is inserted into the Edraw flowchart creation software.

Come and learn the operation process of inserting a pyramid diagram into the Edraw flowchart making software in this article today. I believe you will be able to use it in the future.