Among the many computer brands, which one is worth buying? Among them, thinkpad computers are very good. Among them, thinkpadx220i is specially designed for business people. As soon as it was launched, it was purchased crazily by business people. What kind of charm does it have? Then I will give you a brief talk about the configuration of thinkpadx220i computer.
Lenovo thinkpadx220i computer configuration
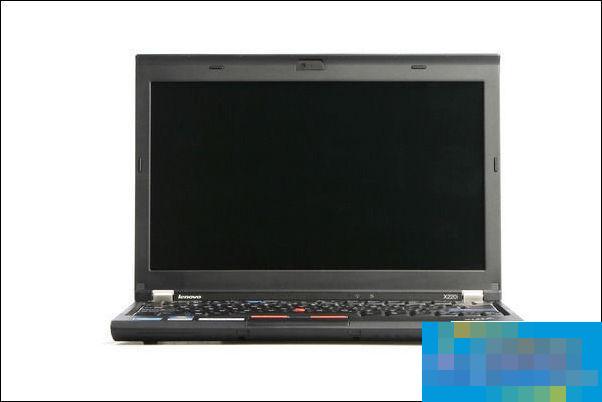
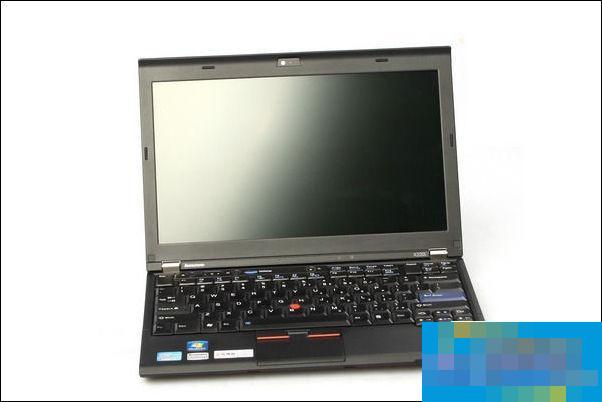
Everyone knows that a good computer must not only have very good after-sales service, but also the configuration of the computer is something that people are very concerned about. First, the thinkpadx220i computer uses a 12.5-inch high-definition screen with a resolution of 1366*768, and is equipped with thinkpad's unique sound system, so that everyone can experience the excitement brought by blockbusters.
Second, the thinkpadx220i computer is pre-installed with the Windows 7 Home Basic operating system and the Intel Celeron dual-core 847E processor, allowing everyone to use it very smoothly.
Third, the thinkpadx220i computer has a memory capacity of 2GB and a hard drive capacity of 250GB, and its maximum memory capacity can reach 8GB, so that everyone will not experience any lag while working.
Fourth, the thinkpadx220i computer uses the Intel GMA HD 3000 core graphics card, which can not only meet everyone's daily needs, but also meet everyone's gaming needs.
Lenovo thinkpadx220i computer disassembly
The first step is that everyone knows that the easiest thing to disassemble is the battery. You only need to turn the computer over and remove the battery bayonet to remove the battery.
In the second step, use a screwdriver to unscrew all the screws on the back of the computer to see the internal core of the computer.
The third step is to remove the hard drive. After unscrewing the screws that fix the hard drive, unplug the hard drive cable. At this time, the hard drive is removed.
In the fourth step, you will see a long thing which is the memory stick. The removal of the memory stick is the simplest. After you open its bayonet, you can gently pull out the memory stick.
The fifth step is to remove the keyboard and screen. The keyboard is stuck on and can be removed very easily. Be careful when removing the screen, and be careful about its wiring. That’s it for everyone.