In fact, most people don't know how much dirt the computer host has hidden and how much dust it has endured, standing quietly in the corner under the desk and serving you for many years. Because of air cooling and heat dissipation, the fan in the chassis and the hardware blown by the fan naturally become a place for dirt and evil.
Failure to clean the dust for a long time will not only affect the performance of the host, but as the weather slowly becomes hotter and more humid, excessive floc may also cause serious consequences such as short circuiting of components.
Essential tools for host cleaning
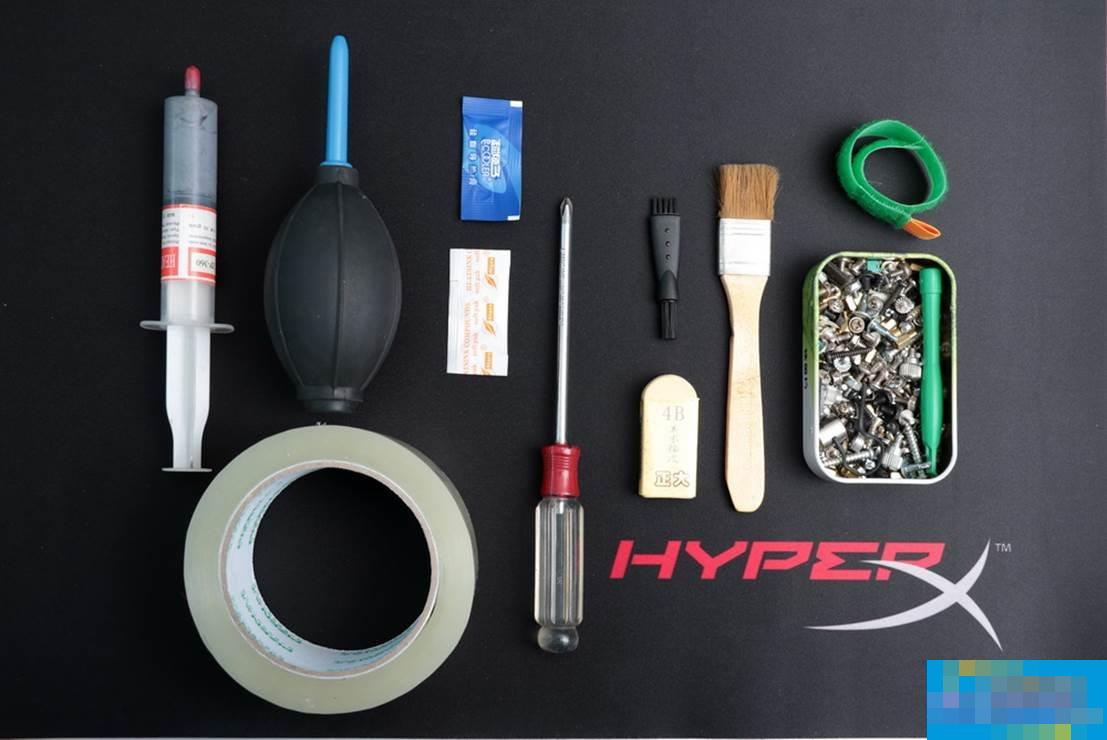
If a worker wants to do his job well, he must first sharpen his tools. Please prepare the tools in advance. In fact, for disassembling the machine, a Phillips screwdriver is enough. But for cleaning and assembly tools, you also need to prepare brushes, air blowers, rubber, tape and silicone grease. If possible, you can also prepare an oversized mouse pad, some spare screws and cable ties.
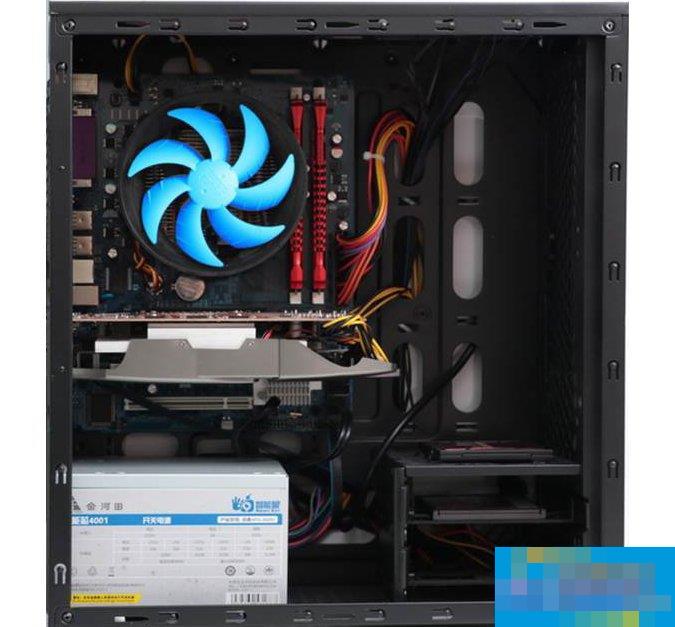
After taking off the shell, it’s all fine work
If you are not a user who often disassembles your phone, you can use your camera or mobile phone to take photos before disassembly, especially the location of key hardware interfaces, to prevent the "tragedy" of being unable to put the phone back together after disassembly. Or find the manual for the computer motherboard and mark the pages with the wiring diagram. In addition, before touching the hardware, you need to release static electricity from your body, just touch the cement floor or metal heating pipe.
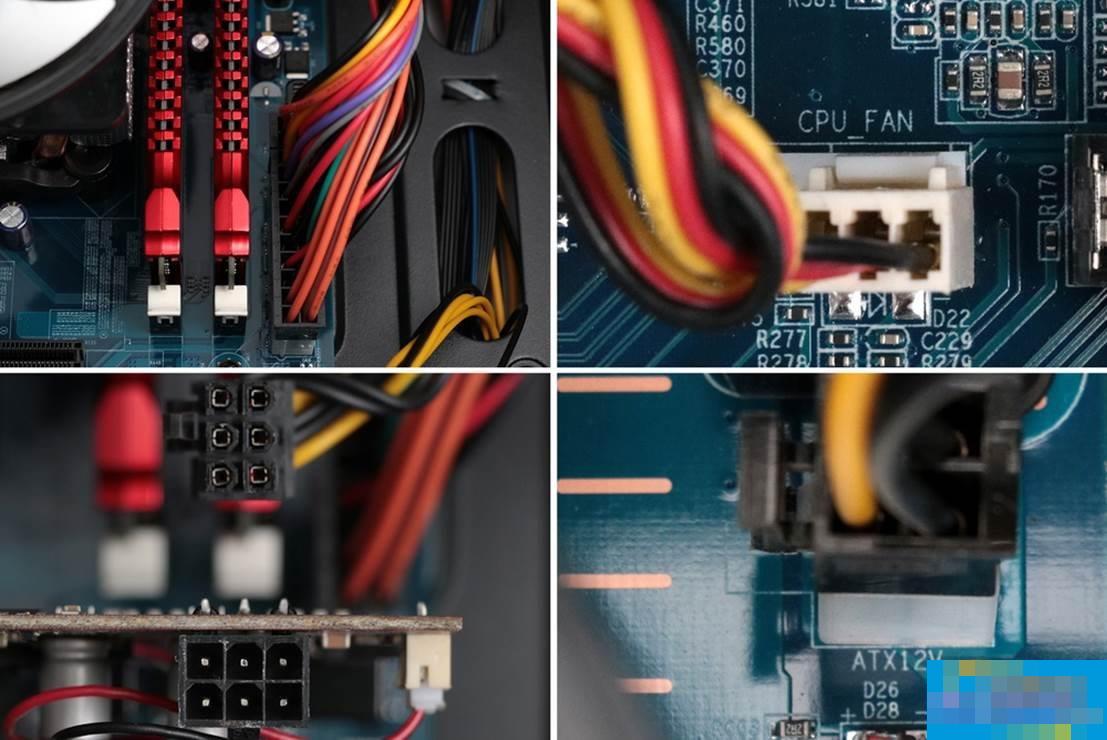
The above are all important interfaces. They are the 24Pin power supply of the motherboard, the CPU fan (the CPU fan must be plugged into the "CPUFAN" position, otherwise the motherboard may report an error when starting up), the 6Pin power supply of the graphics card (some are 8Pin), and the CPU 4Pin or 8Pin power supply.

These are all the (must have) accessories removed from the case. In order: graphics card, radiator, motherboard, CPU, SSD, SATA data cable, memory.
Be careful when washing, work slowly and carefully.
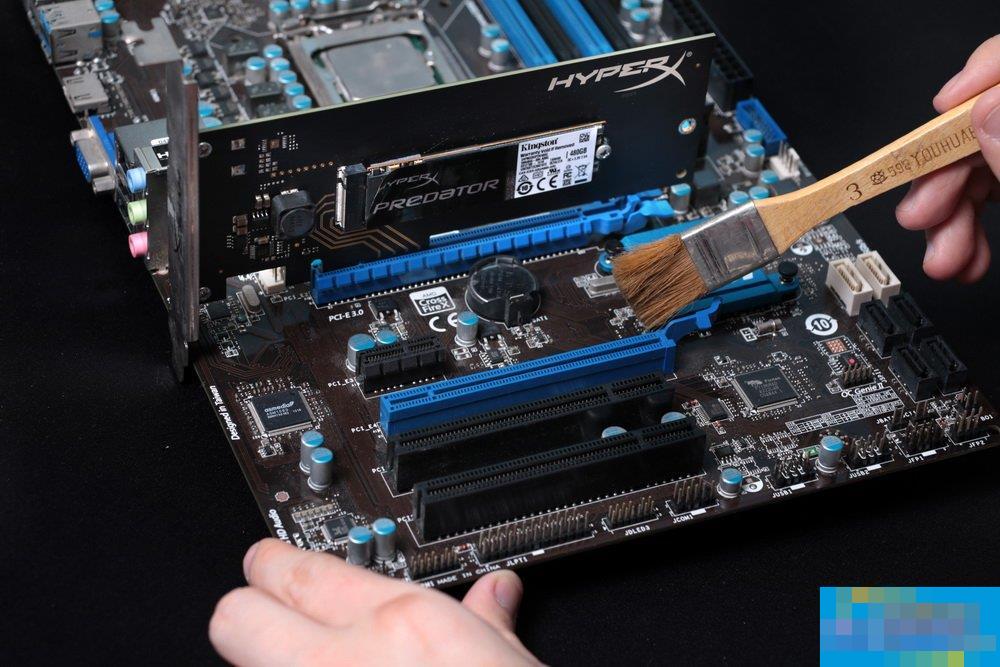
The easiest way to clean the motherboard is to blow it with a strong wind hair dryer. If you don't have the conditions, you can also use a brush to clean each slot, and blow it with an air blower while brushing. The slot is the easiest place for dust to enter. Many people do not clean the inside of the slot when cleaning the dust. As a result, the computer cannot be turned on after reinstalling the hardware. In fact, the motherboard can be washed and cleaned with tap water, but it must be washed and dried before it can be used normally. Therefore, this cleaning method is not recommended for novices.
Note: Do not dig out the gold when cleaning the gold finger.
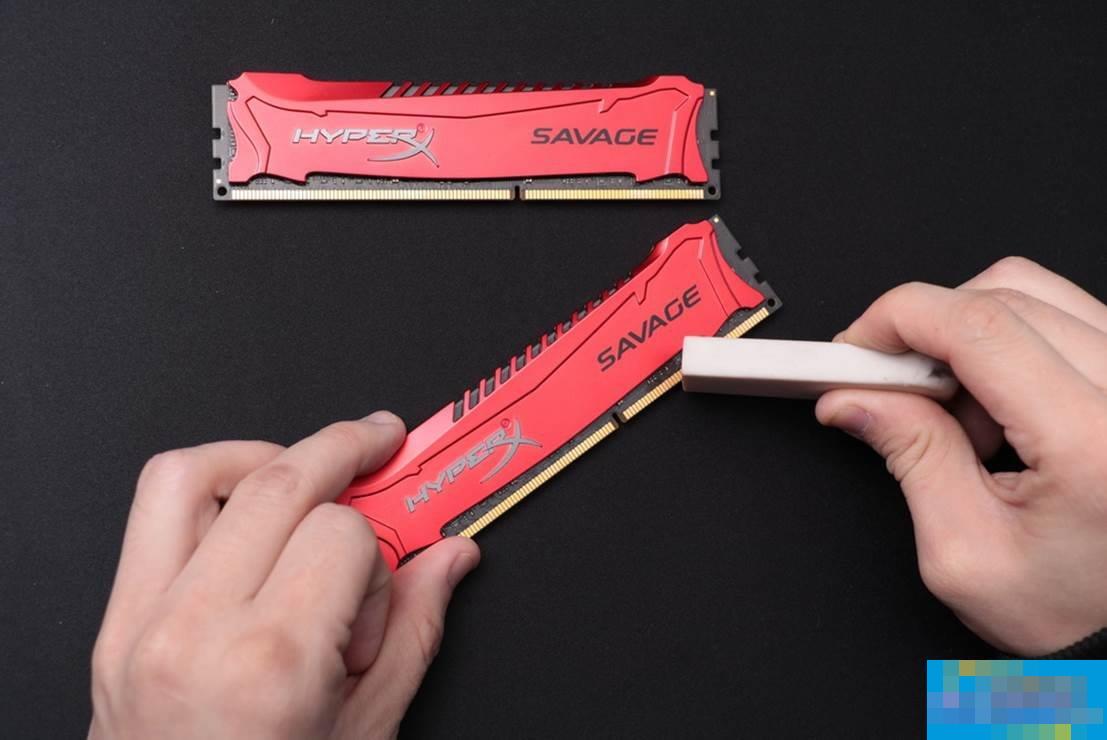
The memory gold finger is a row of golden copper pieces connected to the memory slot on the motherboard. When cleaning, you can wipe it repeatedly with an eraser until the gold finger appears bright. This way you can remove the oxide attached to the gold finger and maintain good contact with the memory slot. Since the example uses HyperX series high-speed memory, the storage particles are covered with heat sinks, so there is no need to clean the memory particles. If it is an ordinary memory stick, be careful when cleaning the memory particles and do not damage the chip capacitor components.
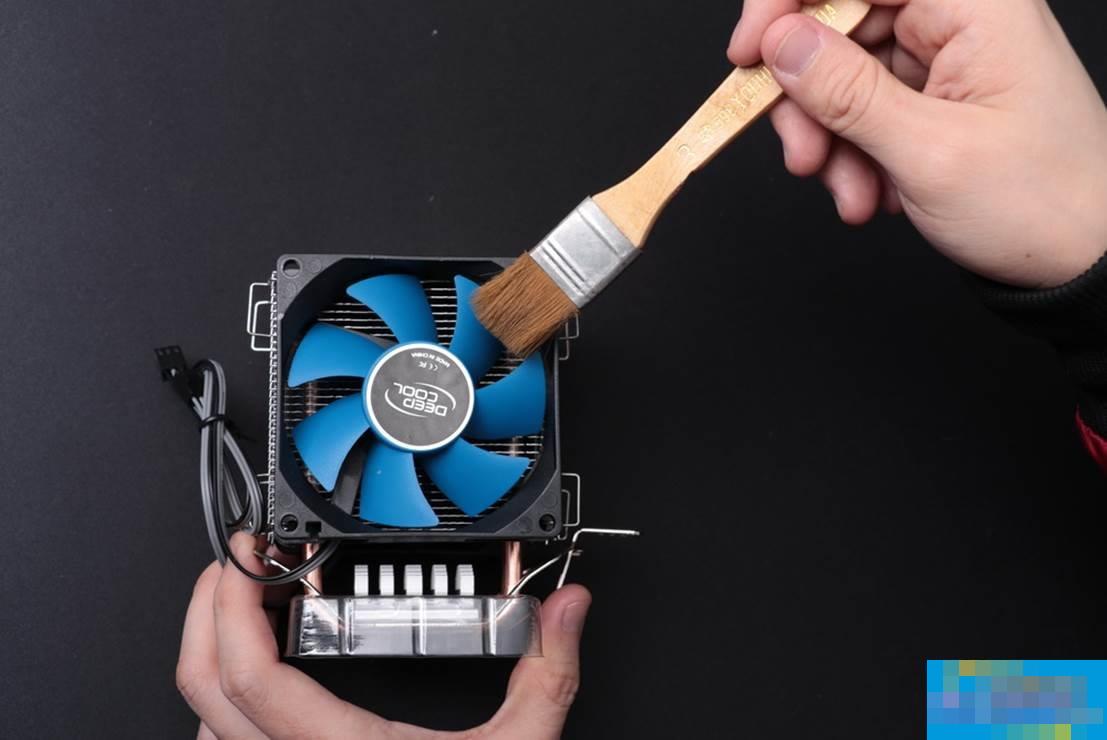
The radiator is the hardest hit area for dust in the host. Experts can try to remove the fan and then wash the metal part of the radiator. Remember to dry it after cleaning, or use a hair dryer to dry it. For novices, it is recommended to use traditional brush and air blowing dust removal methods to clean the inside and outside of fan blades and radiator fins. It is recommended to move this part of the cleaning work outdoors, or wear a mask indoors for cleaning.
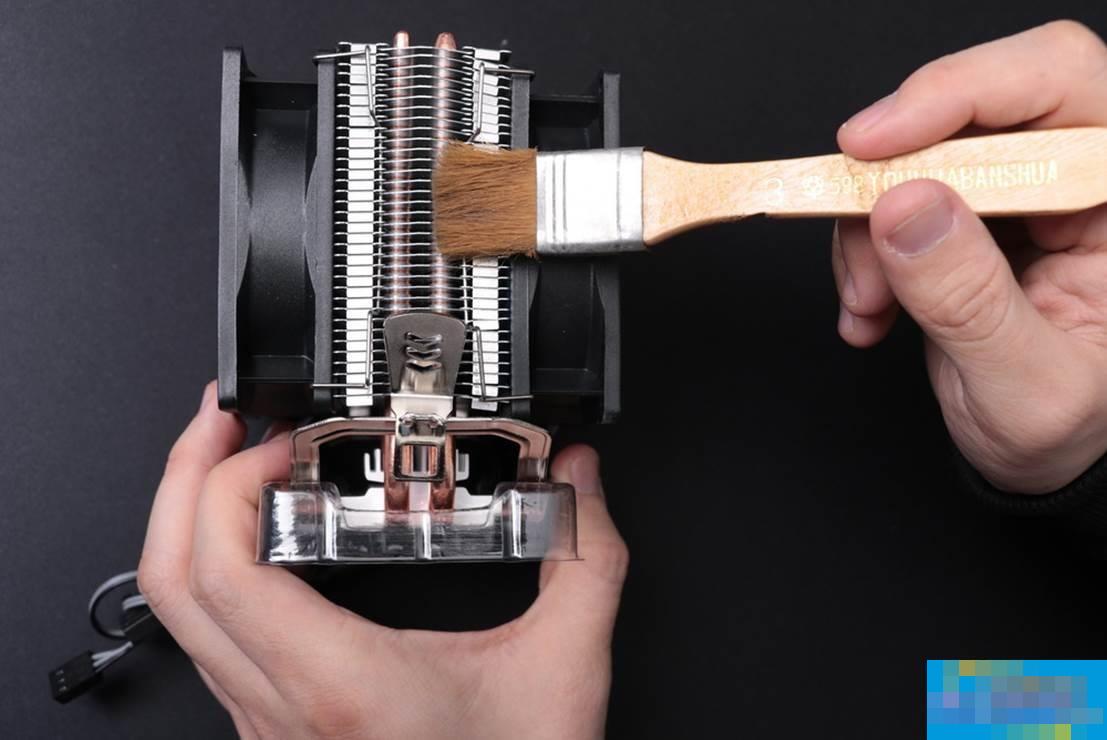
1. Fin deformation will affect the heat dissipation effect, so be careful not to use excessive force when cleaning.
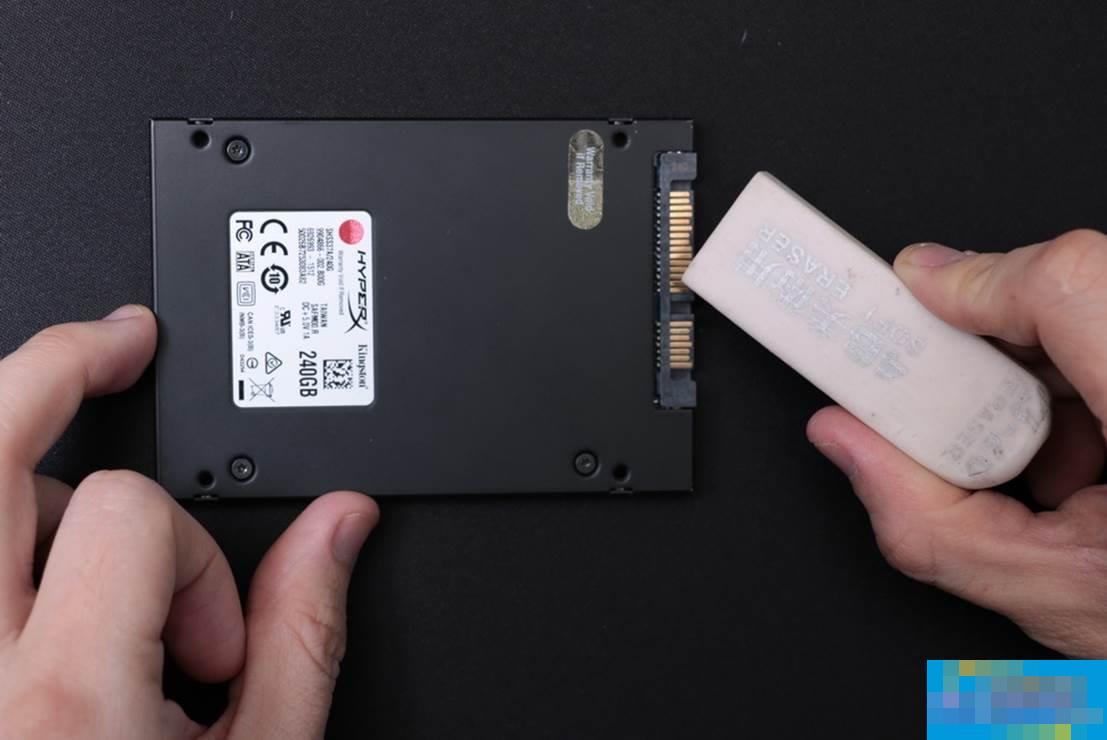
2. Generally speaking, the golden fingers of SSD do not need to be cleaned, but since the machine is completely disassembled and cleaned, you can also wipe it by the way.
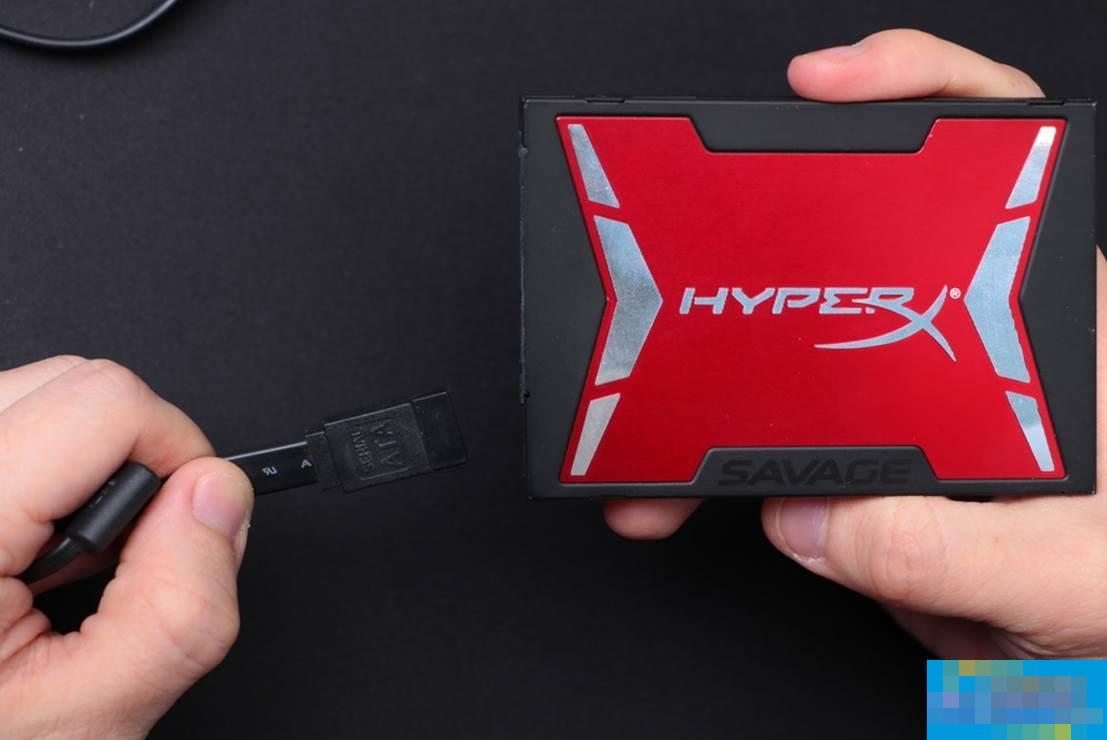
3. Plug and unplug the cable several times to remove the oxide layer, and check whether the SATA cable interface is loose. If it is loose, you need to replace a SATA cable.
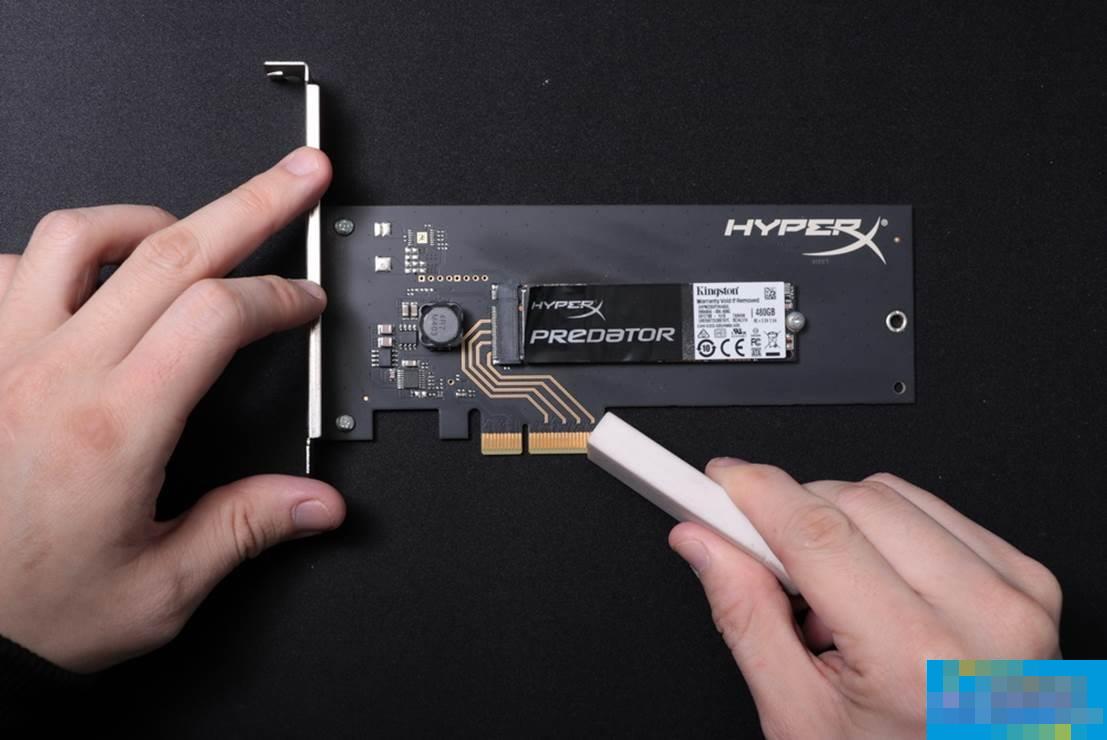
4. SSDs with PCI-E interface also need to use an eraser to clean the golden fingers.
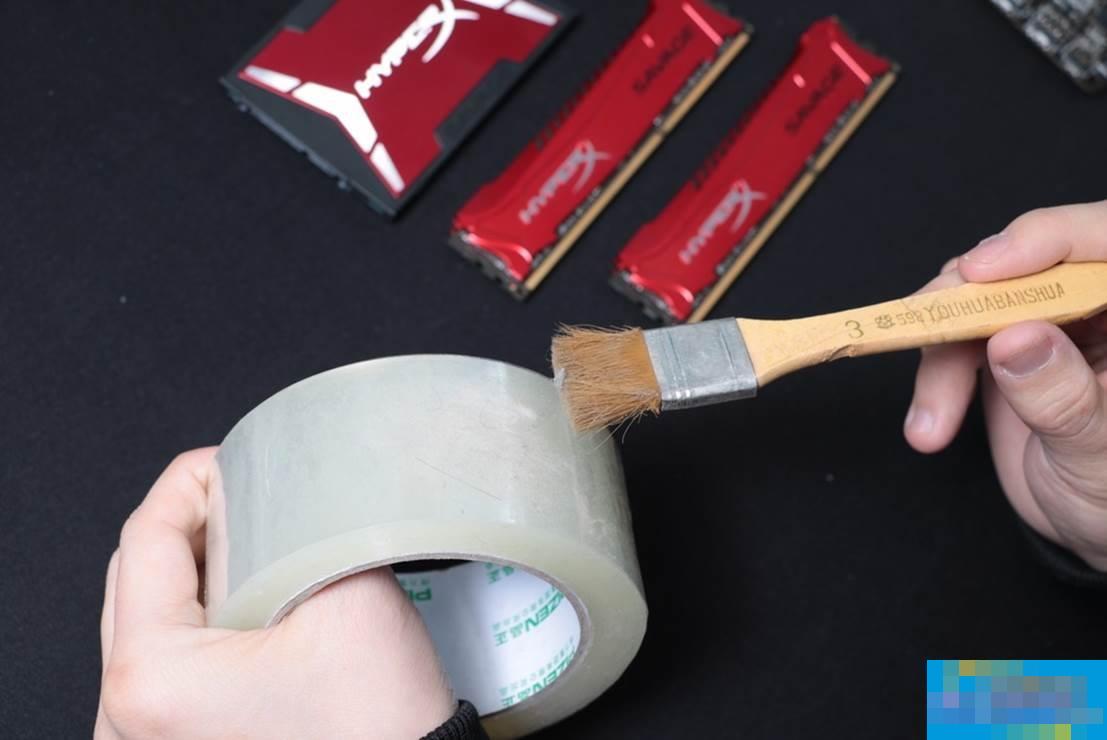
Let me talk about the tape prepared in advance. Wrap the tape back to expose the adhesive surface, which can stick to the hair and dust. This avoids secondary contamination of the hardware, and it also gives you a sense of accomplishment after cleaning.
Disassembly is not a skill, lighting is the master
Disassembly is generally simple, and novices can usually complete it smoothly by following the clues to find the screws or buckles. Therefore, the key point after cleaning is to reinstall it to see if it can light up smoothly. It is much more difficult to put it back than to take it off, the most important of which is the power wiring.
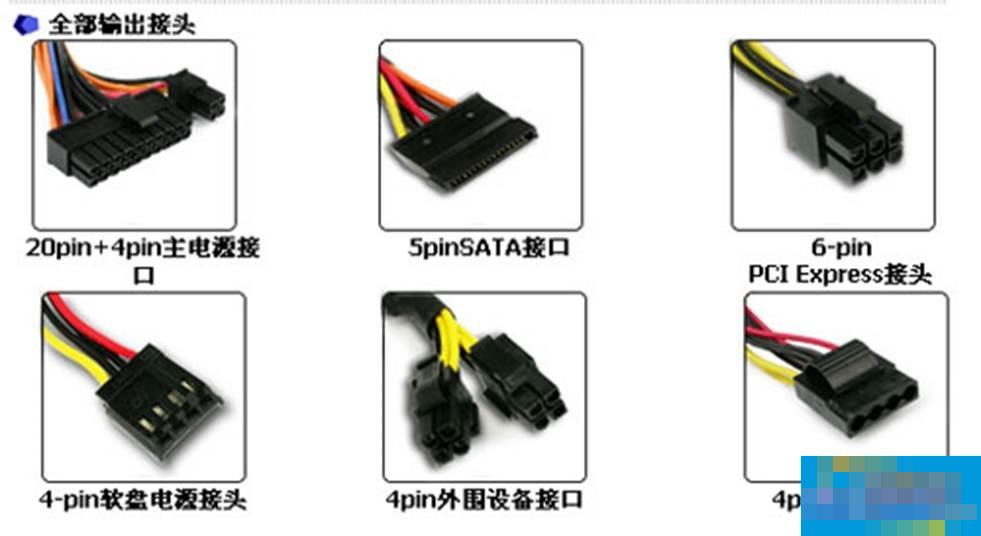
Pictures are used here to illustrate, so that novices can understand the various interfaces of the power supply. Even if you don't understand it, you can still install it based on the markings you took when installing.
1. 24p supplies power to the motherboard.
2. Power supply for SATA devices, such as the red HyperX Savage SSD with SATA interface.
3. Auxiliary power supply for 6p graphics card.
4. The 4p floppy drive is powered, which is basically not used. Some expansion boards can be used.
5. 4p+4p is the CPU power supply plug.
6. The big four p power supply used to power IDE hard drives, but now it is mostly used to power expansion devices and chassis fans.
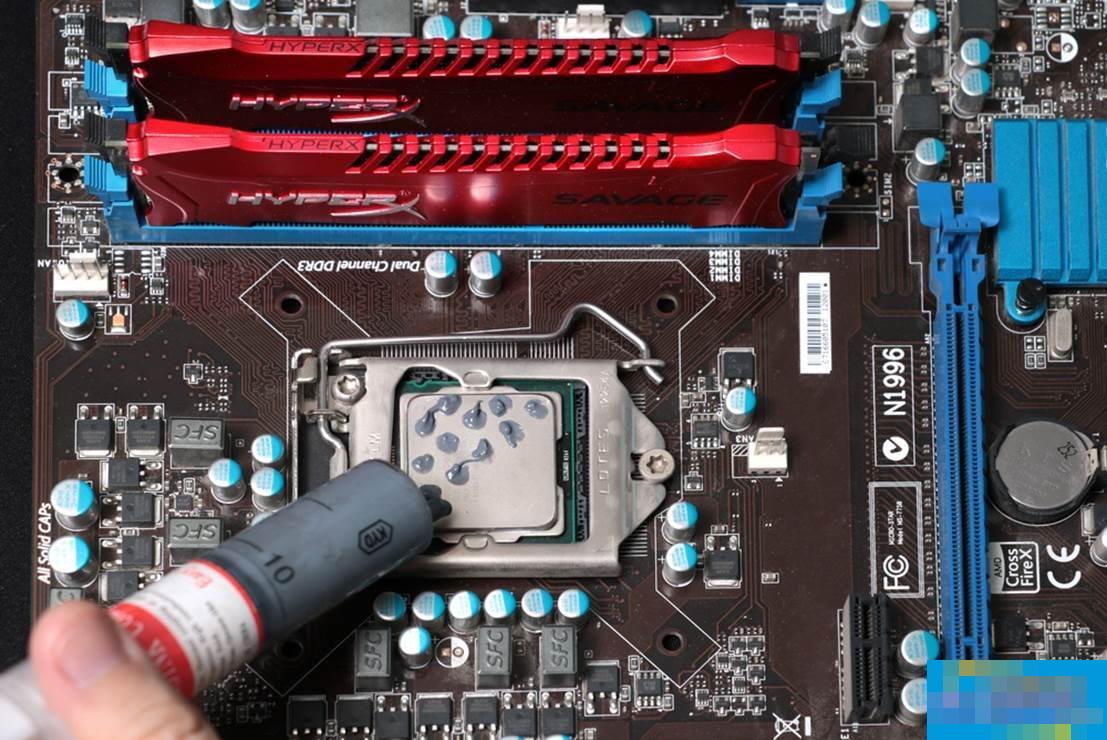
Intel series CPU can be successfully inserted by matching the golden triangle mark in the lower left corner with the triangle mark on the motherboard interface. Before installing the memory, you need to check the position of the fool-proof port first, and then insert it into the motherboard after figuring out the front and back positions. When you press it, you can hear a clicking sound.
PS: Generally, the CPU can be placed in the right direction. Note that if the CPU socket rod is difficult to press down, you need to check whether it is installed backwards to prevent the pins from being bent and broken. After installing the CPU, you need to apply silicone grease before installing the radiator. Applying silicone grease like this in the picture is a common method for lazy people. Those who are unskilled can just do this. Those who are skilled can follow the online tutorials and only apply a thin layer.
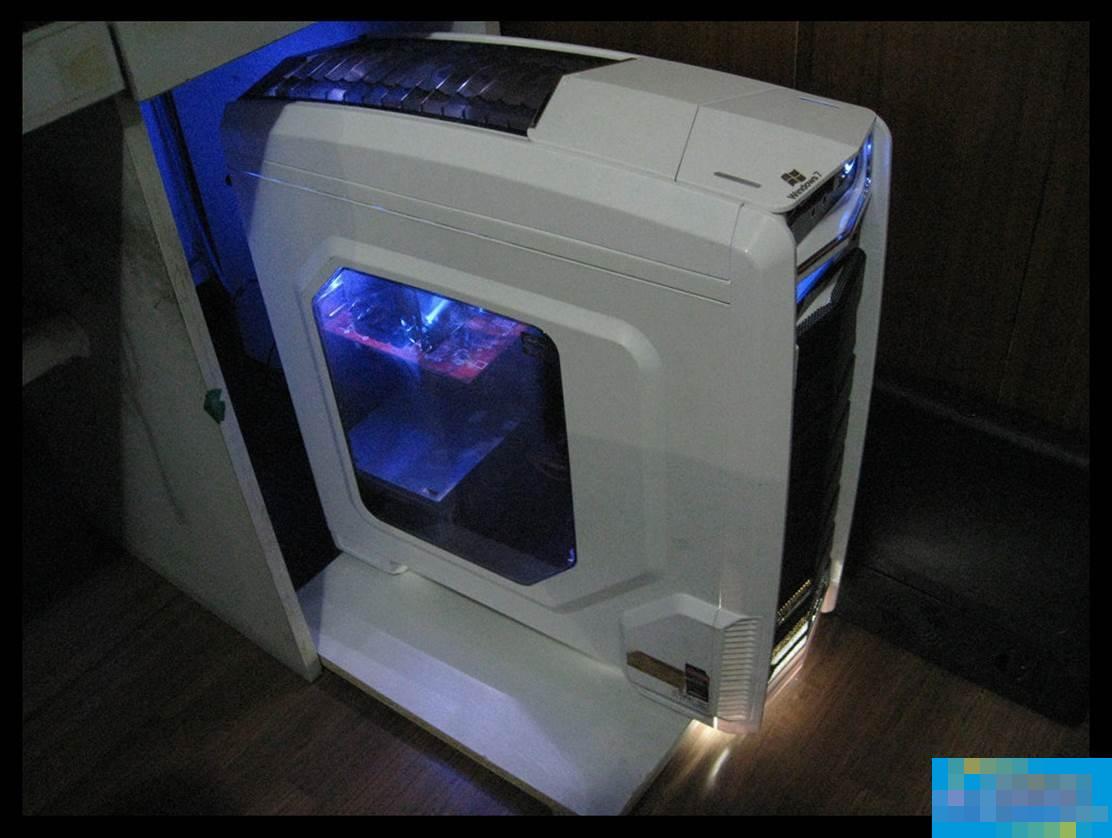
After decontamination is completed, the computer is given a new lease of life
It is usually recommended to install the CPU and radiator on the motherboard first, and then screw the motherboard into the chassis. Then install the power supply, connect the CPU motherboard for power supply, install the graphics card, memory and SSD, and connect the graphics card and hard drive cables.
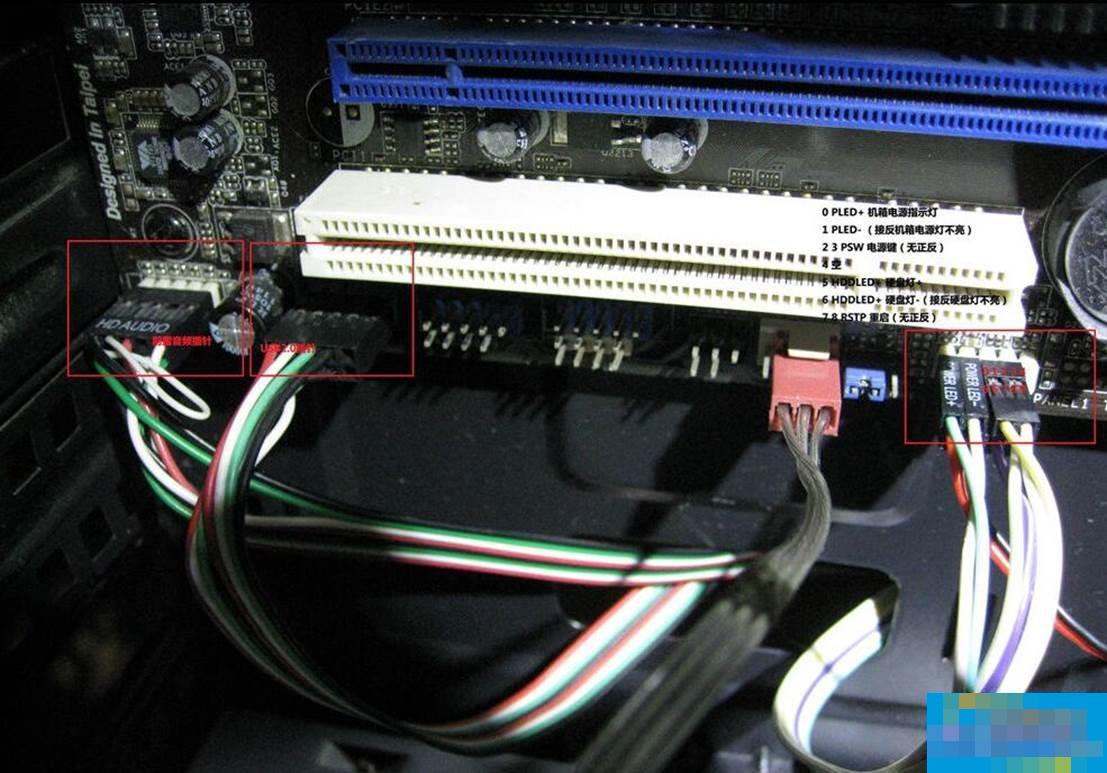
For wiring, we can refer to the photos we took before, or we can install it according to the diagrams in the motherboard manual. The pins in the picture are for chassis front audio, USB, and chassis wiring in order. Please refer to the motherboard manual for details. If you can't find the manual, you can download the corresponding electronic manual from the motherboard brand's official website.
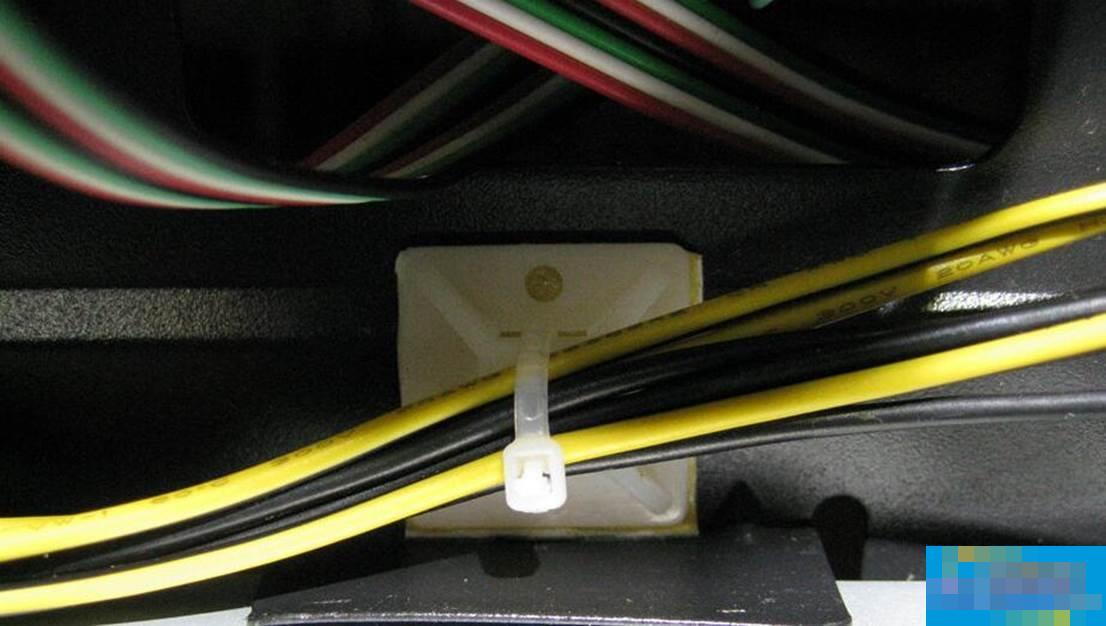
This is a wiring artifact
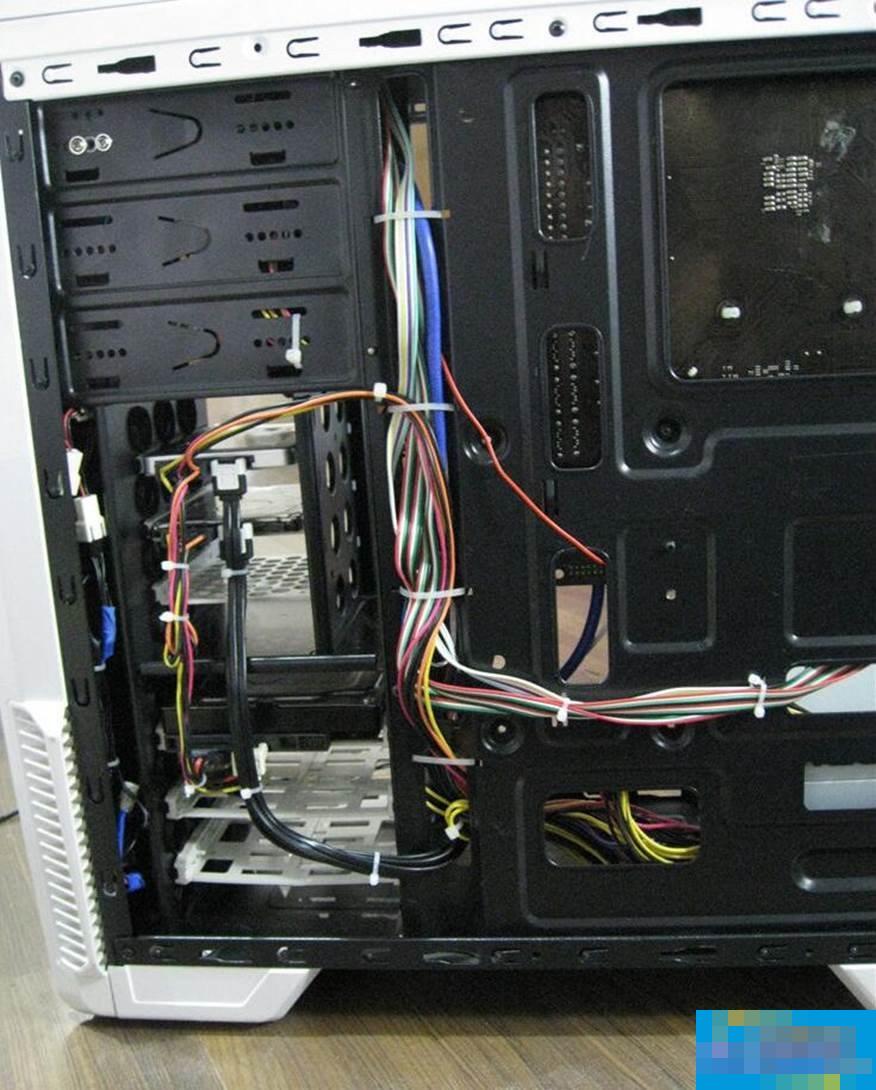
If you are pursuing perfection, you can run the back wire yourself. The advantage is to provide a good air duct for the chassis. If you are lazy or have limited skills, try to let the wire slip away. However, remember to tie it with a plastic tie in the end to prevent the wire from falling and hitting the cooling fan.
END
The above is the process of cleaning the dust on the computer host. After cleaning and installing various interfaces, as long as it can start up and run normally, you are done. Hope this helps everyone.


