
Hot search terms: 360 Security Guard Office365 360 browser WPS Office iQiyi Huawei Cloud Market Tencent Cloud Store

Hot search terms: 360 Security Guard Office365 360 browser WPS Office iQiyi Huawei Cloud Market Tencent Cloud Store

System assistance Storage: 1.14GB Time: 2017-01-03
Software introduction: BootCamp is a product released by Apple that installs Windows on computers with Intel processors in the OS series. BootCamp driver is powerful...
How to install Win10 with Bootcamp driver? Many users are asking this question? Let’s take a look at the detailed steps of installing Win10 with BootCamp. Friends who need it can refer to it.
1. Preparation before installation
1. Download the Windows 10 CD image. When downloading the image, please select 64-bit.
2. Prepare a USB flash drive of no less than 8G (use a USB flash drive to install win10 system, it must be large enough)
3. If you have already installed WIN7 or WIN8 system on your MAC computer, then select WINDOWS system and click update, which is very convenient. If it is not installed, you can see the details below to reinstall Windows 10. Systematic tutorial.
2. Use BootCamp tool to create a bootable USB disk
1. Insert the USB flash drive into the computer, open the BootCamp tool in the Mac system, click and select [BootCamp Assistant] in the BootCamp tool.
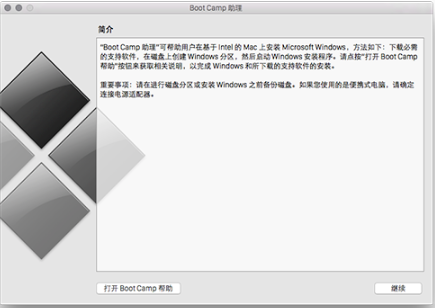
2. You will then enter the BootCamp welcome interface, click [Continue] to proceed to the next step.
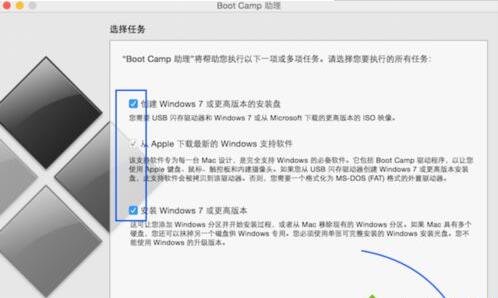
3. Then you will see the following interface, select the task to be performed here: You can choose 1) Create a Windows 7 or higher installation disk 2) Create Windows7 or higher. After selecting one, select all options for creating a bootable USB flash drive, and then click [Continue].
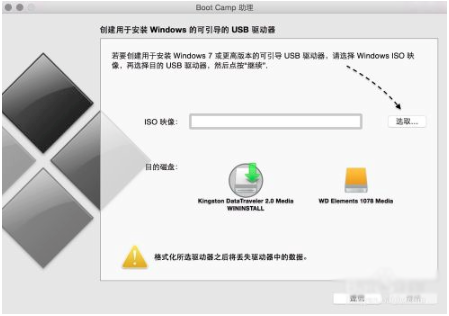
4. This will enter the image interface, click "Select" here to find the WIN10 image file we have downloaded.
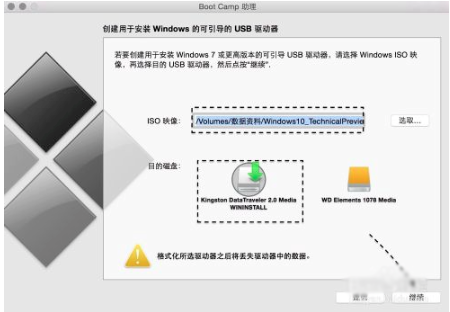
5. Then select a destination hard disk (storage location), and then click the [Continue] button to proceed to the next step;
6. Then you will see the following interface, asking the user whether to erase this drive (U disk), here we choose to click [Continue].

7. Wait for BootCamp to create a bootable USB disk. It may take a while to copy related files, so please wait patiently.
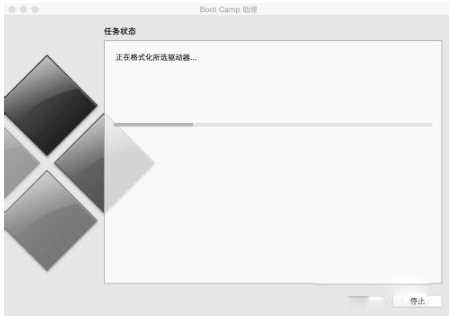
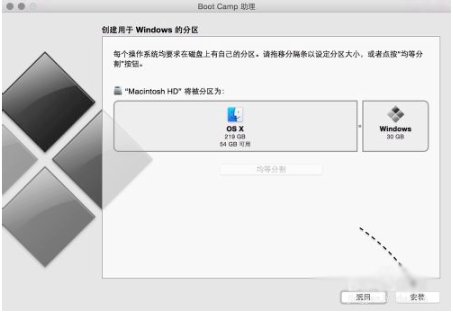
8. After the creation is completed, you will automatically enter the Windows partition creation interface, as shown in the figure below. In this interface, we need to choose and set the disk size according to our own needs, and at the same time complete the partitioning. Then click [Continue] to proceed to the next step.
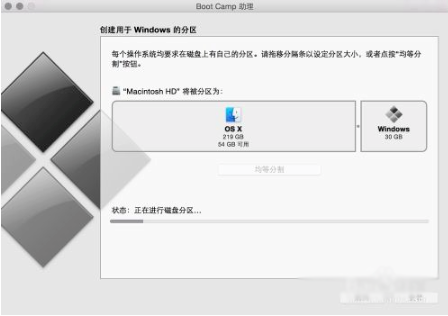
9. Wait for the above partition operation. After completion, you need to restart the computer.
Here are the detailed steps for installing win10 with BootCamp. Friends in need, please come and read this article!
 How to draw symmetrical graphics in coreldraw - How to draw symmetrical graphics in coreldraw
 How to copy a rectangle in coreldraw - How to draw a copied rectangle in coreldraw
 How to separate text from the background in coreldraw - How to separate text from the background in coreldraw
 How to edit text in coreldraw - How to edit text in coreldraw
 How to cut out pictures quickly in coreldraw - How to cut out pictures quickly in coreldraw
 WPS Office 2023
 WPS Office
 Minecraft PCL2 Launcher
 WeGame
 Tencent Video
 Steam
Steam
 CS1.6 pure version
 Eggman Party
 Office 365
 What to do if there is no sound after reinstalling the computer system - Driver Wizard Tutorial
 How to switch accounts in WPS Office 2019-How to switch accounts in WPS Office 2019
 How to clear the cache of Google Chrome - How to clear the cache of Google Chrome
 How to practice typing with Kingsoft Typing Guide - How to practice typing with Kingsoft Typing Guide
 How to upgrade the bootcamp driver? How to upgrade the bootcamp driver