
Hot search terms: 360 Security Guard Office365 360 browser WPS Office iQiyi Huawei Cloud Market Tencent Cloud Store

Hot search terms: 360 Security Guard Office365 360 browser WPS Office iQiyi Huawei Cloud Market Tencent Cloud Store

media management Storage: 4.8GB Time: 2021-03-25
Software introduction: Corel VideoStudio is a feature-rich video editing software released by the Canadian Corel company. Video conference...
VideoStudio x7 is a powerful video editing software that supports various encodings. Friends, do you know how to install VideoStudio x7? Today I am happy to share with you the installation steps of VideoStudio x7. If you are interested, you can come and learn more.
1. First, we need to find the "Download Address" on this page and select any address to start selecting. After downloading the VideoStudio x7 software package to your local computer, double-click to decompress it to find the .exe format program and run it. As shown below: This is the main installation program of VideoStudio x7. Since there are two versions, you need to choose the program that suits your computer system to install.
out out of Windows 7, select the computer on the desktop and right-click to select properties to view.
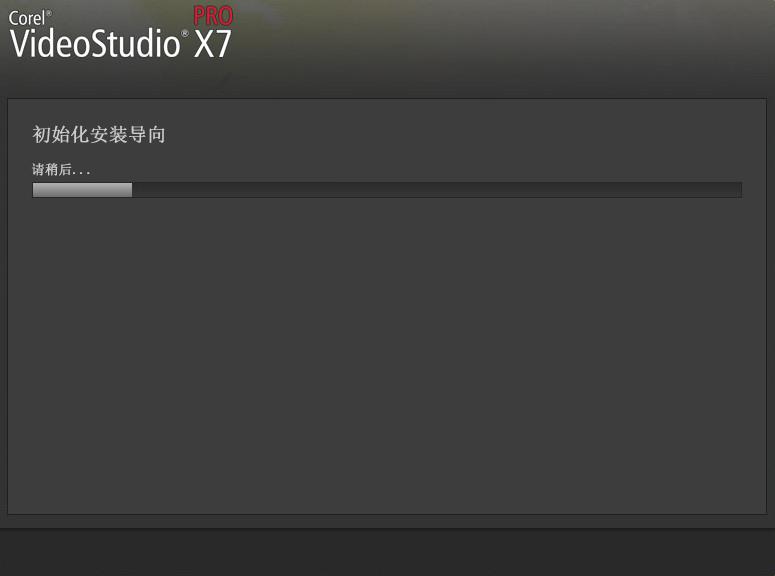
2. After starting to run, there will be an initialization installation wizard loading interface. Please wait patiently for it to load on its own.
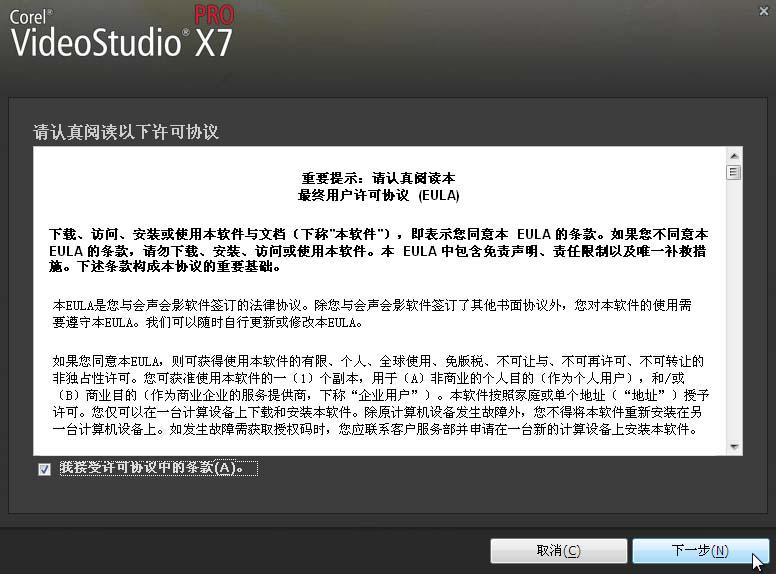
3. After the installation wizard is loaded, you will enter the installation agreement interface of VideoStudio x7. In this interface, we need to understand the content of the agreement and agree to the agreement. If you want to continue installing the software, you must agree to the content of the agreement. Agree to the agreement and click [Next]
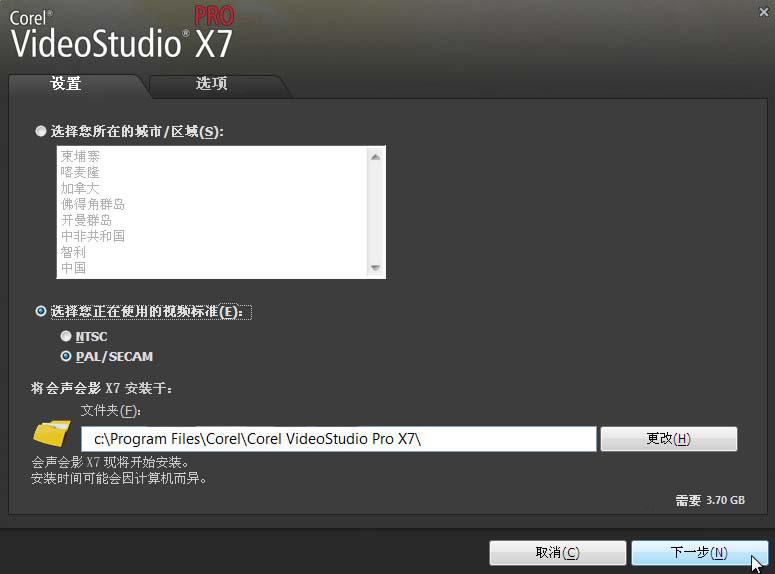
4. After agreeing to the agreement, enter the directory installation setting interface of VideoStudio x7. At this location, we can select [Change] to set the specific installation location. There are also some other options, friends can choose according to their own needs. After everything is set up, continue to click [Next]
Editor’s tip: When installing VideoStudio x7, if you don’t want to have abnormal problems such as installation failure, install it on the system disk. The default system drive is C drive.
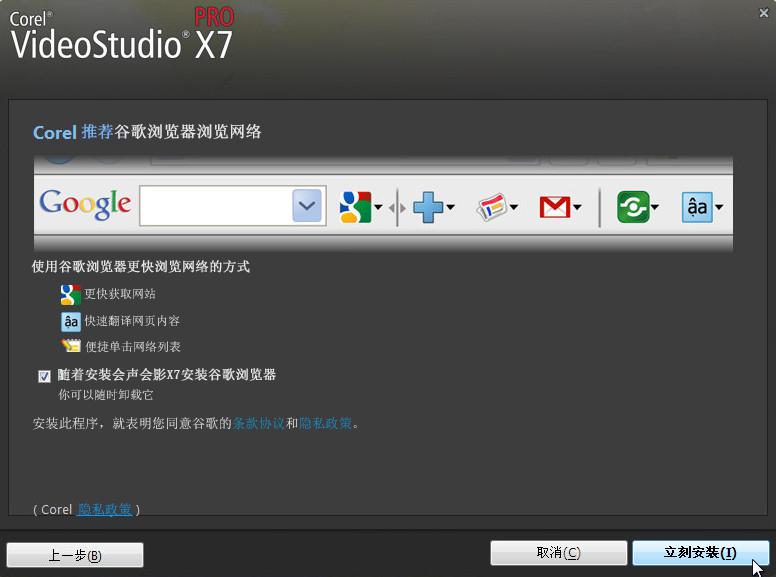
5. Continue the installation and you will enter the additional task installation interface. At this location, it is recommended that we install Google Chrome. If you do not want to use this browser, you can also uncheck this option. Just skip and click [Install Now].
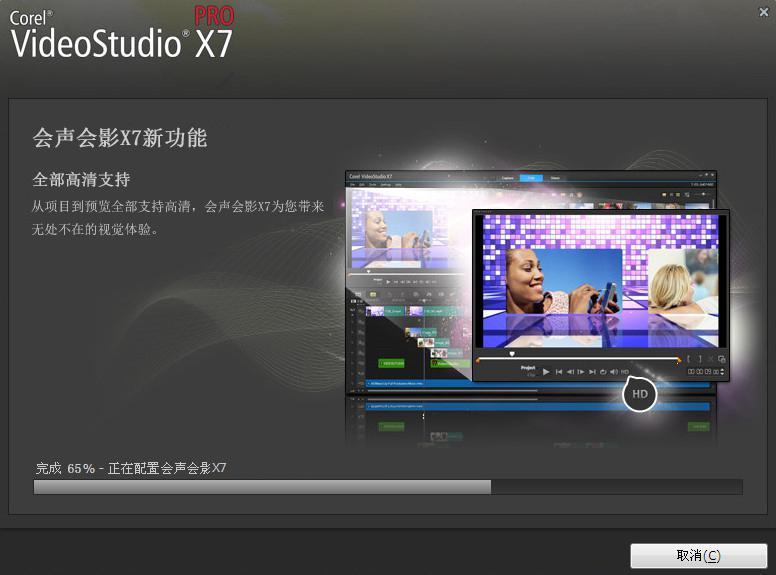
6. After setting the above information, you will enter the installation progress bar interface of VideoStudio x7. The only thing we need to do in this interface is to wait patiently for it to install itself.
7. Finally, the VideoStudio x7 installation is complete, we can directly click the [Finish] button to close the current interface. If you want to know whether the current version is the latest version, you can check the "Check for updates when exiting the installation wizard" option after this interface.

The above are the installation steps of VideoStudio x7 brought by the editor. Thank you for reading and watching. I hope the content of this article can help you!
 How to add background music in python-How to add background music in python
 How to configure environment variables in python - How to configure environment variables in python
 How to run python - How to run python
 How to create a project in python - How to create a project in python
 How to make a blue sky background with scratch-How to make a blue sky background with scratch
 Microsoft Edge browser
 Steam
Steam
 Tencent Video
 WPS Office
 iQiyi
iQiyi
 Sohu video player
 Lightning simulator
 MuMu emulator
 Eggman Party
 What to do if there is no sound after reinstalling the computer system - Driver Wizard Tutorial
 How to switch accounts in WPS Office 2019-How to switch accounts in WPS Office 2019
 How to clear the cache of Google Chrome - How to clear the cache of Google Chrome
 How to fire bullets in scratch-How to fire bullets in scratch
 How to practice typing with Kingsoft Typing Guide - How to practice typing with Kingsoft Typing Guide