
Hot search terms: 360 Security Guard Office365 360 browser WPS Office iQiyi Huawei Cloud Market Tencent Cloud Store

Hot search terms: 360 Security Guard Office365 360 browser WPS Office iQiyi Huawei Cloud Market Tencent Cloud Store

image processing Storage: 465.96MB Time: 2021-09-10
Software introduction: coreldraw 12 is a simplified Chinese version of graphics and image software developed by the Canadian Corel company, coreldraw 12 is intuitive...
Some novice friends said that they do not know how to use CorelDRAW to create printer graphics. For this reason, the editor here shares the steps of using CorelDRAW to create printer graphics. Friends in need can learn with the editor.
1. Open the CorelDRAW software.
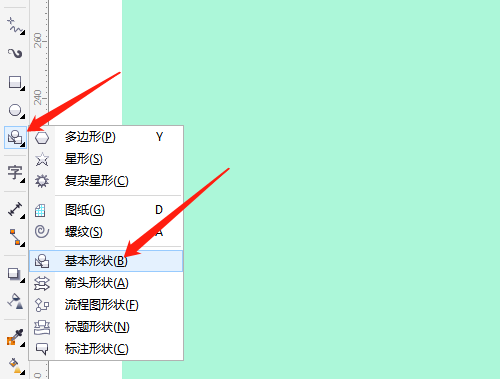
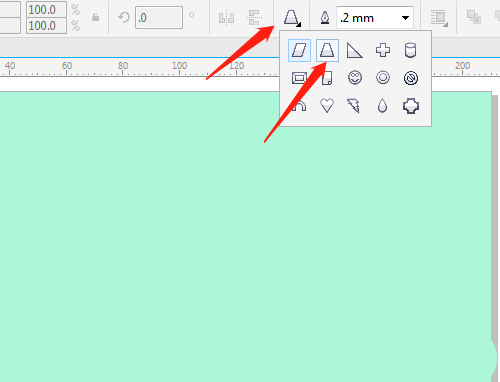
2. Select the basic shape tool in the toolbox.
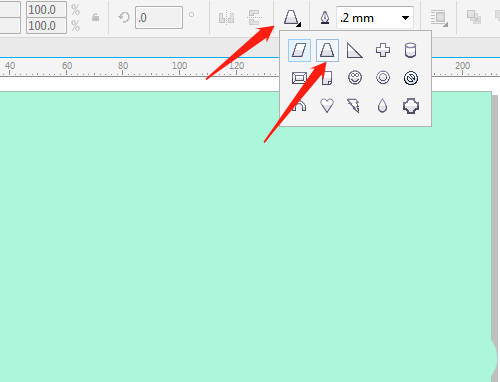
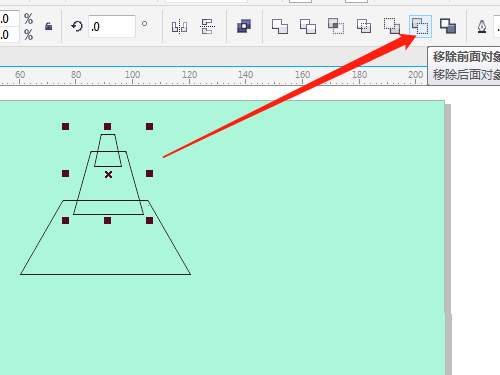
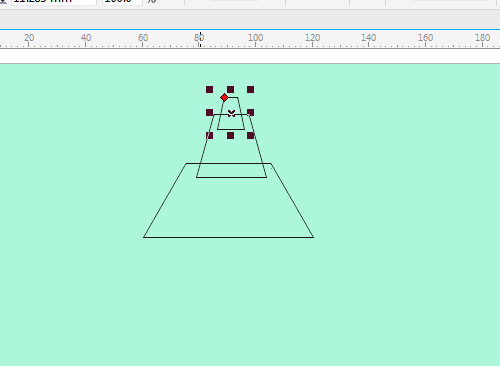
3. Select Trapezoid in the property bar and draw three trapezoids of different sizes.
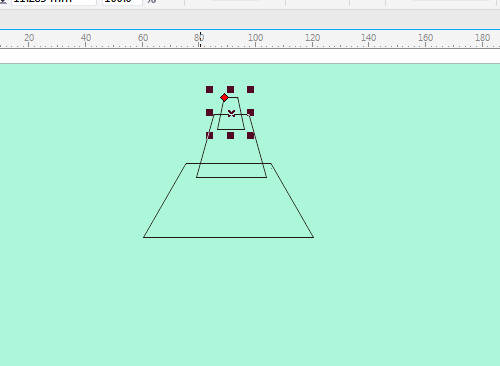
4. Press the space bar to switch to the selection tool, select the two trapezoids above, and click to remove the previous object. The shape is filled with white.
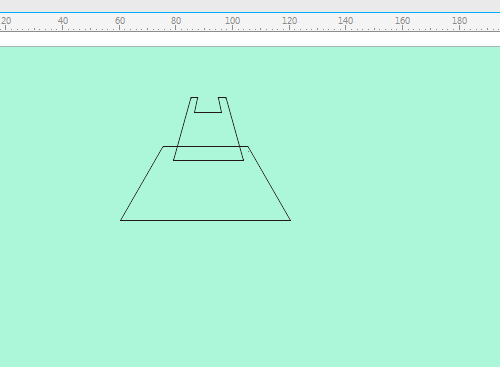
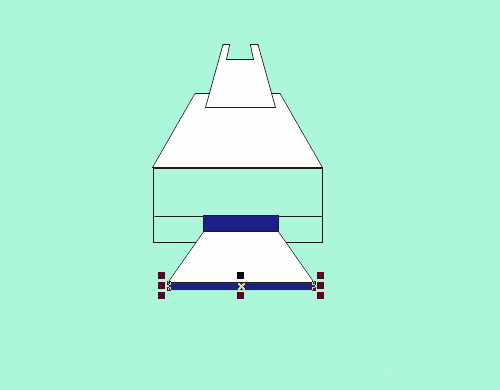
5. Use the rectangle tool to draw a rectangle and select 2 points to draw a straight line. Copy a trapezoid and make it smaller. Select the Rectangle Tool to draw two rectangles and fill them with color.
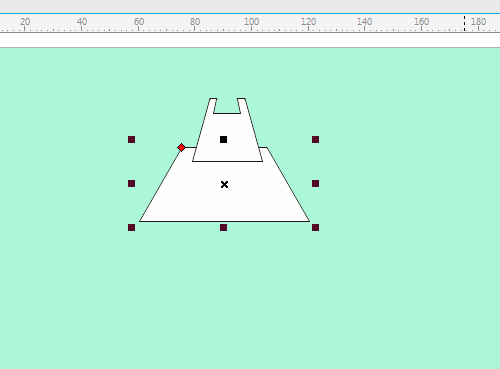
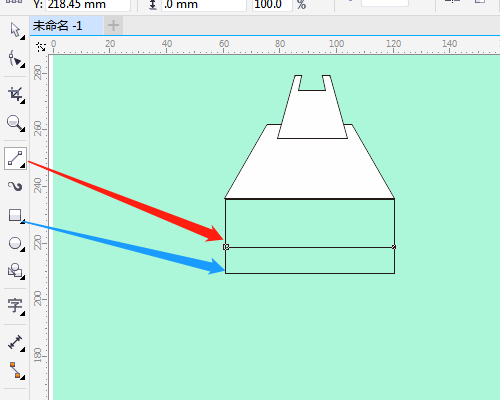
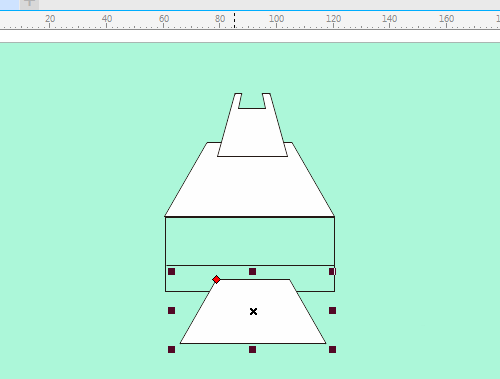
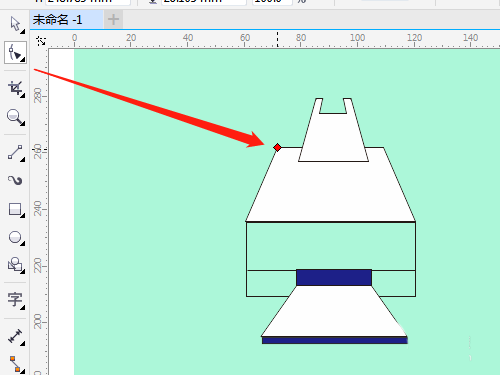
6. Use the shape tool to adjust the large trapezoid, use the selection tool to select all graphics, and change the outline width.
The above explains the operation process of using CorelDRAW to create printer graphics. I hope friends in need can learn it.
 How to draw symmetrical graphics in coreldraw - How to draw symmetrical graphics in coreldraw
 How to copy a rectangle in coreldraw - How to draw a copied rectangle in coreldraw
 How to separate text from the background in coreldraw - How to separate text from the background in coreldraw
 How to edit text in coreldraw - How to edit text in coreldraw
 How to cut out pictures quickly in coreldraw - How to cut out pictures quickly in coreldraw
 WPS Office 2023
 WPS Office
 Minecraft PCL2 Launcher
 WeGame
 Tencent Video
 Steam
Steam
 CS1.6 pure version
 Eggman Party
 Office 365
 What to do if there is no sound after reinstalling the computer system - Driver Wizard Tutorial
 How to switch accounts in WPS Office 2019-How to switch accounts in WPS Office 2019
 How to clear the cache of Google Chrome - How to clear the cache of Google Chrome
 How to practice typing with Kingsoft Typing Guide - How to practice typing with Kingsoft Typing Guide
 How to upgrade the bootcamp driver? How to upgrade the bootcamp driver